The first time I tried a bubble ponytail, I was running late, my usual ponytail felt tired, and I had a handful of small elastics in a drawer. Ten minutes later my hair looked like I had actually planned it. That is the charm of this style. It takes the ponytail you already know, adds a few simple sections, and looks bouncy, polished and a little bit fun. If you have long hair, every extra inch gives you another bubble to shape.
I have worn it to lunch with friends, to a wedding where I danced for hours, and on ordinary days when I wanted my hair out of my face but still pretty. It holds well, photographs beautifully, and needs no heat or complicated braiding. Below are nine playful ways to wear it, a clear step-by-step method, advice for different hair types, the tools actually worth buying, and the small mistakes that separate flat sections from lovely round bubbles.
Why I Keep Coming Back to This Ponytail
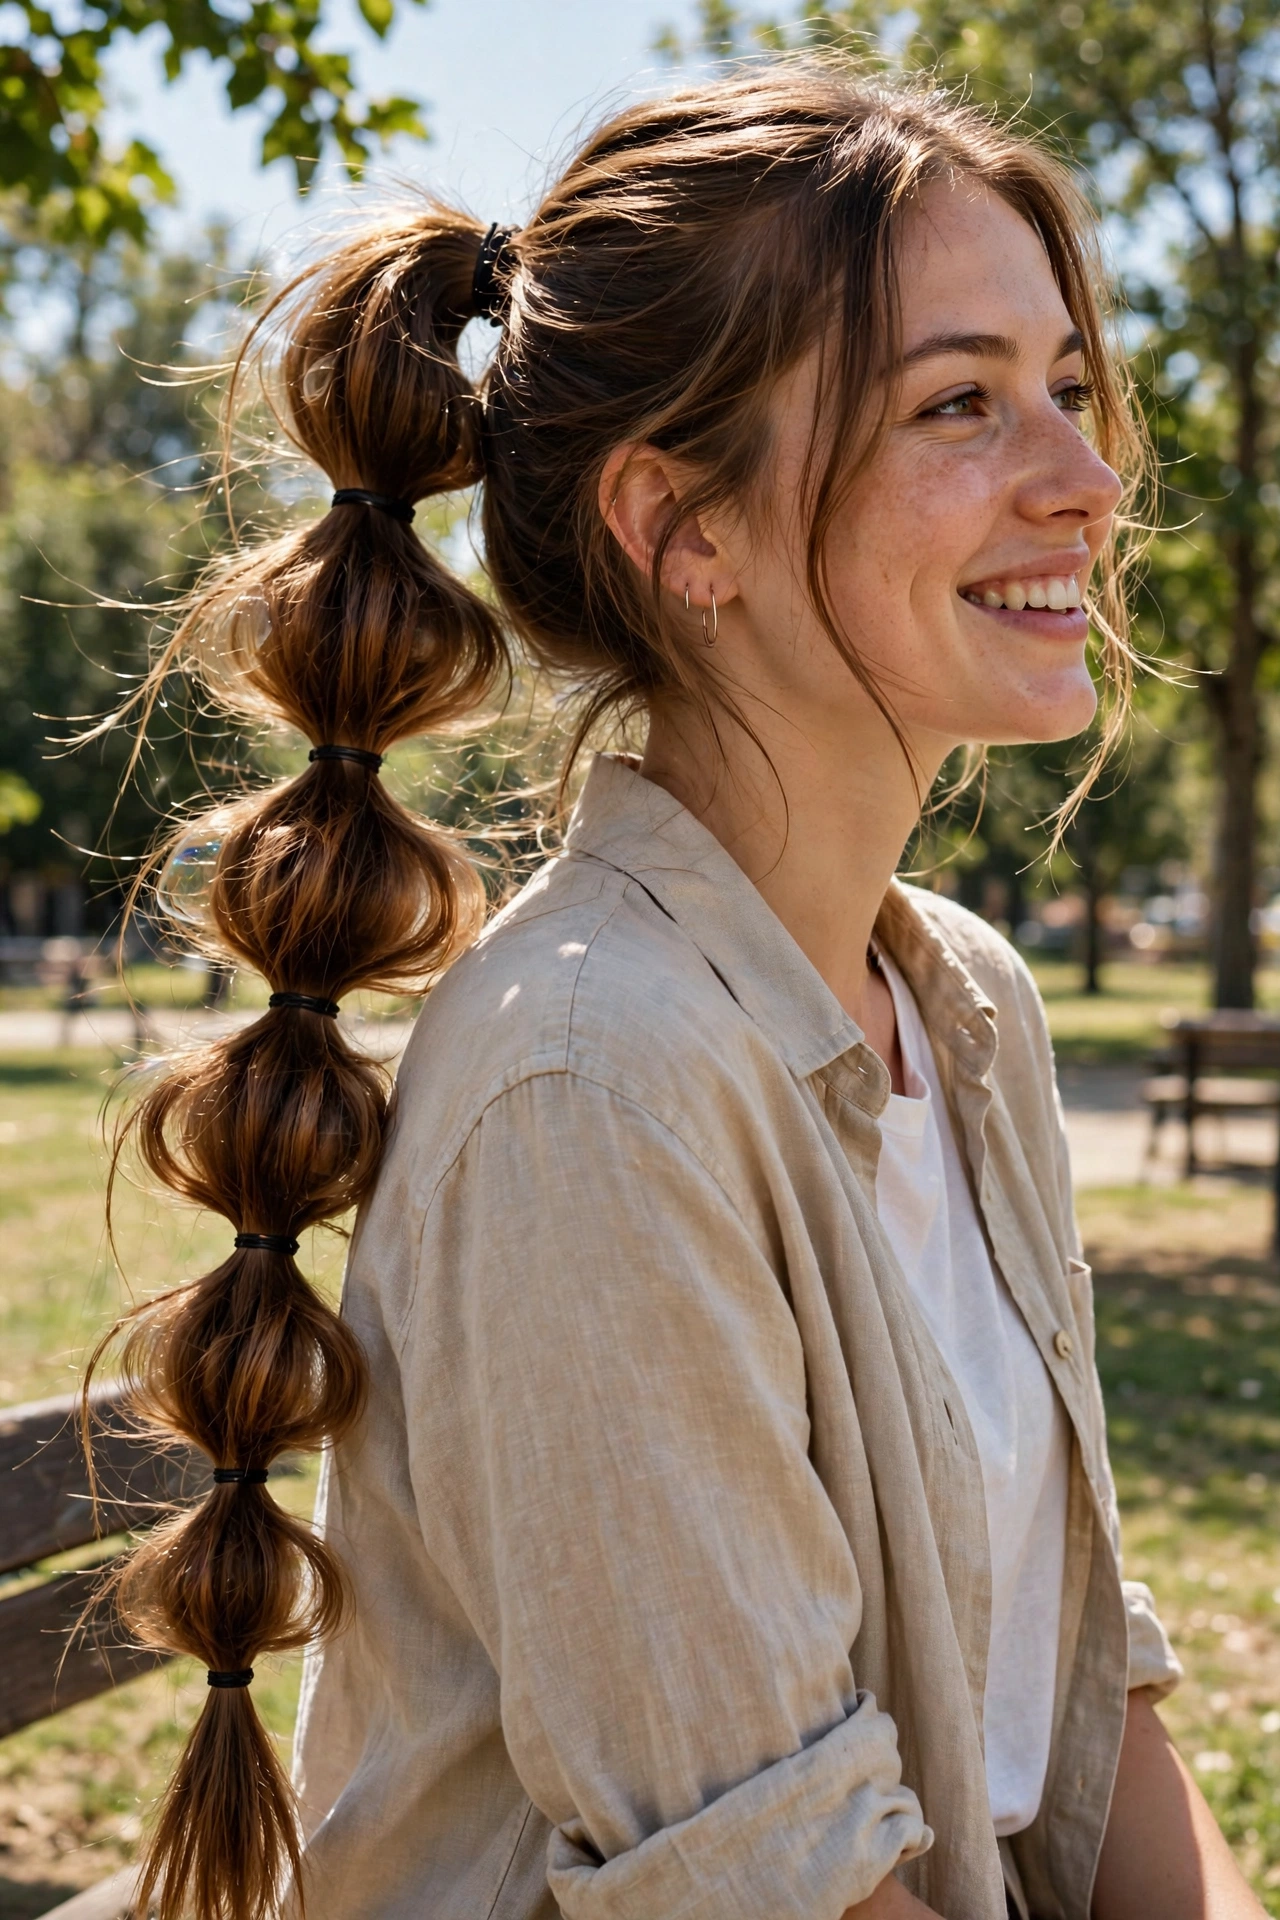
A regular ponytail can slip and lose its shape by midday. The bubble version solves most of that. Each elastic acts like a little anchor, so the weight of long hair is shared along the length instead of pulling only at the base. That means less sagging and less re-tightening. Keep the bubbles neat and it looks smart. Pull them fuller and softer and it feels romantic. Add a ribbon and it turns playful in seconds.
It can also be kind to your hair. No backcombing, no hot tools and no tight braiding are needed. Use soft elastics, avoid pulling too hard, and take it down gently at night, and you can repeat it often without worrying.
9 Playful Ways to Wear a Bubble Ponytail for Long Hair
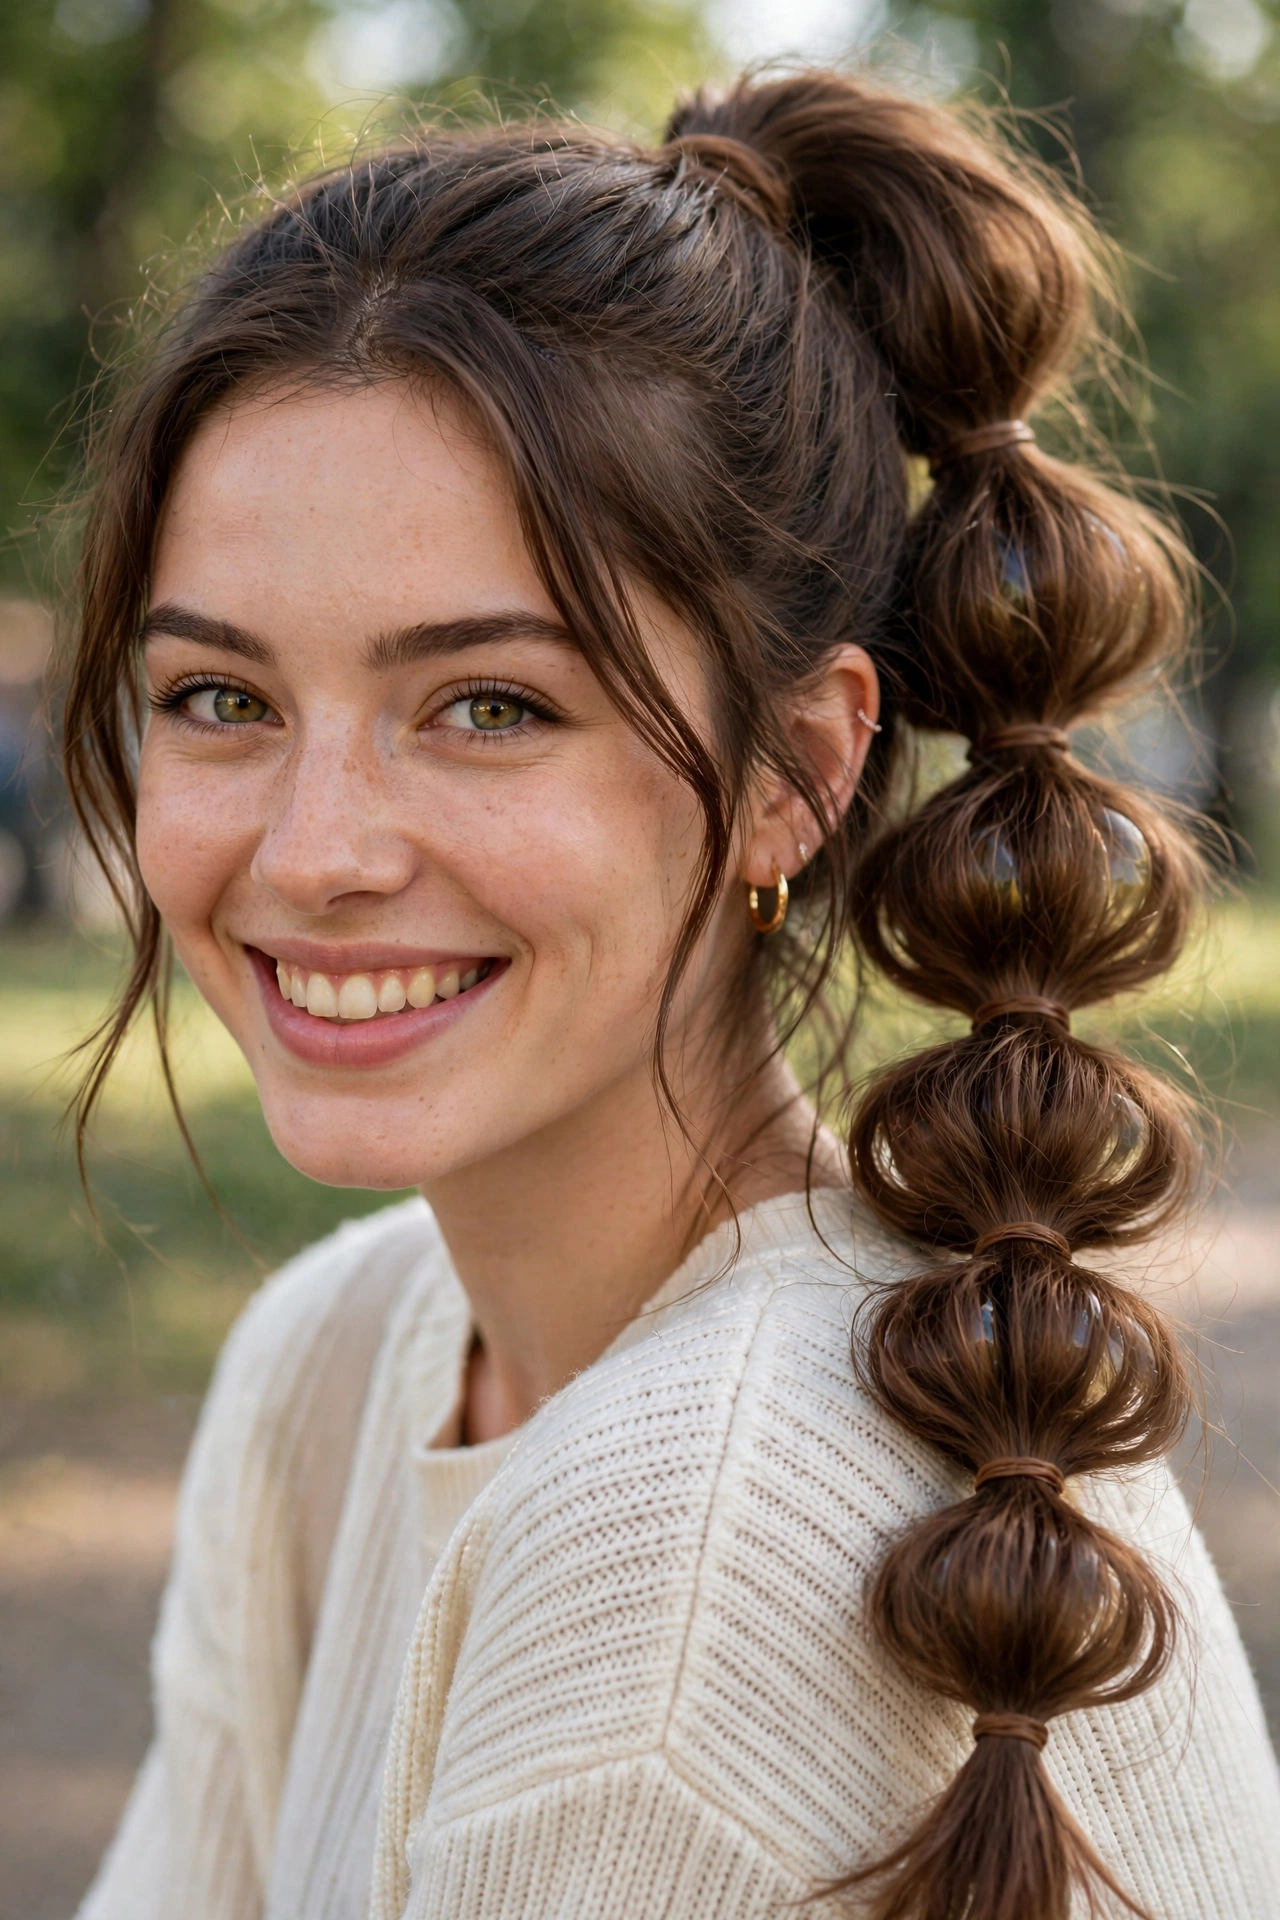
1. The classic high bubble. Start your ponytail high on the crown, then add elastics every two to three inches and gently pull each section outward. This is the version in most photos, and it gives the most bounce when you walk.
2. The low, soft bubble. Begin at the nape, keep the base loose, and make larger, softer bubbles. It pairs beautifully with knitwear, shirt dresses and softer makeup, and it is comfortable if high ponytails give you a headache.
3. The side bubble ponytail. Bring everything over one shoulder before you section it. The bubbles fall forward where you can see them, which makes this one lovely for photos and for outfits with a pretty neckline or back.
4. Bubble ponytail with a ribbon. Tie a ribbon at the base, weave it loosely around a few elastics, or add a small bow at the end. A satin ribbon makes it feel dressed up, while a cotton or gingham ribbon keeps it sweet and casual.
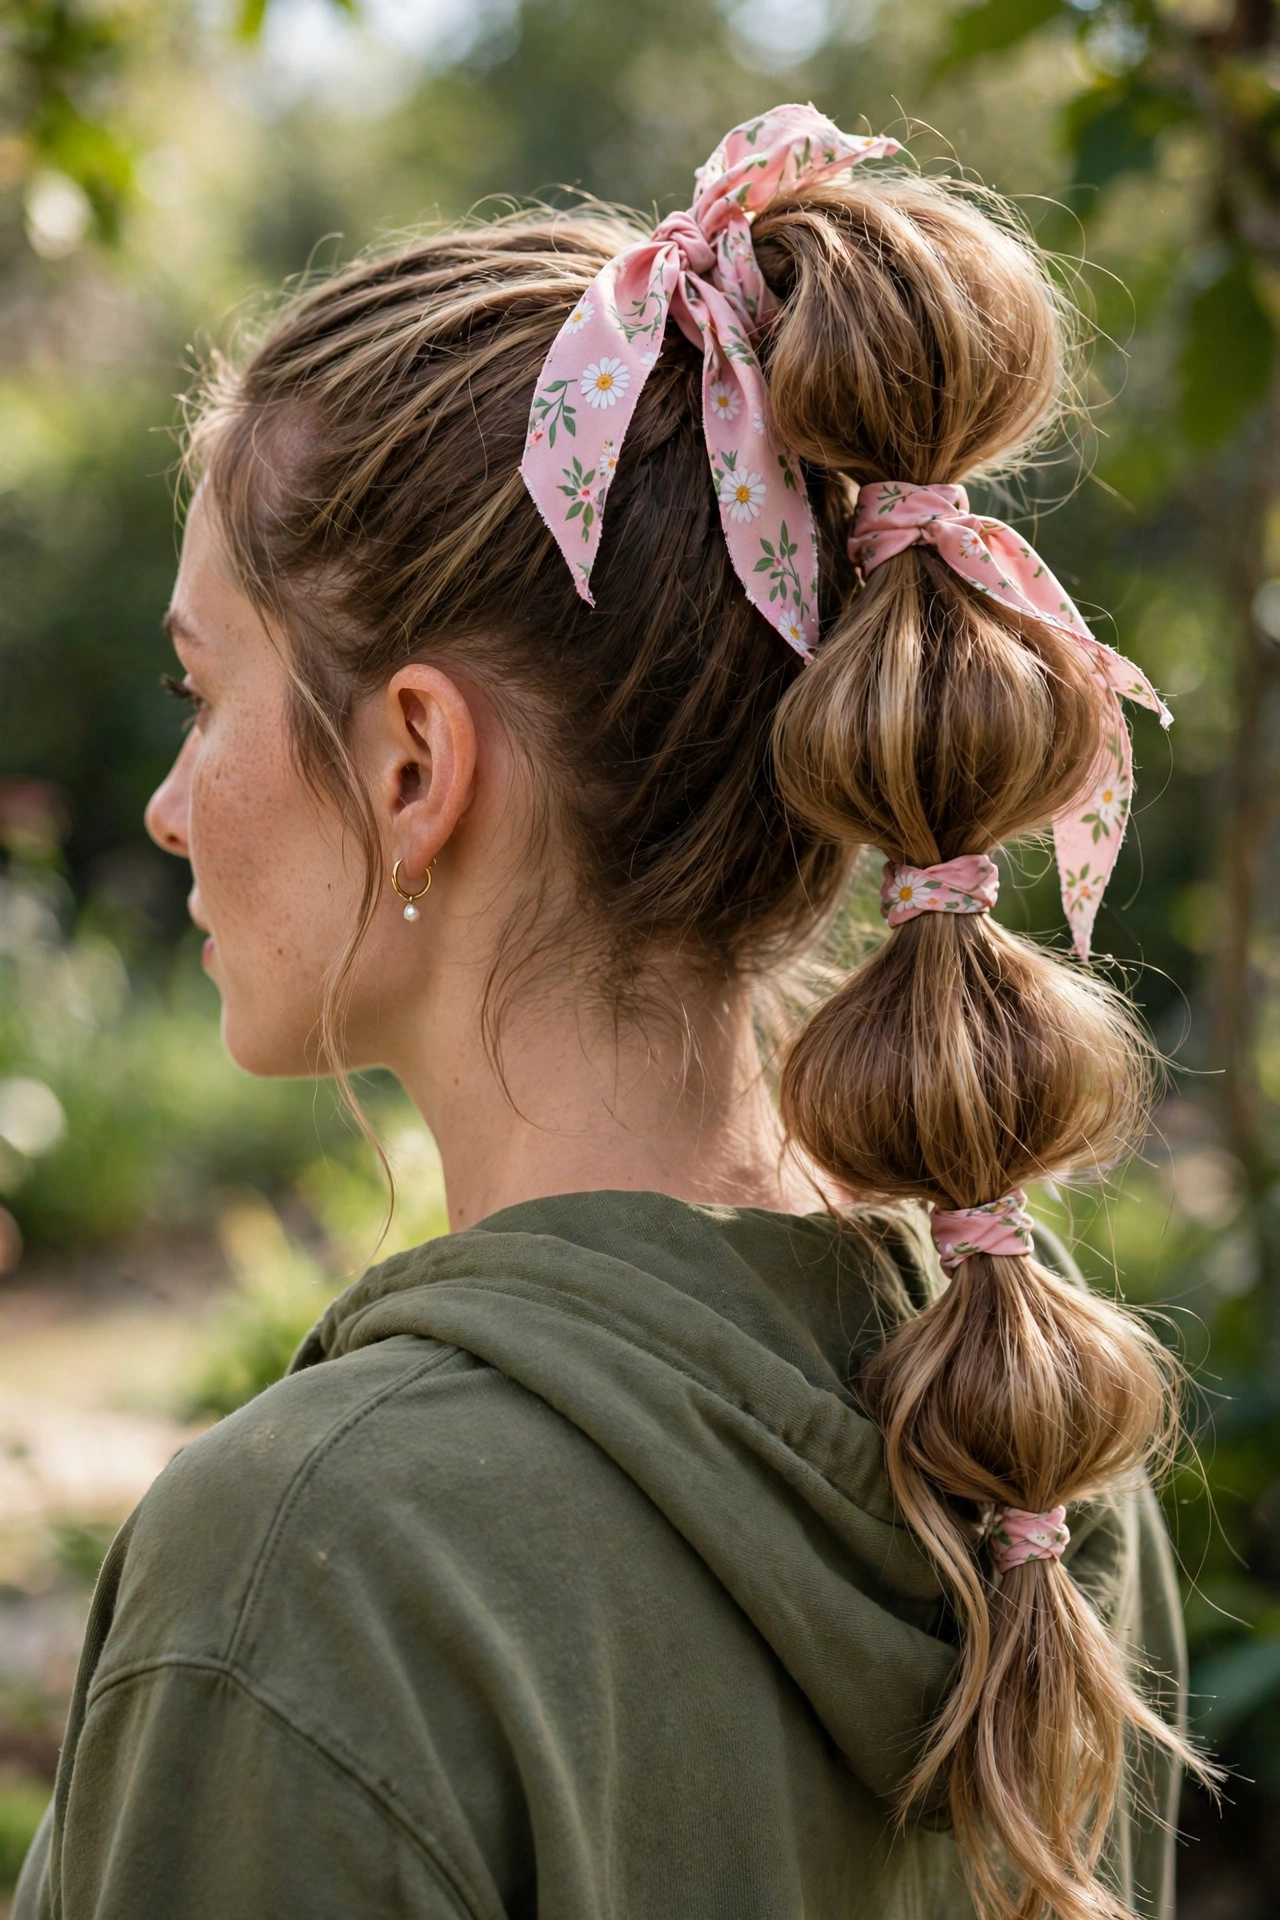
5. Half-up bubble ponytail. Take only the top half of your hair into the ponytail and bubble that section, leaving the rest loose underneath. You get the playful shape without taking all your length away, and it works on days when your ends look especially nice.
6. Bubble ponytail with face-framing pieces. Leave two soft strands free at the front before you start. Curl them lightly or leave them natural. Those little pieces soften the whole look and stop it feeling too pulled back.
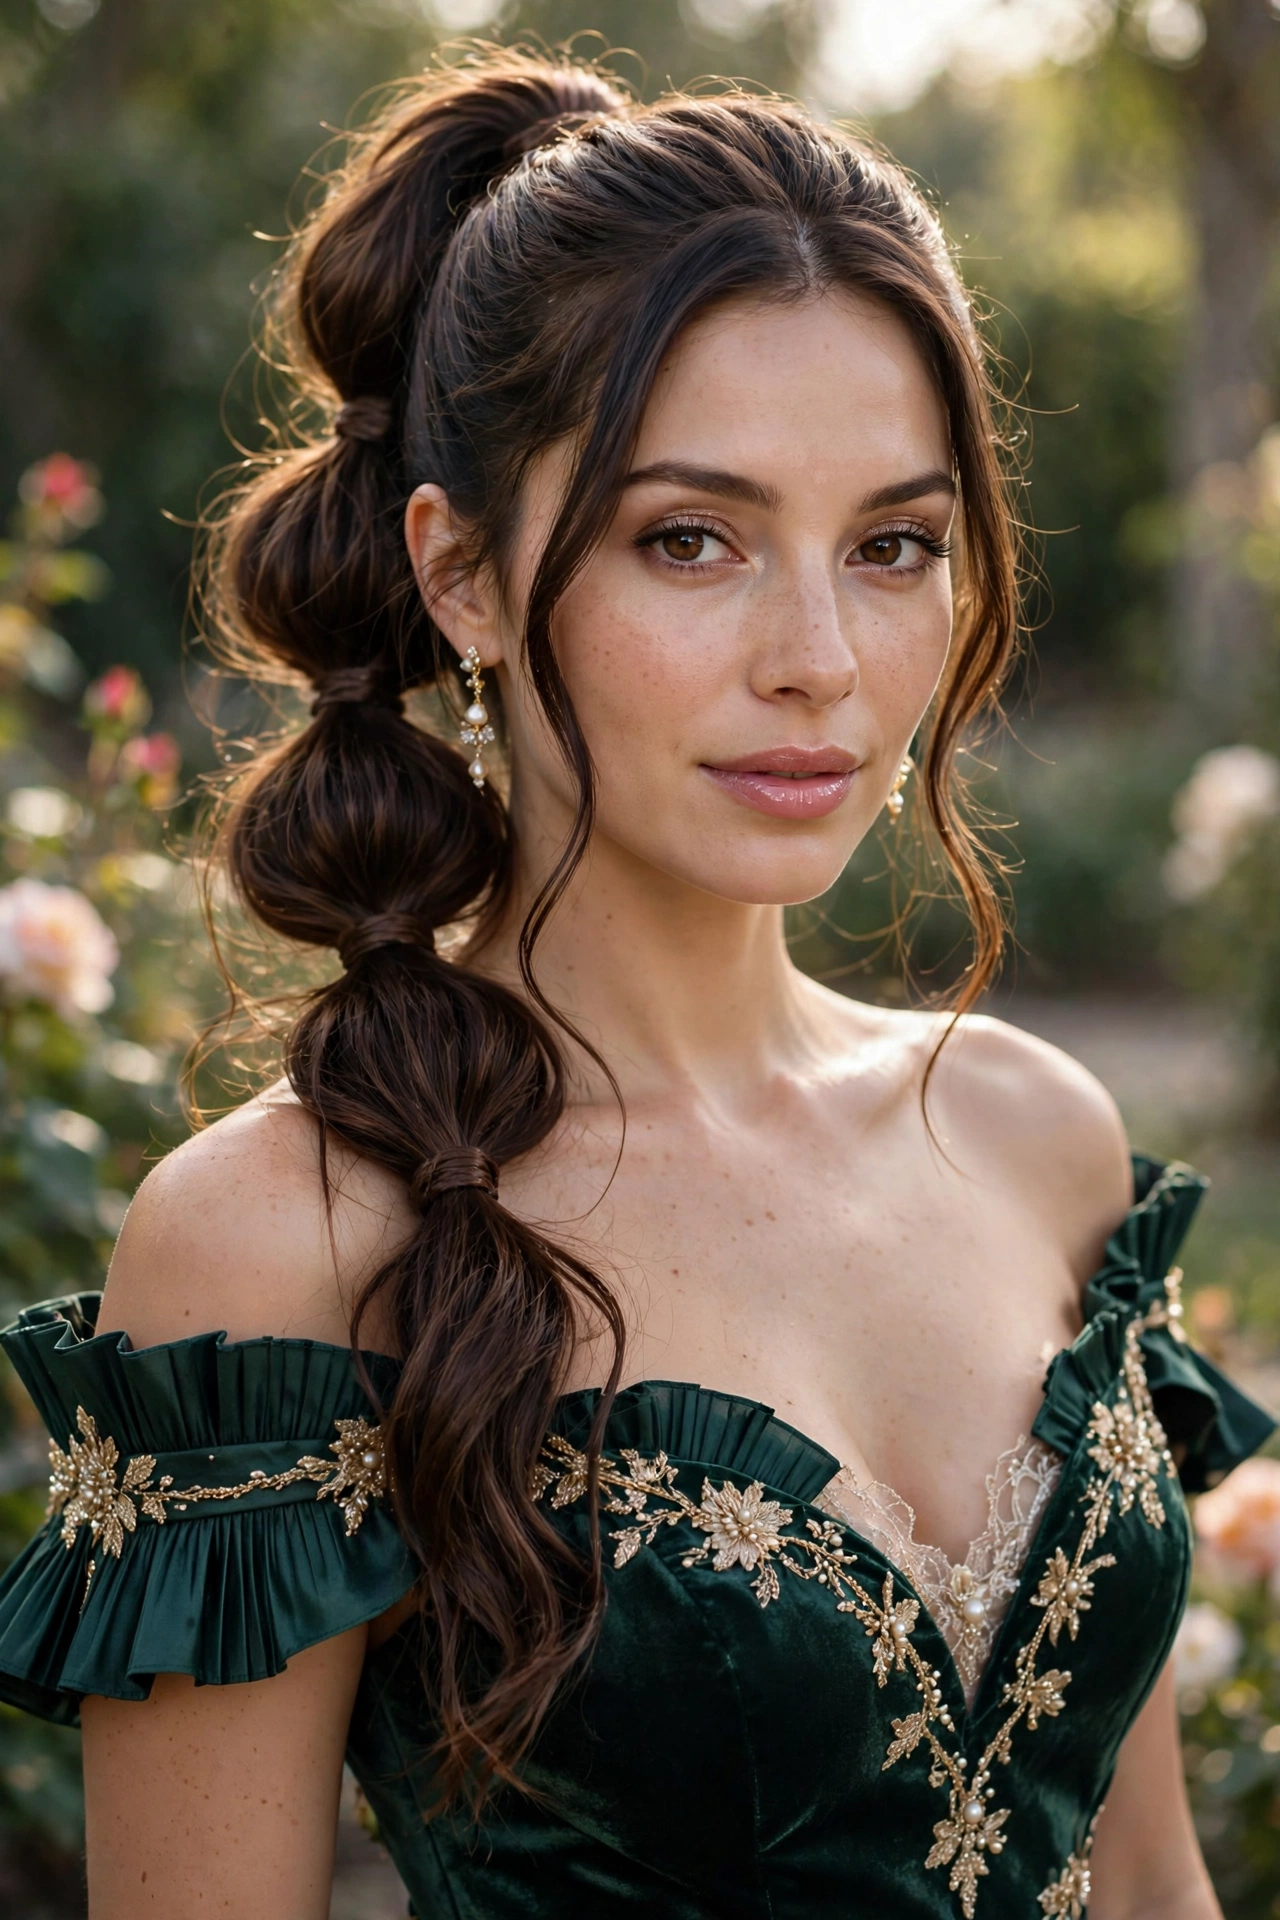
7. The dressy bubble. Smooth the top with a brush and a touch of serum, use clear or hair-coloured elastics, and keep every bubble the same size. Worn with a dressy outfit, drop earrings and a neat lip colour, nobody will guess it took ten minutes.
8. The casual daytime bubble. Skip the perfect smoothing. Let a little natural texture show, use mixed or colourful elastics, and keep the bubbles slightly uneven. It is perfect with jeans, a tee and trainers for errands, markets or a day out.
9. Double bubble pigtails. Split your hair into two ponytails and bubble both sides. It is the most playful option of all, great for festivals, holidays and fun weekends, and long hair makes the double bubbles look wonderfully full.
How to Do a Bubble Ponytail, Step by Step
Start with brushed, completely detangled hair. Knots hidden inside a bubble will show as lumps, so take an extra minute here. If your hair is very silky and slippery, work on second-day hair or add a tiny amount of texturising spray. If it is freshly washed and fluffy, smooth a pea-sized amount of serum through the lengths, keeping it away from the roots.
Step 1: Decide your height and gather your hair into a regular ponytail. Secure it firmly with a strong elastic, but not so tight that it hurts. Wrap a small strand of hair around the base if you want a neater finish, and pin it underneath.
Step 2: Measure about two to three inches down and add your second elastic. Keep the spacing even, because uneven gaps are the main reason bubbles look untidy.
Step 3: Now shape the first bubble. Hold the section gently and pull the hair outward in small movements, a little from each side, until it puffs into a rounded shape. Do not yank one big piece out, or you will get a point instead of a bubble.
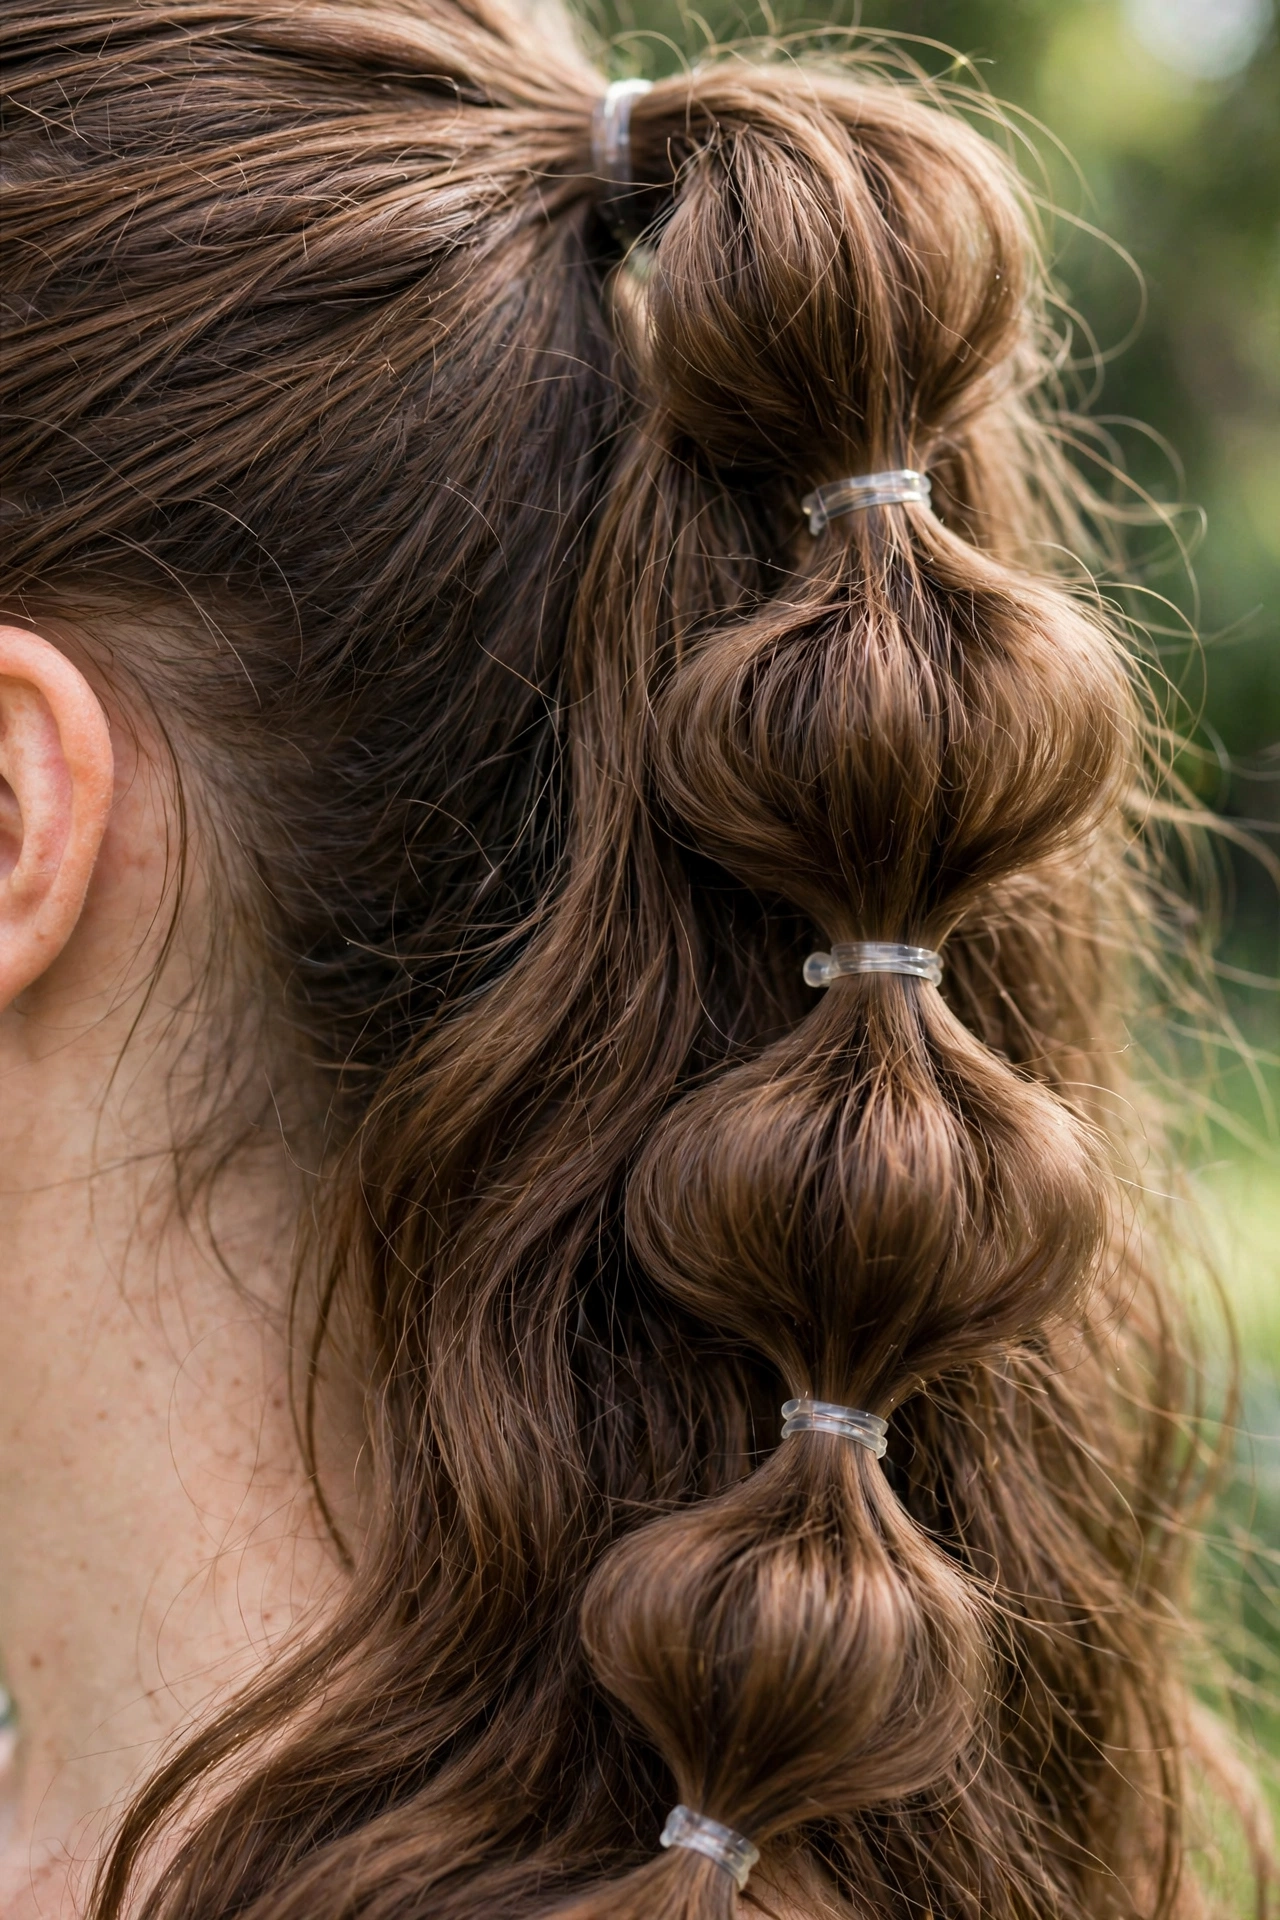
Step 4: Repeat down the length of the ponytail, adding an elastic, then shaping the bubble above it before you move on. Shaping as you go is much easier than trying to fix every section at the end.
Step 5: Check both sides in a mirror, adjust any bubble that looks smaller than the others, and finish with a light mist of flexible-hold hairspray if you need it. Leave the last two inches of ends free so the ponytail still moves naturally.
Making It Work for Your Hair Type, Plus Tools Worth Buying
Thick hair makes full bubbles with little effort, but needs stronger elastics and wider spacing so sections do not look crowded. Fine hair needs smaller gaps, gentler pulling, and dry shampoo or texture spray at the start so bubbles hold instead of sliding flat. Wavy and curly hair looks beautiful too: work with your natural texture, use wider spacing, and shape each bubble with your fingers. If your hair is very long and heavy, a low or mid-height base will feel comfortable much longer.
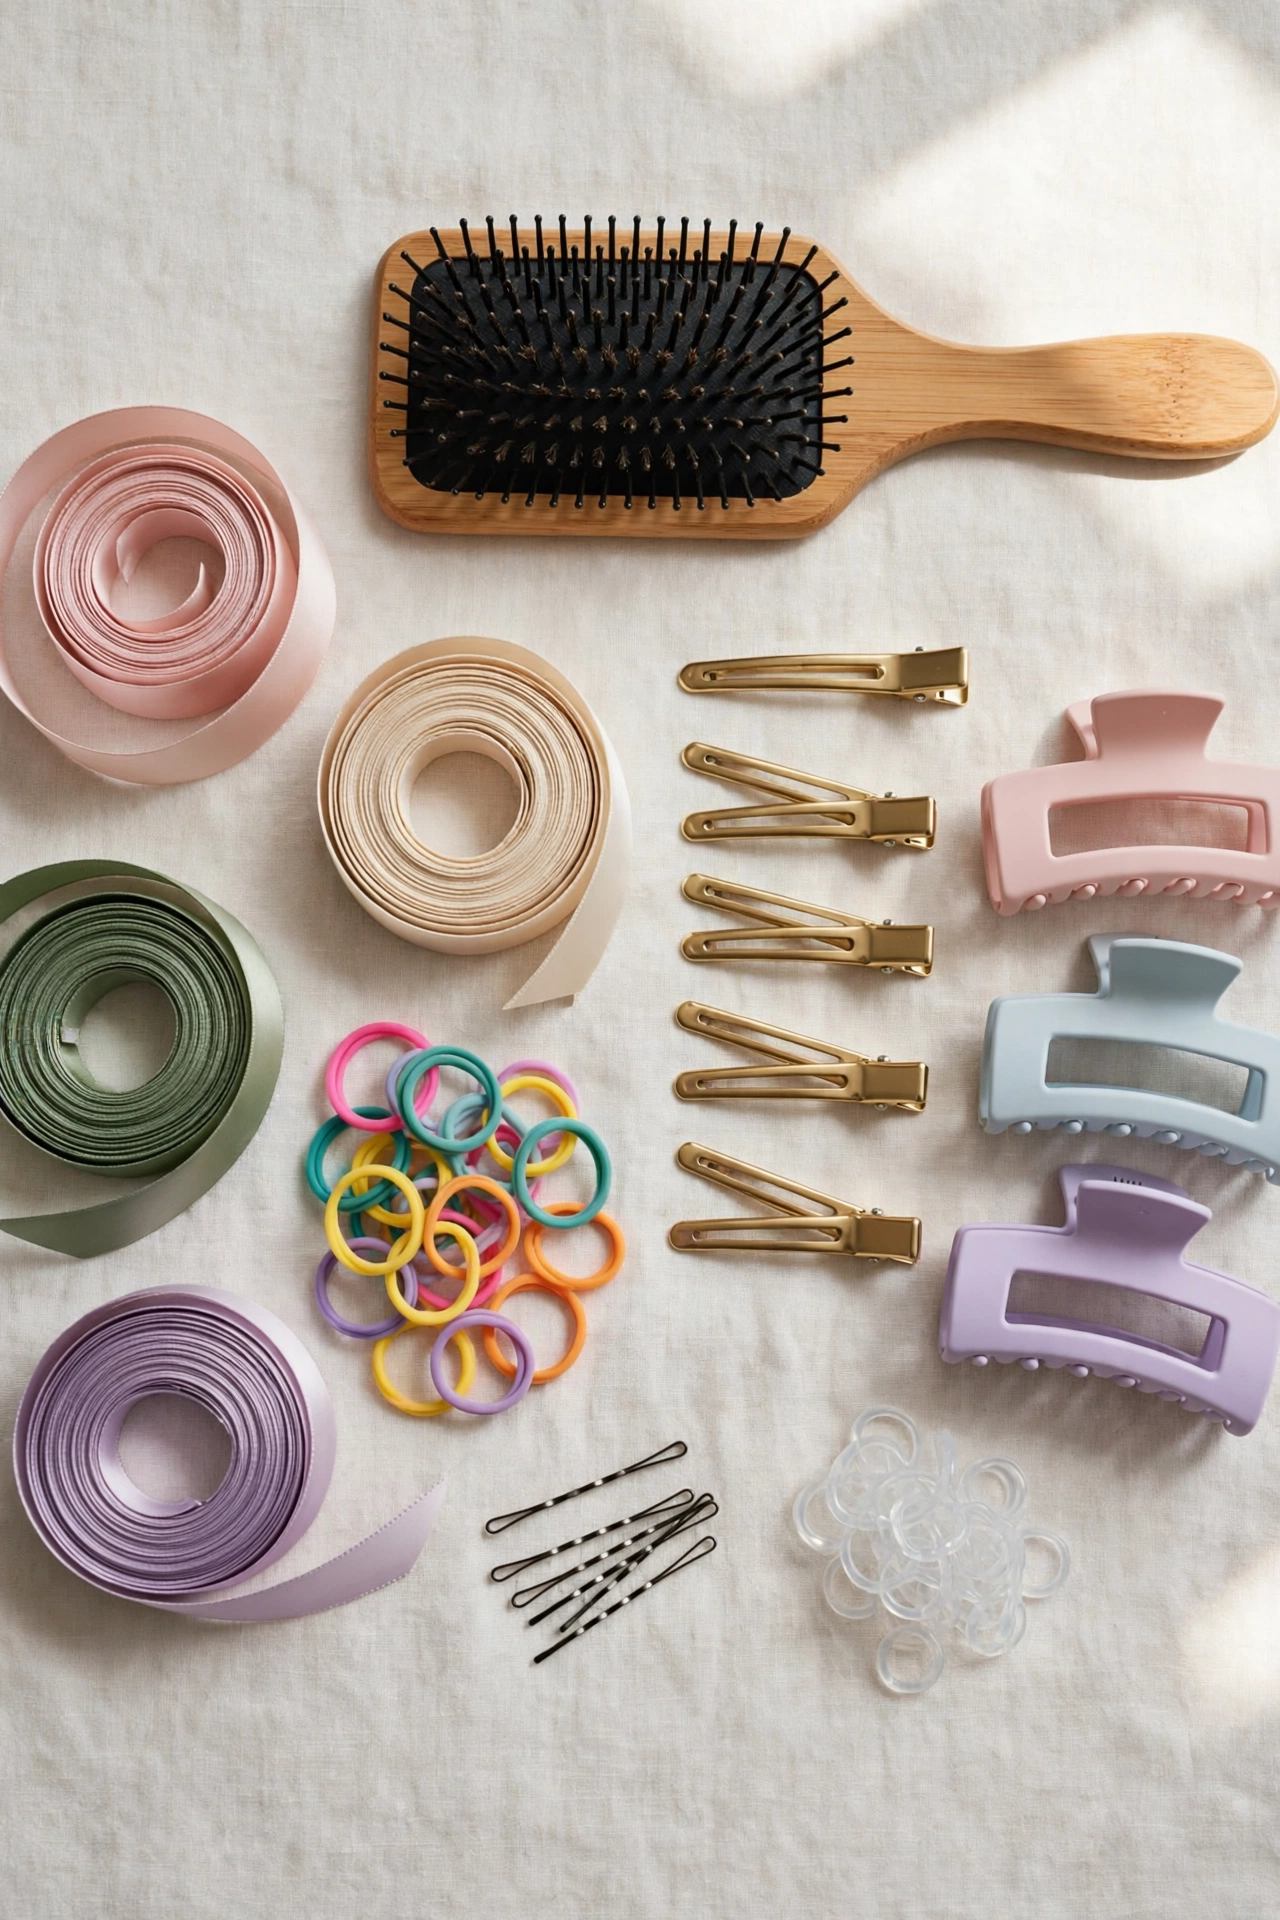
You do not need much, and please do not spend a lot. A pack of soft, no-snag small elastics is the only real essential. Clear ones disappear in the hair, coloured ones blend or become part of the look. Add one strong elastic for the base, a detangling brush, a tail comb for neat spacing, and a few ribbons. Optional extras are dry shampoo for grip, light serum for frizz, and flexible hairspray. A set like this costs very little and lasts for months.
Care, Comfort and Taking It Down Without Damage
Comfort is a good guide. If you feel pulling at one spot, that elastic is too tight or the bubble has been pulled unevenly, so loosen and reshape it rather than putting up with it. Try not to wear any tight ponytail in exactly the same position every single day, because repeated tension in one place can weaken hair over time. Rotating between high, low and side versions is an easy way to protect it.
When you take it down, never drag elastics out along your hair. Snip small elastics carefully with little scissors, away from the hair itself, or slide reusable ones off from the bottom up. Then brush gently from the ends upward. If your hair feels dry, a little leave-in conditioner before bed helps. Take it down at night too — both your hair and scalp will be happier.
Common Mistakes That Make Bubbles Look Flat or Messy
The most common mistake is spacing the elastics randomly. Measure roughly with your fingers as you go and the whole ponytail instantly looks more professional. The second is pulling too hard when shaping, which creates thin, pointy sections and can snap fine strands. Small, gentle pulls from several points always work better. Third, people often shape all the bubbles only at the end, when the hair has already settled and tangled around the elastics. Shape each one as you create it.
Using the wrong elastics matters too. Thin rubber bands snag, snap and damage hair, while soft fabric-covered or spiral elastics hold kindly. Finally, starting with tangled or very dirty hair rarely ends well. This style shows texture honestly, so clean, brushed hair with a little grip is the sweet spot. Get those basics right and the style is honestly hard to ruin.
Frequently Asked Questions
How long does my hair need to be for a bubble ponytail? Shoulder-length hair can manage two or three small bubbles, but long hair really shines because you can fit four to six sections. The longer the ponytail, the rounder and more dramatic the bubbles can be. If your hair is layered, tuck shorter pieces in with a little serum or an extra elastic.
Will a bubble ponytail damage my hair? Done gently, it is one of the kinder styles. Use soft, snag-free elastics, avoid pulling sections too tight, and remove everything carefully instead of dragging elastics out. Give your hair regular breaks from tight styles and it should stay healthy.
How do I stop the bubbles going flat on fine hair? Start with dry shampoo or texture spray for grip, use slightly closer spacing, and shape each bubble right after adding its elastic. A light mist of hairspray between sections helps too. Smaller bubbles hold their shape far better on fine hair than big ones.
Can I wear a bubble ponytail to a formal event? Yes, absolutely. Keep the top smooth, use clear or matching elastics, make the bubbles even, and pair it with a dressy outfit and earrings. It reads as polished and intentional, especially on long hair, and it stays neat through hours of dancing or photos.
How long does the style take and how long does it last? Most people need about ten minutes once they have practised twice. It usually lasts a full day comfortably, and on wavy or curly hair it can still look pretty the next morning after a quick reshape of the top bubbles.
A Style That Makes Ordinary Days Feel Brighter
What I love most is that this style asks so little and gives so much back. A few elastics, ten quiet minutes, and long hair that might otherwise hang in a plain ponytail suddenly looks cheerful, neat and full of movement. Try the classic high version first, then play with a ribbon, a low base or the dressy finish until you find the one that feels most like you.