Some manicures get compliments, and some start conversations. A sunset gradient – coral melting into pink, pink into purple, with a touch of gold where the sun would dip – is firmly the second kind. I first wore it for a beach holiday, expecting to change it the week I got home. Two months later I was still re-doing versions of it, because it goes with every warm colour in my wardrobe and makes even a plain white dress look like an occasion.
The good news is that the sunset fade is far easier than it looks. This guide walks through nine warm ways to wear it, from the bold full sunset to a soft pastel version for work, the exact sponge method I use at home, and the small tricks that keep the blend smooth instead of stripy.
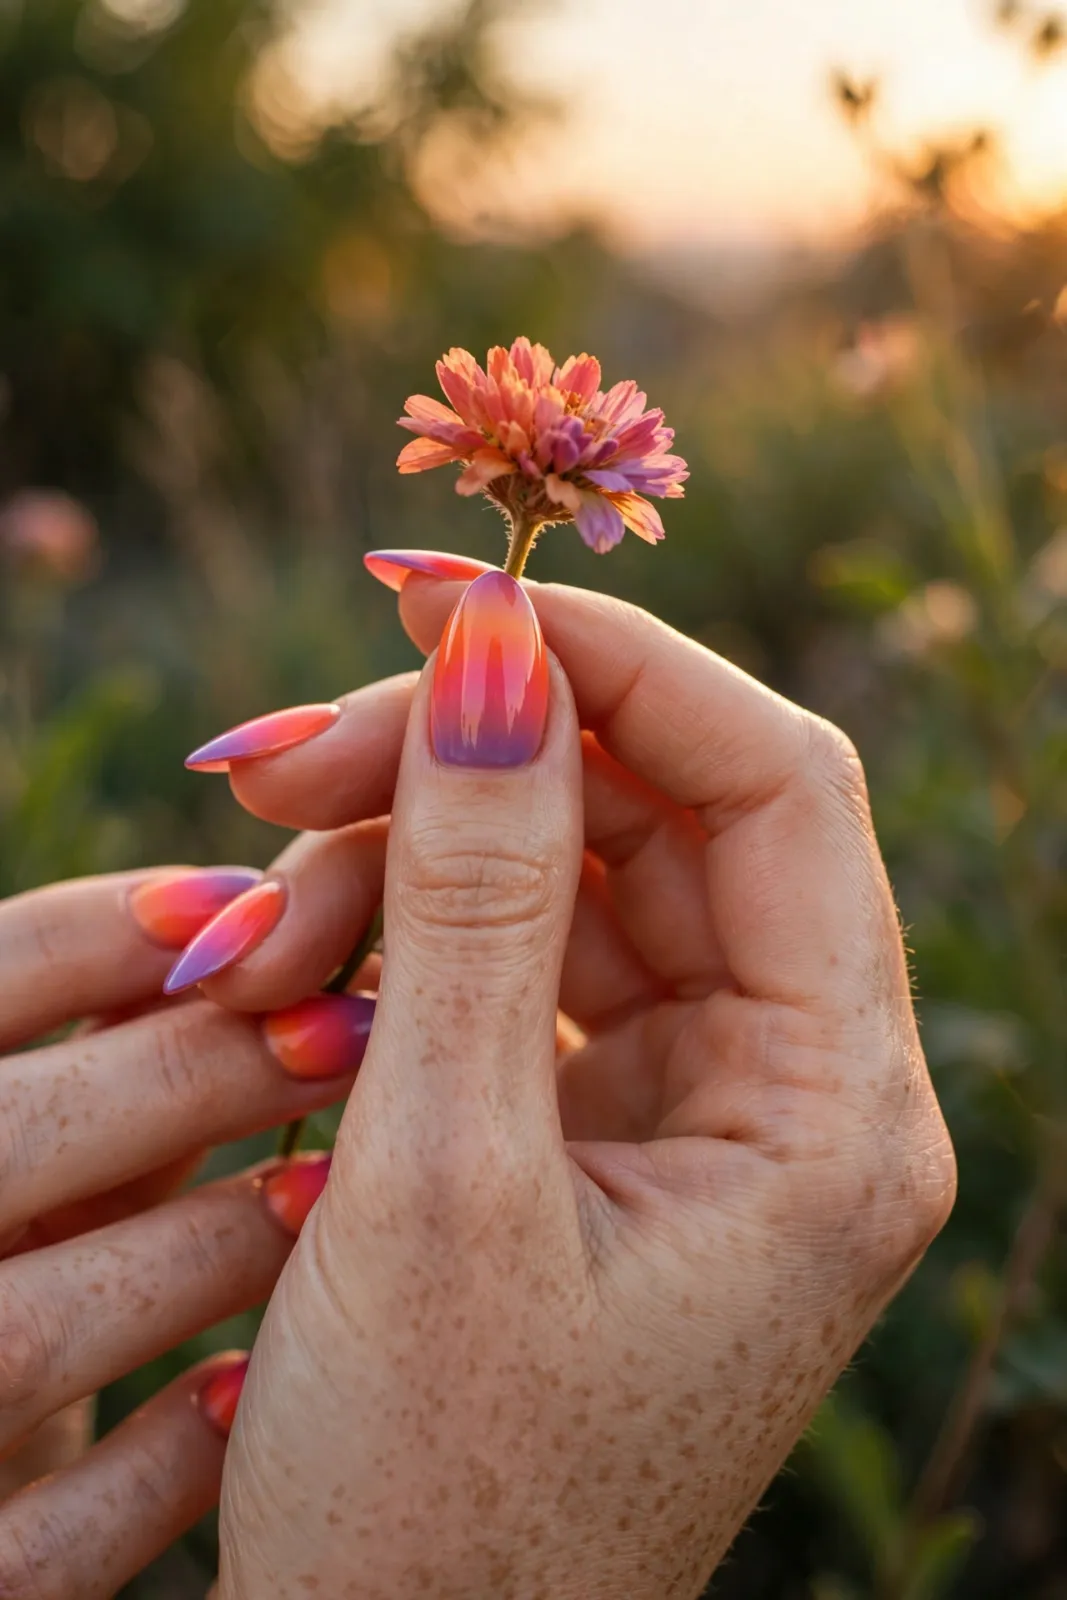
1. The Classic Full Sunset on Almond Nails
The classic version runs the whole sky across each nail: deep purple or plum at the cuticle, through magenta and coral, finishing in warm orange or gold at the tip. On almond nails the gradient has room to breathe – the longer nail bed shows each colour band clearly, and the pointed-oval tip mimics the last sliver of sun beautifully.
This is the version for holidays, festivals and any week that needs brightening. It pairs best with simple outfits in white, denim or one of its own colours pulled out as a dress – a coral sundress with sunset nails is a lot of joyful colour, worn deliberately. Keep rings simple and gold; the nails are the artwork here.

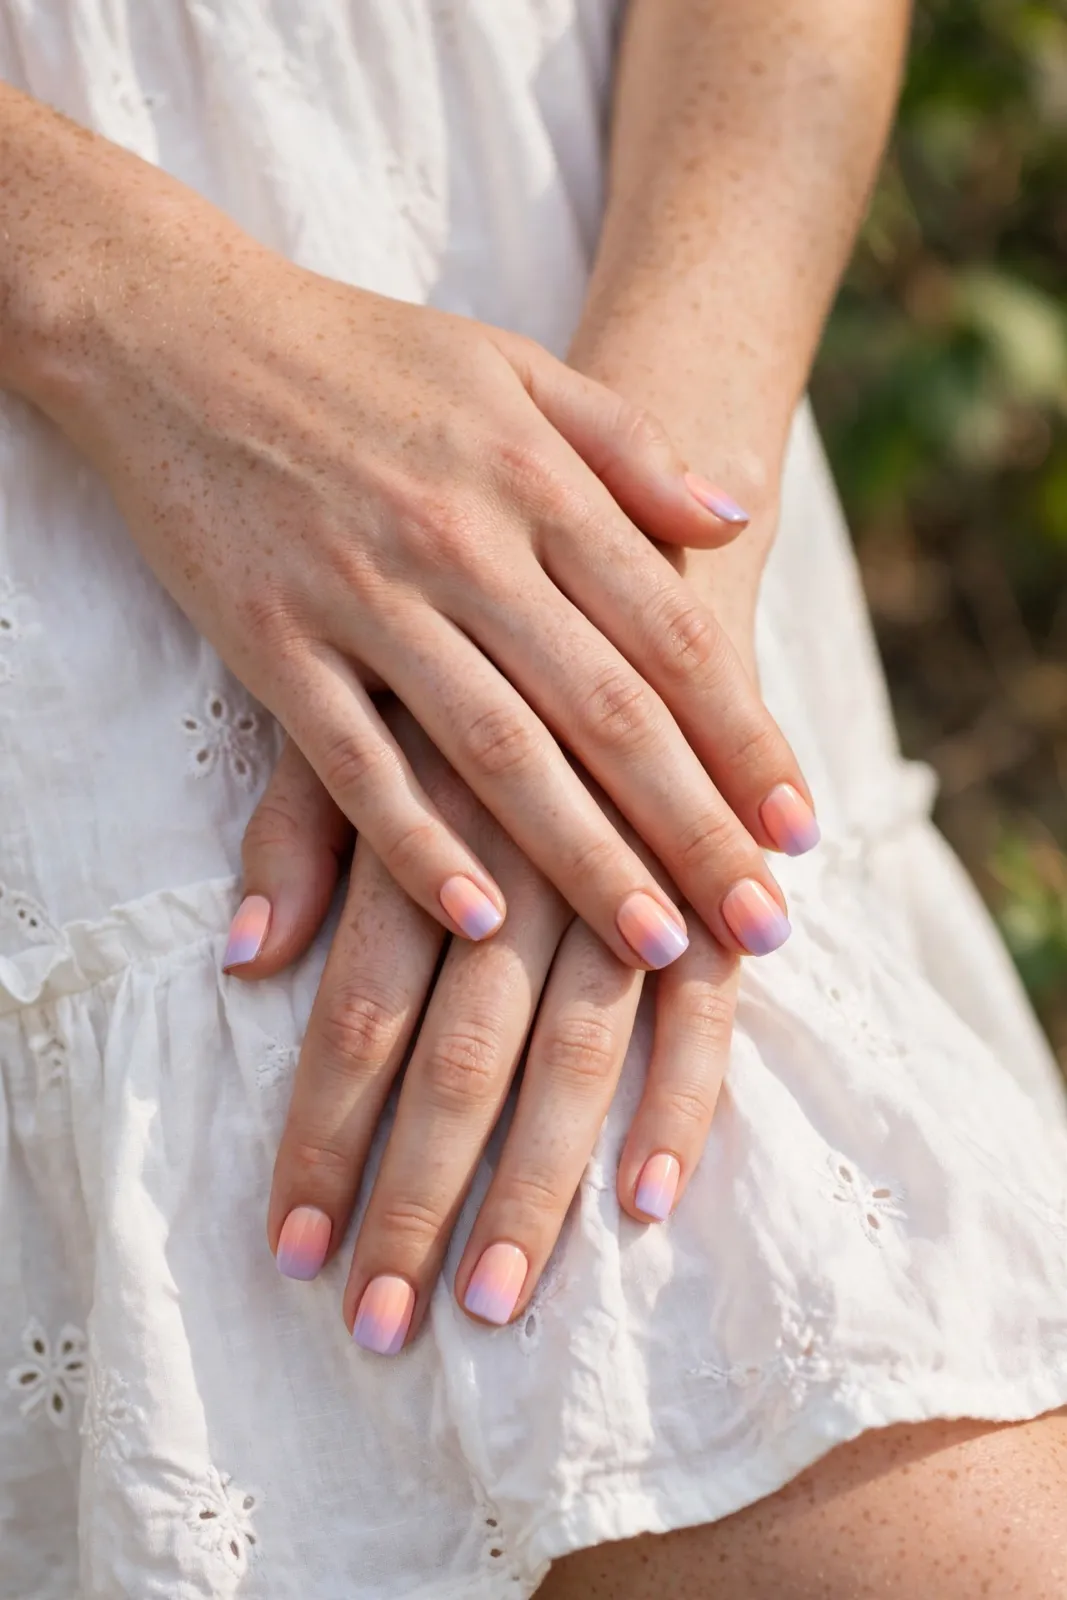
2. The Soft Pastel Sunset for Everyday
If the full sunset feels too bold for your office or your taste, the pastel version is its gentle sister: peach at the base, soft pink in the middle, lavender at the tips, all in milky, muted tones. On short square nails it reads as a pretty tinted manicure from a distance and only reveals its gradient up close – which is exactly the charm of it.
Pastel gradients are also more forgiving to apply, because the colours are closer in strength and small imperfections in the blend disappear under a glossy top coat. This is the version I recommend for a first attempt, and the one that survives a working week of typing, cooking and gardening with the least visible wear.
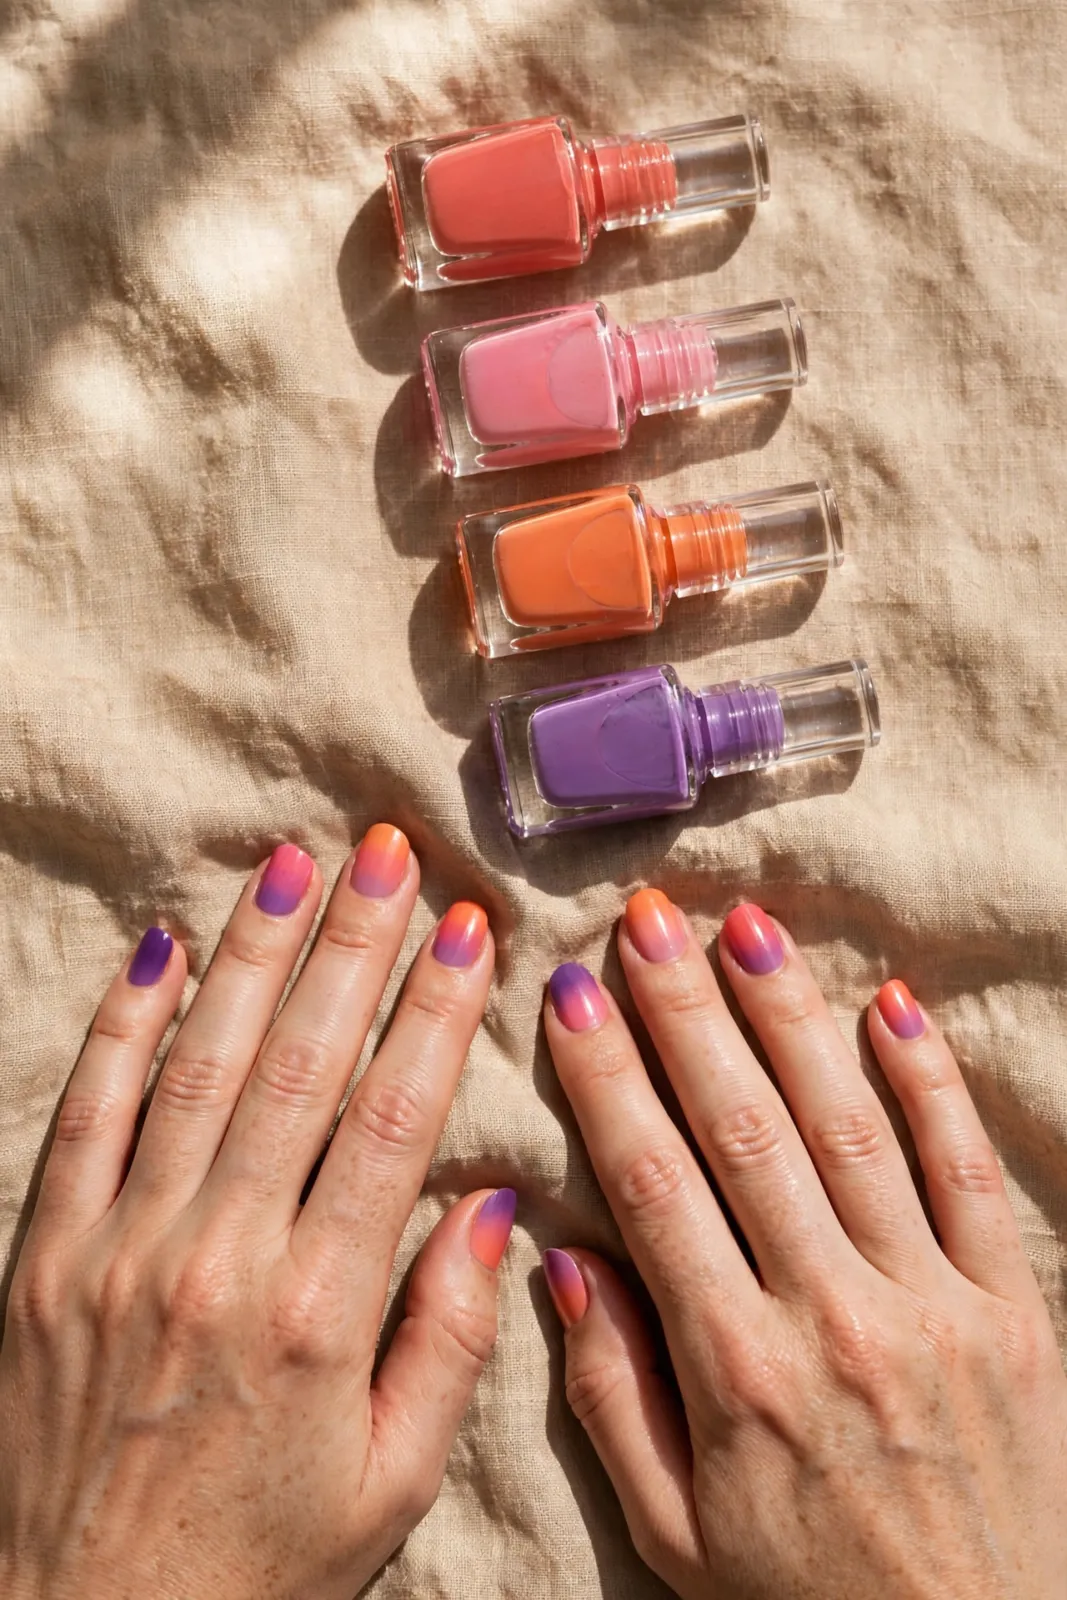
3. The Reversed Sunset: Dark Tips, Light Base
Reversing the gradient – pale peach or soft pink at the cuticle fading into deep purple and burnt orange at the tips – gives a moodier, more evening effect. It looks particularly striking on longer nails, and it has a practical advantage: tip wear and tiny chips show far less against dark tips than against pale ones.
A reversed sunset with a matte top coat is a genuinely sophisticated look, closer to nail art in a gallery than a beach souvenir. Try it with black or deep plum outfits in autumn, when the classic bright version starts to feel out of season. The gradient technique stays exactly the same – only the order of the stripes on your sponge changes.
4. Adding Gold: The Sun Itself
A fine line or a small wash of gold where two colours meet turns a gradient into a sunset scene. The easiest version is a thin gold glitter stripe at the point where coral meets pink, applied with a striping brush once the gradient is dry. It catches the light exactly where the sun would sit on the horizon and hides the busiest part of the blend at the same time.
For a softer effect, sponge a whisper of gold shimmer over the middle third of the nail before your top coat, rather than a hard line. Keep gold to an accent – one stripe, or shimmer on the ring fingers only – because a fully glittered sunset tips from beautiful into fancy dress very quickly.

5. Sunset French and Negative Space Versions
A gradient French manicure keeps the nail base natural or milky and runs the sunset fade only across the tips. It grows out gracefully, suits shorter nails, and is the version most likely to be allowed in stricter workplaces, because most of the nail stays quiet. Paint the gradient on the sponge as usual, then press only the tip area of the sponge to the nail.
Negative-space versions leave a bare stripe or a clean half-moon at the cuticle, using tape or a steady hand. They look modern and deliberate, and they buy you extra days: because the base is bare, regrowth at the cuticle is nearly invisible. These are the versions nail artists charge extra for, and they are no harder at home than the full gradient.
6. Matching Your Sunset to Your Skin Tone and Wardrobe
The sunset palette flatters almost everyone, but the proportions matter. Warmer skin tones glow with the coral, orange and gold end of the spectrum, so let those colours take more of the nail. Cooler skin tones shine with pink, magenta and purple, so weight the gradient that way and use coral as the accent instead.
Look at your wardrobe before you mix your polishes. If you live in white, denim and neutrals, go bold – your nails will be the colour in most outfits. If you already wear a lot of warm colour, the pastel version will sit more harmoniously. There is no wrong answer, only a version that will make you smile every time you look at your hands, which is rather the point.
How to Do a Sunset Gradient at Home, Step by Step
The sponge method is the reliable route to a smooth fade. Give yourself forty unhurried minutes the first time; by the third attempt it takes twenty.
- Shape and prep: file to your chosen shape, push cuticles back gently, and apply a base coat – never skip it under strong colours.
- Paint the whole nail with your lightest colour (pale peach or soft pink) and let it dry fully; this base makes the gradient glow.
- On a makeup sponge, paint three horizontal stripes – purple, then coral or magenta, then orange – slightly overlapping each other.
- Dab the sponge onto the nail with light bouncing presses, reloading polish for each nail, until the colours melt with no hard lines.
- Repeat the sponge layer once more for depth, then clean the skin around the nail with a small brush dipped in remover.
- Add any gold detail now, while you can still see exactly where the colour bands meet.
- Seal with a generous glossy top coat – this final step is what truly blends the gradient and makes it look airbrushed.
- Re-apply top coat on day three to refresh the shine and extend the manicure’s life.
Making the Manicure Last, and Buying Advice
A gradient manicure lives or dies by its top coat, because the sponged layers are thin and porous compared with ordinary polish. Use a proper glossy top coat, cap the free edge of each nail by running the brush along the tip, and wear gloves for washing up – hot water and detergents are the fastest route to a dull, chipped sunset. With that care, expect five to seven good days from home polish, and two weeks or more from a gel version.
When buying polishes for gradients, choose creme formulas in the same brand where possible: they blend at similar speeds and sit happily together. You need only four colours – a purple, a pink or magenta, a coral or orange, and a pale base – plus white, which can soften any band that looks too strong. A pack of cosmetic sponges costs very little and matters more to the result than any expensive tool.
Common Mistakes to Avoid
The most common mistake is pressing the sponge too hard, which stamps stripes instead of blending them. Light, bouncing dabs – and patience for a second layer – are what create the fade. The second mistake is skipping the light base colour: gradient stripes painted straight onto a bare nail look muddy, because the nail’s natural tone greys every colour placed over it.
People also rush the clean-up and the top coat. Ragged polish left on the skin makes even a beautiful gradient look homemade, and a thin or skipped top coat leaves the sponge texture visible. Finally, do not pick colours that are too close together – a sunset needs contrast, at least one deep shade against the brights, or the whole effect washes out.
Frequently Asked Questions
Can I do a sunset gradient on short nails?
Yes – use fewer, wider colour bands so each colour still shows, or try the pastel version, which is designed for shorter nails. A gradient French, with the fade only on the tips, is another lovely short-nail option. Almond shaping, even at a short length, gives the gradient the most room.
What if my gradient looks stripy instead of blended?
Almost always, the sponge was pressed too hard or the polish had started to dry on it. Reload fresh polish for every nail, dab lightly and repeatedly rather than pressing, and apply a second sponged layer. A generous glossy top coat then does the final blending for you – it fixes most stripe problems.
How long does a sunset gradient manicure last?
With base and top coat and normal care, home polish lasts five to seven days before tip wear shows. Gel versions last two to three weeks. Dark-tip reversed gradients hide wear longest, and re-applying top coat mid-way through noticeably extends any version.
Do I need special tools for gradient nails?
No – a makeup sponge, four creme polishes, a small brush for clean-up and a good top coat are the whole kit. Striping brushes and nail tape are optional extras for the gold-line and negative-space versions. Everything on that list is inexpensive and reusable across many manicures.
Which colours do I need for a sunset gradient?
Four is the classic set: a deep purple or plum, a magenta or strong pink, a coral or orange, and a pale peach or soft pink for the base. A gold glitter is the optional fifth for the sun detail. Stick to creme finishes for the main bands so the blend stays smooth.
Final Thoughts
A sunset gradient manicure asks for half an hour and a makeup sponge, and gives back a week of small, bright moments every time your hands catch the light. Start with the soft pastel version if you are new to gradients, save the full coral-to-purple sky for your next holiday, and remember that the top coat is where the magic settles. Your hands carry the sunset now – no beach required.