Side Braid Crown Plait: 9 Romantic Ways to Wear a Side Crown Braid for Long Hair
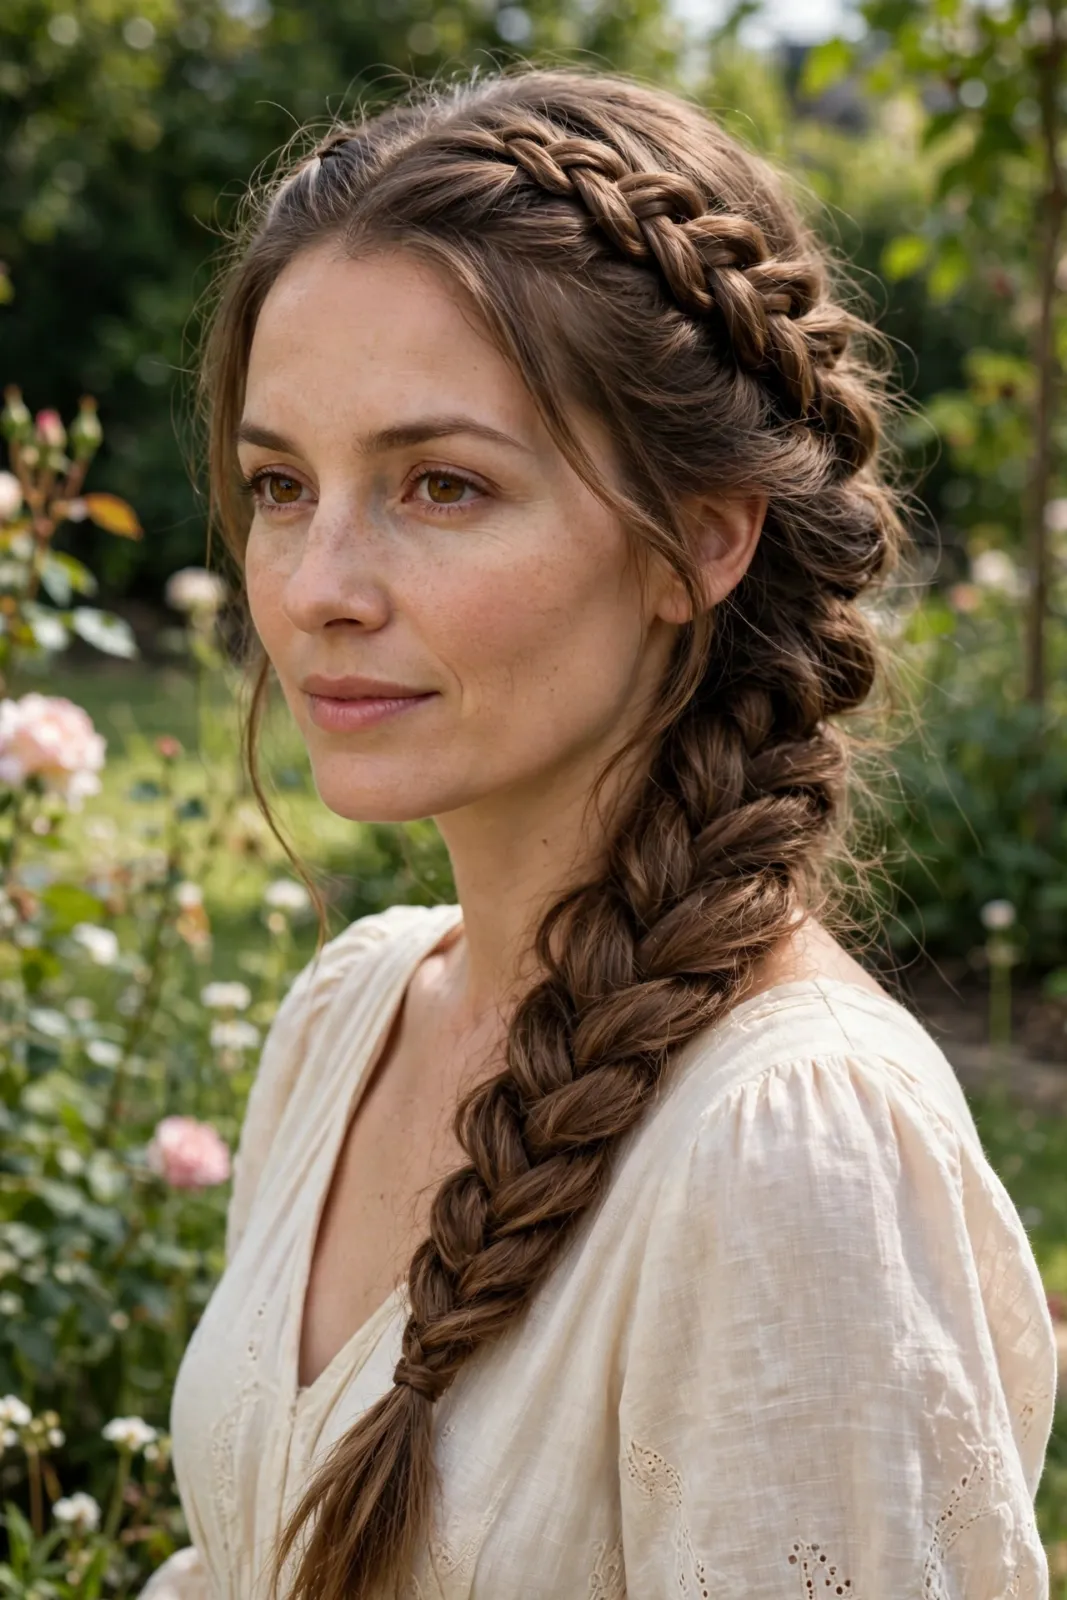
There are hairstyles that fight your hair, and hairstyles that work with it. The side braid crown plait belongs firmly to the second group. One braid begins at the deeper side of your parting, travels along the hairline like a headband you grew yourself, and finishes in a soft plait over one shoulder. It looks intricate — people will ask who did it for you — yet it is a single three-strand braid with a simple trick to it, and long hair does most of the work for you.
I learned this style for a garden wedding, expecting to practise for a week. It took two attempts: one to understand the direction of travel, and one to realise that slightly messy is not a failure, it is the whole point. Here are nine romantic ways to wear it, a clear step-by-step for the braid itself, advice for different hair types, and the mistakes that make crown braids slip or look severe.
Why the Side Crown Suits Long Hair So Well
A full crown braid that circles the whole head needs serious length and serious patience. The side version asks much less. It uses the front section of hair for the crown effect — the part everyone actually sees — and lets the rest of the length fall into one long side plait, which is exactly what long hair does best. The result reads as a complete, deliberate style rather than a compromise.
It is also a kind style. There is no backcombing, no heat, and no tight pulling at the hairline if you braid it properly. The weight of the hair is spread along the braid instead of hanging from one elastic, so it stays comfortable from morning to evening, which is why it has become a quiet favourite for weddings, garden parties and long summer days.
9 Romantic Ways to Wear a Side Braid Crown Plait
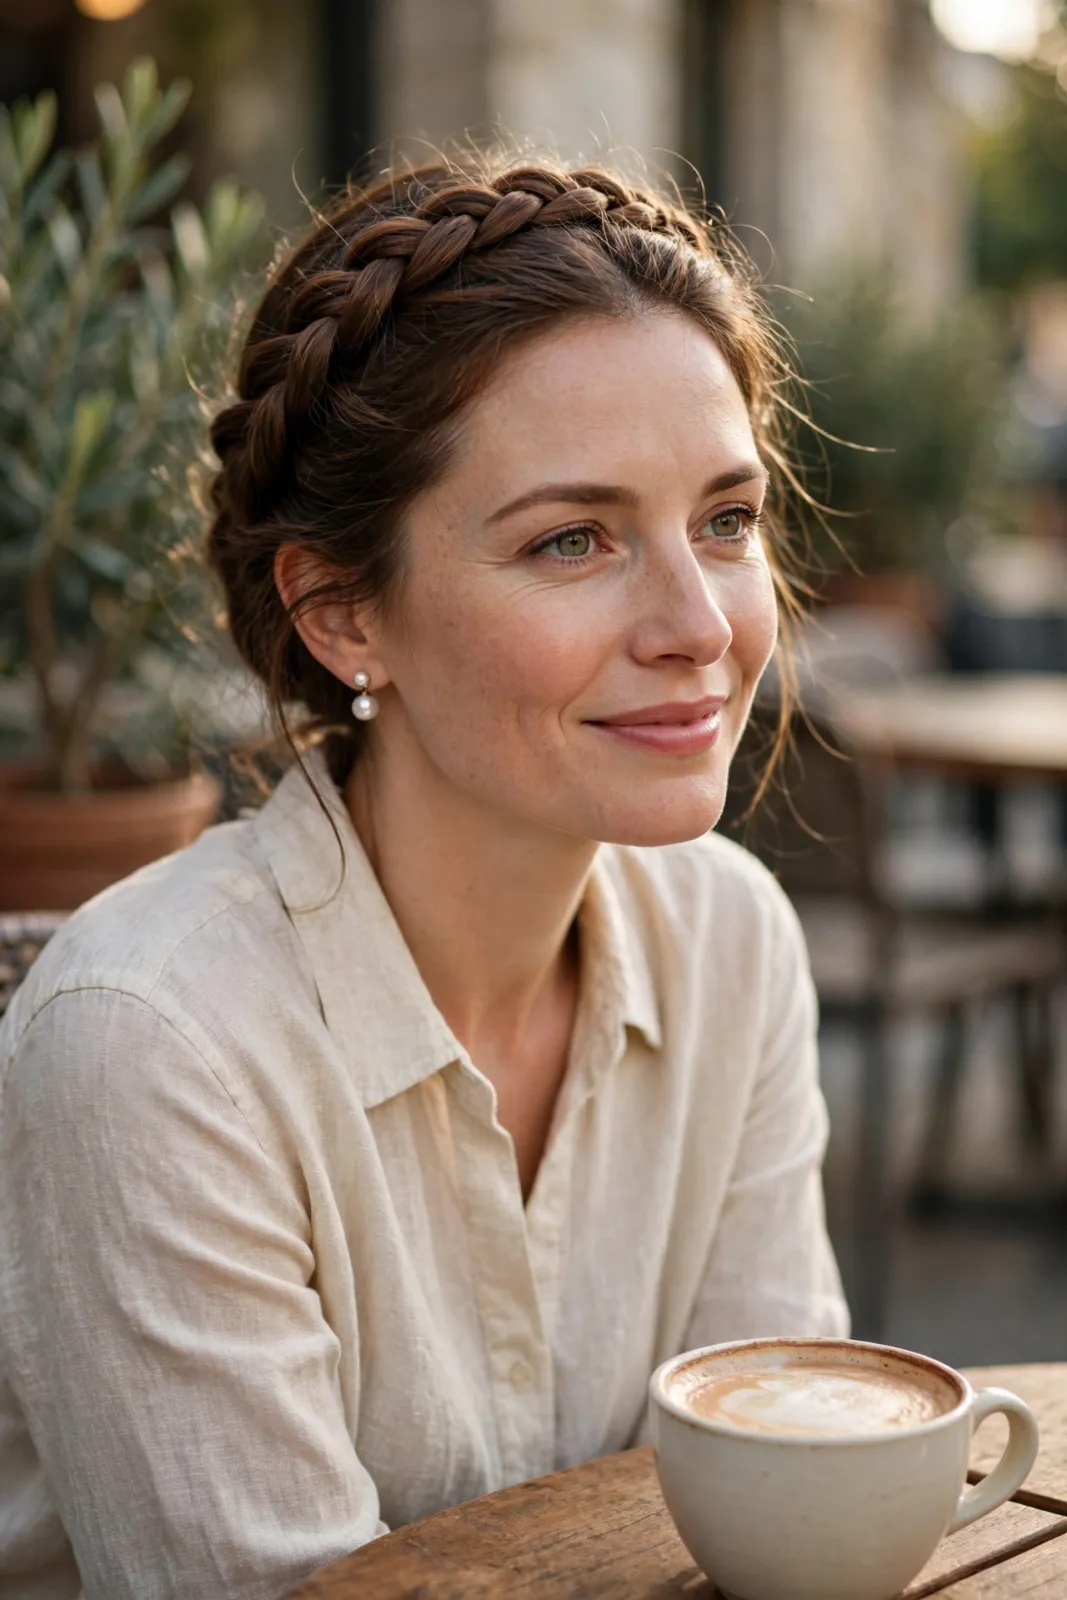
1. The classic garden look. Crown braid across the front, plait finished over the shoulder, a couple of strands loosened at the front to soften the hairline. With a cream or floral dress, this is the version that never dates.
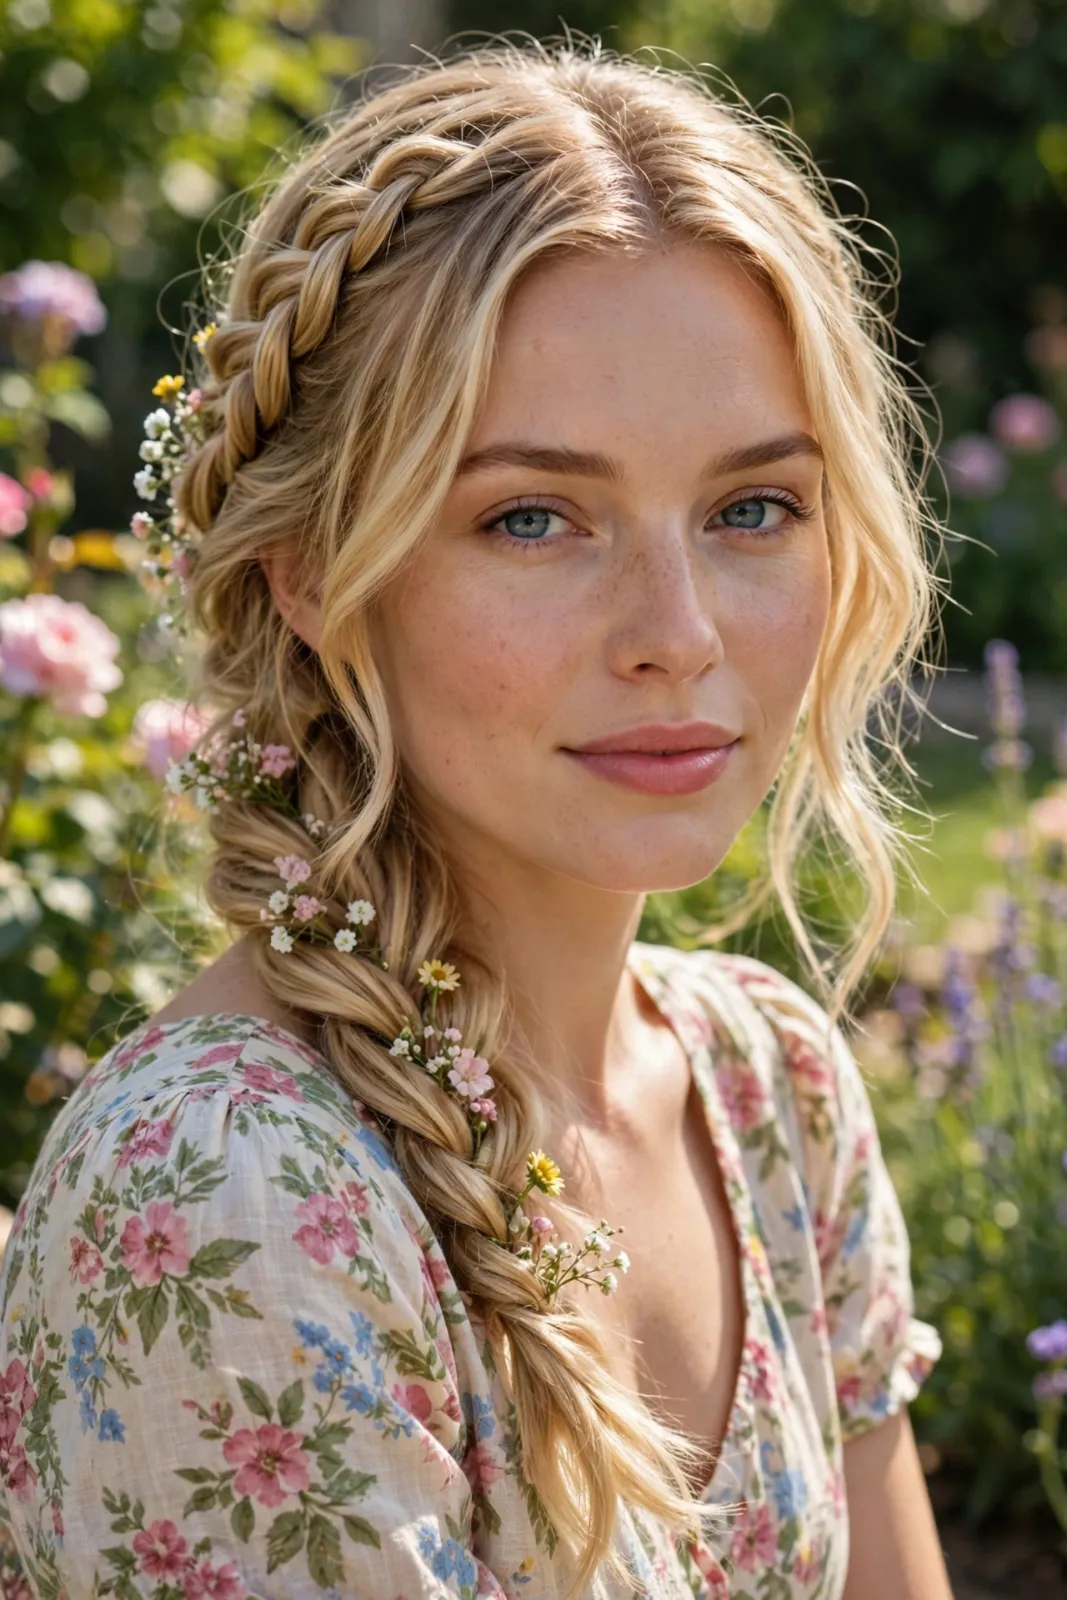
2. With fresh flowers tucked in. Small blooms — gypsophila, tiny roses, lavender — pinned along the braid turn the style into something truly special for a wedding or a christening. Add the flowers after braiding, never before.
3. The loose, undone version. Braid normally, then gently pull each loop of the plait outward to fatten it. This pancaked braid looks twice as thick and wonderfully soft, and it is far more forgiving of uneven tension.
4. With the ends wrapped and pinned. Instead of wearing the plait down, wrap its end back up and pin it behind the ear. The crown then appears to circle the head, and shorter long hair can borrow the trick too.
5. Paired with pearl pins. Three or four pearl slides placed along the braid catch the light as you move. Beautiful for evening events where flowers would feel too daytime.
6. The deep-side-part drama. Start the braid from a deep side parting so the crown sweeps diagonally. The asymmetry is striking, and the fuller side gives the braid more hair to work with.
7. With soft waves underneath. If you finish the plait higher and leave the remaining hair loose in waves, the crown becomes a braided headband over flowing hair — a lovely half-up compromise for very thick hair.
8. The festival version. A silk ribbon woven through the plait, or a ribbon tied at its end, adds colour and keeps the style playful. Choose the ribbon after the outfit, not before.
9. The polished evening version. Smooth hair, a tight neat braid, ends tucked and pinned invisibly, finished with shine spray. Same technique, completely different mood — this is the one for a formal dinner.
How to Braid a Side Crown Plait: Step by Step
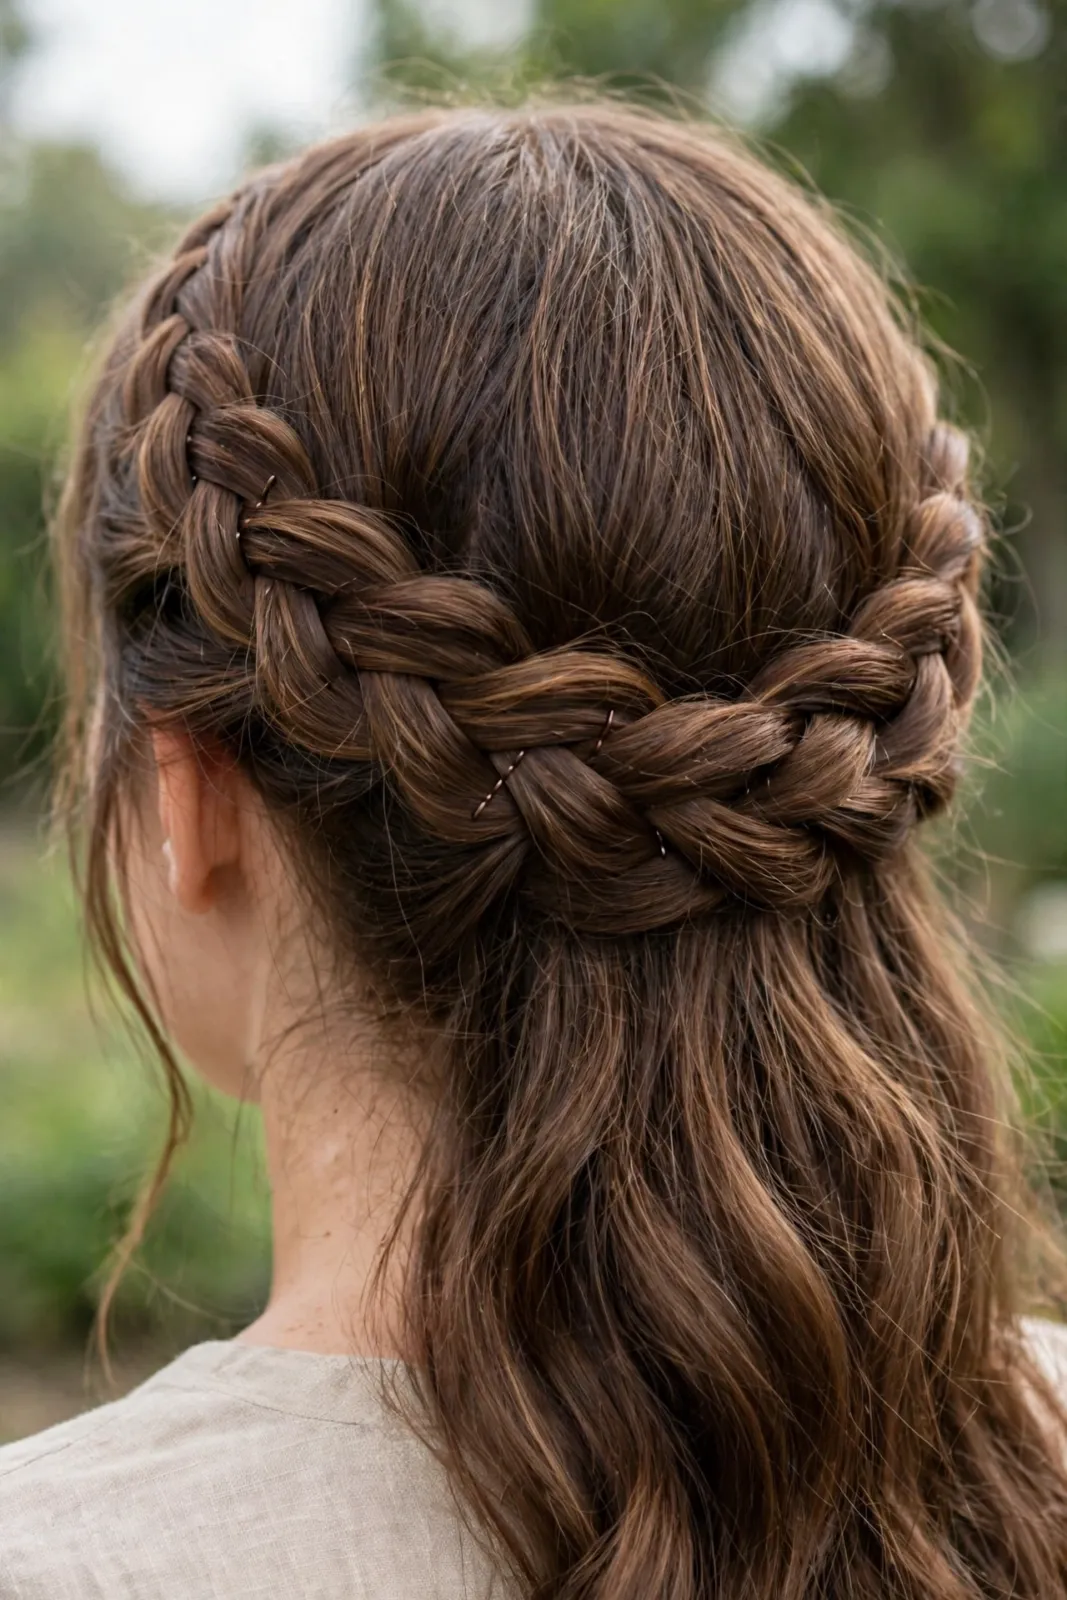
Step 1: Brush the hair smooth and make a side parting above the arch of one eyebrow. Work on hair that is clean but not freshly washed if you can — second-day hair grips far better. Step 2: Take a wide section at the front hairline on the heavier side of the parting and split it into three. Step 3: Begin a Dutch braid — crossing the strands under rather than over — so the braid sits proudly on top of the hair instead of sinking into it. Step 4: As you travel along the hairline toward the ear, add hair only from the front side of the braid. This one-sided feeding is the trick: the crown hugs the hairline while the bulk of the hair stays free. Step 5: At the ear, stop adding hair and continue as a normal three-strand plait down the remaining length, guiding it to rest over the front of that shoulder. Step 6: Secure with a small clear elastic, then soften: ease the front loops slightly, pull one or two face-framing strands free, and set with a light mist of hairspray from a distance.
If your braid keeps sliding backward off the hairline, the fix is in Step 4. Feed in hair from closer to the face, and braid snugly at the start — the first three crosses set the position of everything that follows. A single grip pin crossed behind the ear, hidden under the plait, anchors the whole style on fine hair.
Making It Work for Your Hair Type
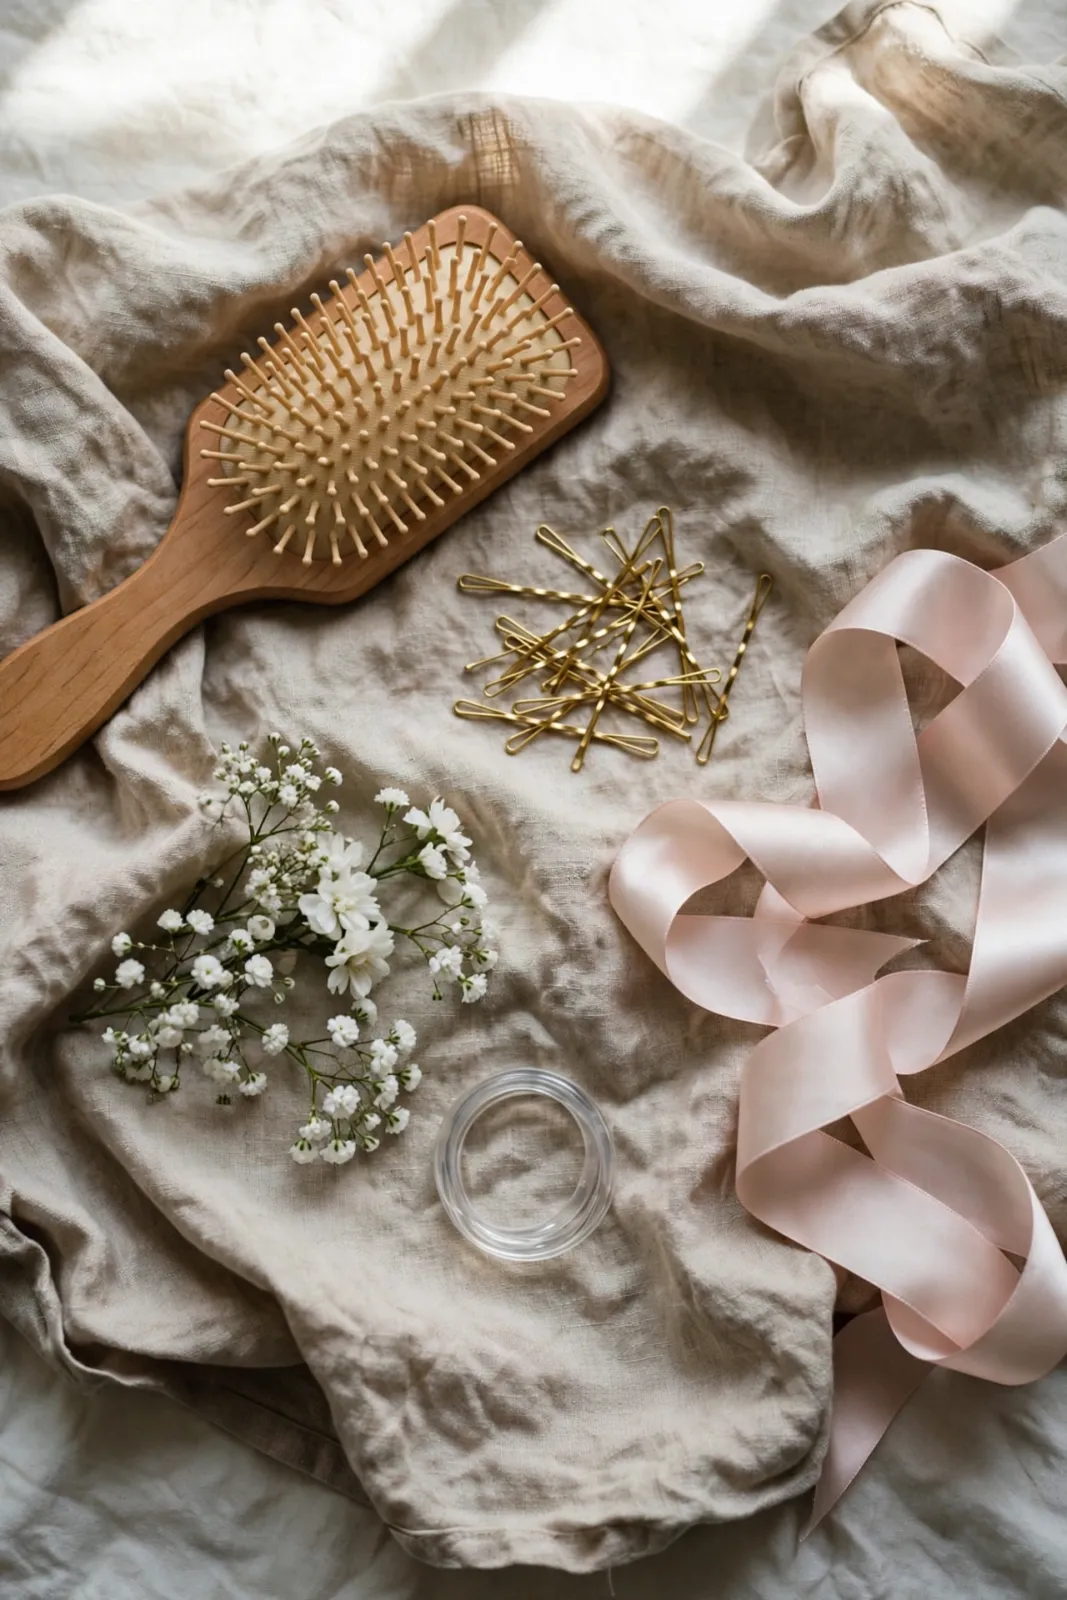
Fine hair benefits most from texture before you begin. A sprinkle of volumising powder or a light salt spray at the roots gives the braid something to hold, and pancaking the finished plait makes it look twice its real thickness. Braid on the second day after washing whenever possible.
Thick hair has the opposite blessing and problem: plenty of braid, but weight that pulls. Braid the crown section a little looser to avoid a headache by noon, and use two pins crossed at the finish as insurance. Curly and wavy hair makes the most romantic crowns of all — braid it in its natural texture, skip the brush (use fingers and a wide comb), and let the curl pattern soften every edge. Straight, slippery hair holds the style best with a braid that starts slightly tighter and a firmer setting spray at the end.
Care and Hold: Keeping the Crown in Place All Day
Preparation does most of the holding. Hair that is too clean and silky slides; hair with a whisper of product grips. If you must braid freshly washed hair, work a pea-sized amount of mousse through the lengths first and let it dry fully. Carry two spare grips in your bag — one lost pin is the only thing that ever goes wrong with this style, and it takes ten seconds to replace.
At the end of the day, take the style down gently: elastic out first, then unbraid from the bottom up rather than dragging a brush through the whole plait. A night in a braided crown is a night of tangles by morning, so however tired you are, those two minutes are worth it. Your hair will thank you with an easy wave the next day — the famous braid-out bonus.
Common Mistakes to Avoid
The most common mistake is braiding a French braid (strands over) when the look needs a Dutch braid (strands under) — the flat braid sinks in and the crown disappears in photographs. The second is feeding hair from both sides, which drags the crown back into a school plait. Remember: this crown feeds from the front only.
Third, do not pull the braid skin-tight in the name of neatness. A severe crown ages the face and gives most people a headache by lunchtime; the romantic version has air in it. And finally, do not add flowers, ribbons or pins before braiding. They tangle into the strands and end up hidden. The braid is the structure; everything pretty is added last.
Frequently Asked Questions
How long does my hair need to be? Shoulder length is the practical minimum for a short version with the ends pinned up; mid-back length gives the classic plait over the shoulder. The one-sided feeding technique means you need less length than a full circular crown braid.
Can I do this on myself, or do I need help? You can absolutely do it yourself — that is its charm. The braid travels across the front and down one side, so almost all of it happens where you can see it in a mirror. Most people manage a tidy version by the third attempt.
How long does it take? About ten minutes once the movement is familiar, fifteen while you are learning. The pancaking and softening at the end takes one extra minute and is worth every second of it.
Will it hold all day at a wedding? Yes — it is one of the most reliable event styles because there is no single point of failure. Prepare with a little texture, pin behind the ear if your hair is fine, and carry two spare grips just in case.
Can I add extensions or a ribbon if my hair is thin? A ribbon woven through the plait is the easier win — it adds colour and visual bulk without weight. Pancaking the loops and braiding on textured, second-day hair will also make a fine braid look satisfyingly full.
One Braid, Endless Occasions
The side braid crown plait earns its place in your repertoire because it asks for one skill and returns a dozen looks: garden-soft with flowers, polished with pearl pins, playful with a ribbon, formal when smoothed down. Practise it twice on a quiet evening, learn the one-sided feed and the strands-under rhythm, and you will have a romantic style for long hair that you can build in ten minutes, any day you want it.