Braided Crown Hairstyle: 9 Romantic Ways to Wear a Crown Braid
The first time I tried a crown braid, I was getting ready for my cousin’s outdoor wedding and my curling iron quit twenty minutes before I had to leave. I tried it with just a brush and a handful of bobby pins. One side sat a little higher than the other, but I loved it — soft, romantic, and it stayed put through photos, dinner, and a windy first dance.
That is the charm of this style. It looks intricate, like it took an hour in a salon chair, but it is simply a braid that travels around your head instead of hanging down your back. Dress it up with flowers for a wedding, loosen it for a weekend, or keep it neat for work — it also keeps hair off your neck and face on warm days.
Here are nine romantic ways to wear it, plus a step-by-step guide to braiding your own crown, the products that actually help, and the small mistakes that make this style slip.
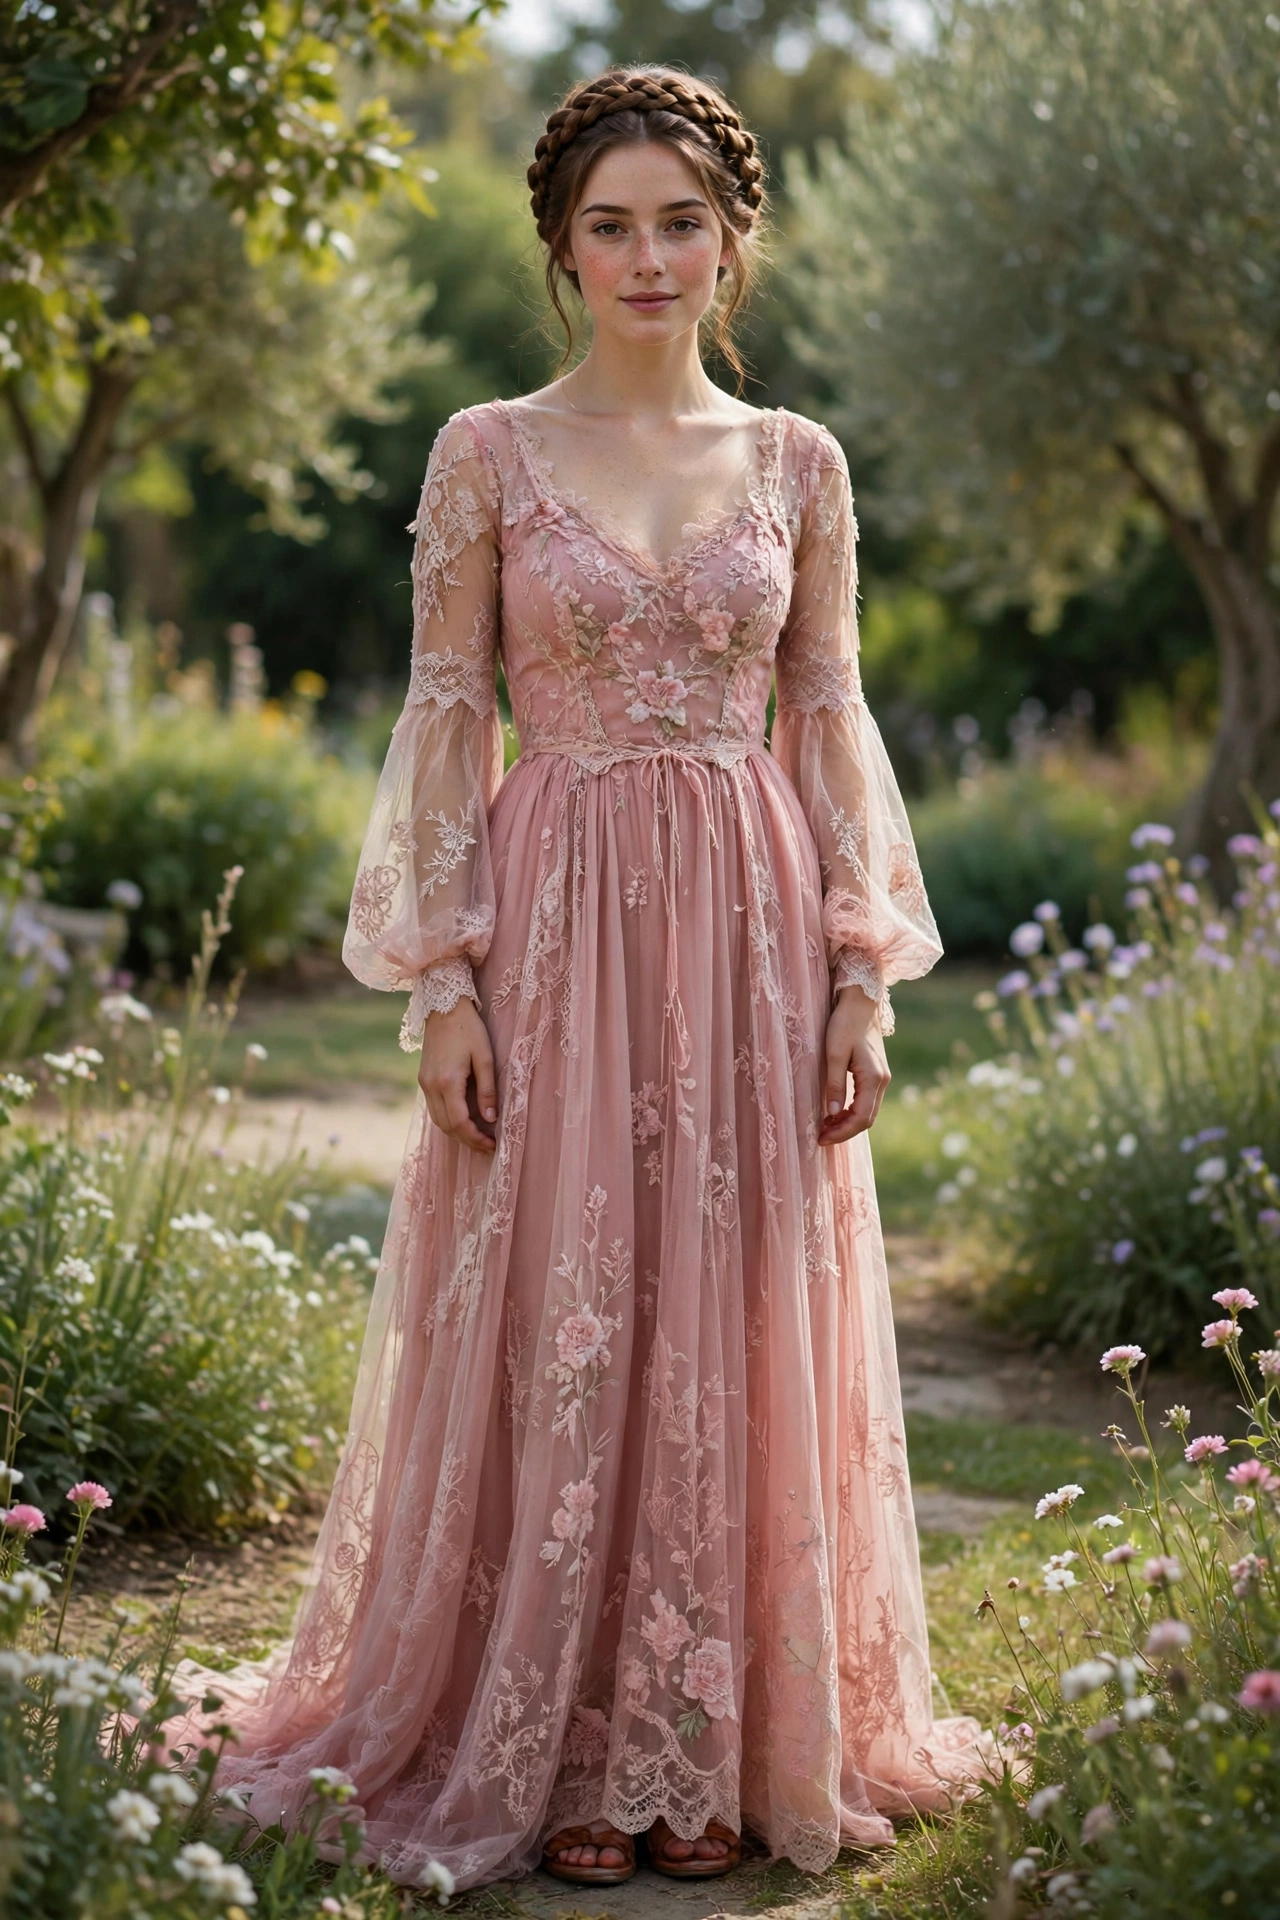
Why a Crown Braid Works for Almost Everyone
A crown braid frames the face in a way few styles do. It sits like a soft halo, draws the eye upward, and gives even a simple outfit a finished feel — bridal with pearl pins, casual with loose strands, or polished for work when braided tightly. It needs no heat, so it is gentle on dry or coloured hair, and once pinned well it holds for hours.
Who It Suits Best
Medium to long hair gives you the most options. Shoulder-length hair still works with the half crown and double crown styles below. Fine hair benefits from texture spray so the plait does not slide flat, thick hair may be easier in two sections, and curly hair holds beautifully because natural texture gives the braid grip.
The Classic Variations: Full Crown Braids
These three styles circle the whole head. They take the most practice, but they draw the most compliments.
1. The Classic Full Crown Braid
Learn this one first. A single Dutch or French braid starts behind one ear, travels up and around the hairline, and ends where it began, with the tail tucked underneath. Worn smooth, it has a timeless, almost storybook quality and pairs beautifully with simple necklines and off-shoulder dresses. Every other full crown builds on this same path.
2. The Milkmaid Double Crown
Part hair down the middle and braid it into two regular plaits, then lift each braid over the top of the head and pin it in place, so the two sit side by side like a woven band. It is easier than a travelling braid because you braid downwards. The result is sweet and soft, lovely for picnics and summer dresses.
3. The Fishtail Crown Braid
A fishtail braid uses two strands instead of three, crossing small pieces over for a detailed herringbone effect. Woven around the head it looks intricate and photographs wonderfully, which is why many brides choose it. It takes longer and suits longer hair, but tugging the edges once pinned makes it look fuller.

Softer, Relaxed Crown Braid Styles
Not every crown braid needs to be neat. The prettiest relaxed versions are deliberately loose, with soft pieces framing the face.
4. The Loose Boho Crown Braid
Braid around the head loosely, then gently pull at the outer edges to widen the braid, leaving a few face-framing strands out from the start. This is the version I reach for most, with flowy dresses and outdoor gatherings. Small dried flowers or a thin ribbon woven through suit it perfectly.
5. The Messy Twisted Crown
If braiding still feels tricky, this variation uses twists instead of a true braid. Two sections are twisted around each other as you move around the hairline, creating a rope-like crown. It is quicker, very forgiving, and works especially well on second-day hair, when natural texture helps the twists hold.
6. The Crown Braid with Loose Waves
Only the top and sides are braided, while the back stays down in soft waves or your natural curl pattern. You get the polished halo from the front, with movement behind — a lovely choice for dates and dinners that softens gracefully during the day.

Shorter Hair and Special Occasion Crowns
These last three cover shorter hair and special occasions — both are very doable with small adjustments.
7. The Half Crown Braid
The half crown braids only across the top, from ear to ear, like a headband made of your own hair, while the rest stays down. It works on shoulder-length and even some bob-length hair, and takes about five minutes once practised. For short layers, secure each section with small clear elastics.
8. The Double Mini Crown Braids
Two slim braids, one on each side of a centre part, are pinned across the top to form a delicate double band. It is charming on medium hair and smart for finer hair, since two smaller braids look fuller than one thin one stretched around the whole head.
9. The Floral Bridal Crown Braid
For weddings, start with the classic full crown and tuck fresh or good faux flowers, pearl pins, or a fine hair vine into the braid, following its curve. Cluster accessories slightly on one side for a natural garden-gathered look, and do a full trial run before the day.

How to Braid Your Own Crown, Step by Step
Doing this on yourself feels awkward at first because your arms work at unfamiliar angles. Go slowly — your second attempt will already feel twice as easy.
Step 1: Prep the hair. Brush everything smooth and decide on your part. Textured hair braids best, so if yours is freshly washed and slippery, work in a little dry shampoo or texture spray. Lay out pins, a small elastic, and a hand mirror before you start.
Step 2: Start behind one ear. Take a section just behind your right ear and split it into three strands. Begin a Dutch braid, crossing strands under rather than over, which makes the braid sit proud of the head and shows the crown shape clearly.
Step 3: Travel up and around. Add a little hair to each strand as you braid, guiding it up past your ear and across the front hairline. Keep tension even, and take your time at the front — it is the most visible section.
Step 4: Continue around the back. Keep braiding around the other side toward where you started. It is fine to pause, hold the braid firmly, shake out your arms, and continue. When you run out of hair to add, finish with a regular braid and secure it with the elastic.
Step 5: Tuck and pin the tail. Lay the tail along the crown, tuck it under the start of the braid, and pin it flat with pins crossed in an X. Add pins anywhere the braid feels loose.
Step 6: Soften and finish. Gently tug the outer loops to widen the braid if you want a fuller look, pull out one or two soft strands near your face, and finish with flexible-hold hairspray. Check the back with your hand mirror and adjust any uneven spots.

Hair Care, Helpful Products, and Budget Tips
A crown braid looks best on hair in decent condition, because dry ends poke out and make a braid look fuzzy. A trim every eight to ten weeks and a weekly conditioning mask make a real difference, and a little leave-in conditioner on braiding day helps everything lie neatly.
You do not need a shelf of products: a good brush, bobby pins matching your hair colour, small clear elastics, texture spray or dry shampoo for grip, and light hairspray are enough. Buy pins in bulk packs — they work the same and cost far less — and skip expensive braiding balms, since a basic cream does the same job. Good faux flowers from a craft shop can be reused for years.
Common Mistakes to Avoid
The most common mistake is braiding too tightly at the front and too loosely at the back, which makes the crown look lopsided — check tension as you cross each side. Starting with hair that is too clean and slippery is another issue, so braid on second-day hair or add texture spray. Do not skip pins: use more than you think you need, hidden underneath the braid, and tug gently when softening it so you do not pull a section loose.

Frequently Asked Questions
How long does my hair need to be for a crown braid?
For a full crown, hair past the shoulders works best, with some tail left to tuck. If yours is shoulder length or shorter, try the half crown or double mini crown — both give the same framed effect across the top.
How long does a crown braid take to do on yourself?
Expect fifteen to twenty minutes at first, mostly because working around the back of your own head feels unfamiliar. Once familiar, a classic crown takes eight to ten minutes; the fishtail version takes longer.
Will a crown braid stay in all day?
Yes, if it is pinned properly and the hair had some texture to begin with. A well-pinned crown lasts a full day and often still looks good the next morning. For fine hair, cross two pins in an X at loose points and finish with hairspray.
Can I do a crown braid on curly or textured hair?
Absolutely — textured hair often holds it even better than straight hair because natural grip stops slipping. Work on stretched or lightly moisturised hair, with a little cream on your fingertips as you braid, for wonderful volume and definition.
What is the difference between a crown braid and a milkmaid braid?
A crown braid is one continuous braid woven while travelling around the head. A milkmaid braid is two finished plaits crossed over the top and pinned afterwards. The looks are similar, and beginners usually find the milkmaid easier.
A Style Worth the Small Learning Curve
A crown braid asks for a little patience at first, then becomes one of the most useful styles you know — no heat, no expensive tools, no salon appointment, yet it looks like real effort every time. Start with the milkmaid or half crown, give yourself two or three practice tries, and pick the version that matches your hair and your plans this week.