New kitchen cabinets are expensive. Paint is not. A kitchen cabinet colour refresh is the single biggest change you can make to a kitchen for the price of a few tins, provided the cabinets are sound and you prepare them properly. This guide covers choosing a colour that suits your light, the prep work that decides whether the finish lasts, a clear step-by-step painting method, and the mistakes that make painted cabinets chip within a year.
Be honest about the starting point first. Paint refreshes colour and light scuffs; it does not fix swollen doors, broken hinges, or a layout that does not work. If the carcasses are solid and the doors hang straight, paint is a sound investment of a weekend or two.
Table of Contents

Choosing a Colour for Your Kitchen Cabinet Colour Refresh
Start with the light in the room, not a colour chart. North-facing kitchens make cool greys look blue and can turn a soft white slightly grey; warm whites, gentle greens, and mid-tone blues usually sit better there. South-facing rooms take almost any colour, including deep navy or forest green on lower cabinets, because the sunlight balances the depth. Getting this choice right sets the tone for the whole kitchen cabinet colour refresh.
The two-tone approach suits many homes: lighter uppers to keep the room bright, a deeper colour below where scuffs show less. Whatever you choose, test it on one inside door or a large board and live with it through a full day of changing light. Paint colour shifts more in a kitchen than in any other room because of steam, warm evening light, and reflective worktops.
Think about the rest of the room before you commit to a bold cabinet colour. Worktops, floor, and splashback stay the same in a refresh, so hold your test board against each of them in daylight. A green that sings against a pale worktop can clash with a warm wood floor, and a navy that looks rich in the shop can turn almost black under a low ceiling. Photograph the test board at breakfast and again under evening lights; if you like both pictures, the colour is safe. That is the test every kitchen cabinet colour refresh should pass before a tin is opened.
Prep Work: The Part That Decides Everything
Kitchen cabinets are coated in a film of cooking grease even when they look clean, and paint will not stick to it. Wash every surface with a degreaser or sugar soap, rinse, and let it dry fully. Remove doors and drawers, take off handles, and label each door on its hinge edge with tape so it returns to the exact frame it was fitted to.
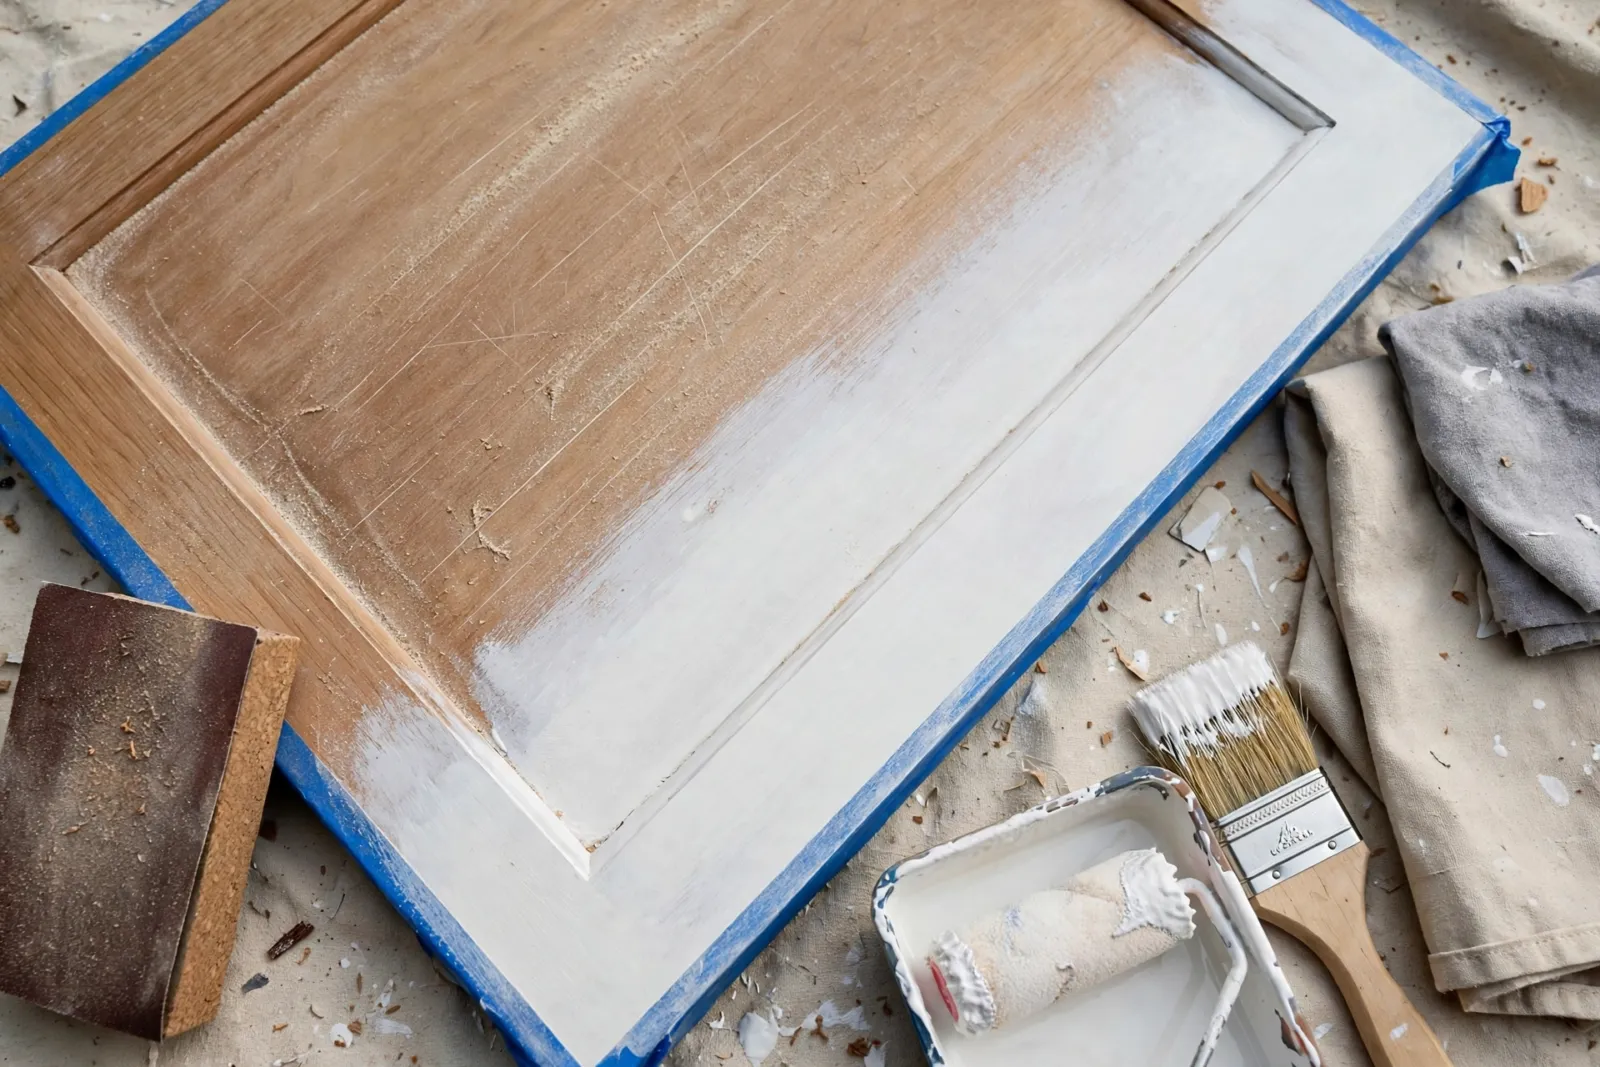
Sand lightly to dull the old finish so the primer has something to grip, fill dents and handle holes if you are moving handle positions, then sand again smooth. This stage is slow and unglamorous, and it is the difference between a finish that lasts five years and one that flakes by winter. A sound kitchen cabinet carcass deserves this care; a rushed prep wastes both paint and effort. Skip the prep, and the rest of the kitchen cabinet colour refresh is built on sand.
How to Paint Kitchen Cabinets, Step by Step
Step 1: Prime with a primer made for glossy or melamine surfaces if your cabinets are laminate or previously varnished. One even coat, left to dry as directed.
Step 2: Paint the frames in place with a small roller for flat areas and a brush for edges, keeping strokes in one direction.
Step 3: Paint doors flat on a raised support, backs first, then fronts after drying, so drips do not pool on the face you see.
Step 4: Apply two thin topcoats rather than one thick one, with a light sand and a dust wipe between coats. Thin coats dry harder and smoother.
Step 5: Refit doors after the paint has cured, not just dried — most cabinet paints need several days before they resist knocks. Fit new handles last for the finished change. That final fitting completes the kitchen cabinet colour refresh.

Work in a dust-free order: clean the room before the final coat, keep windows closed while coats dry if dust or insects are drifting in, and vacuum rather than sweep between coats so dust settles less on wet paint. Small habits like these decide whether the finish looks sprayed or clearly home-done. Treat it as part of the kitchen cabinet colour refresh, not an afterthought.
Finishes, Handles and the Details That Sell the Refresh
Satin and eggshell finishes suit cabinets best: they wipe clean, reflect a little light, and hide brush marks better than high gloss. Matt can look smart but marks more easily around handles and the hob. Changing handles at the same time gives the strongest before-and-after effect for very little money; measure the distance between screw holes before ordering, or choose handles that cover the old holes. Details like these are what make a kitchen cabinet colour refresh look professionally fitted.
Consider painting the inside of one glass-fronted or open cabinet in the same colour for a deliberate, fitted look, and update the wall colour only if it fights the new cabinets. Often the existing walls settle once the cabinet colour changes. That is the quiet magic of a kitchen cabinet colour refresh: one change settles the whole room.
Budget and Buying Advice for a Cabinet Refresh
For an average kitchen, budget for degreaser, filler, sandpaper in two grades, primer, two tins of cabinet or multi-surface paint, a good brush, small rollers and trays, tape, and new handles if you are changing them. The total is usually a small fraction of even the cheapest replacement doors, let alone full new units. That is the value at the heart of every kitchen cabinet colour refresh.
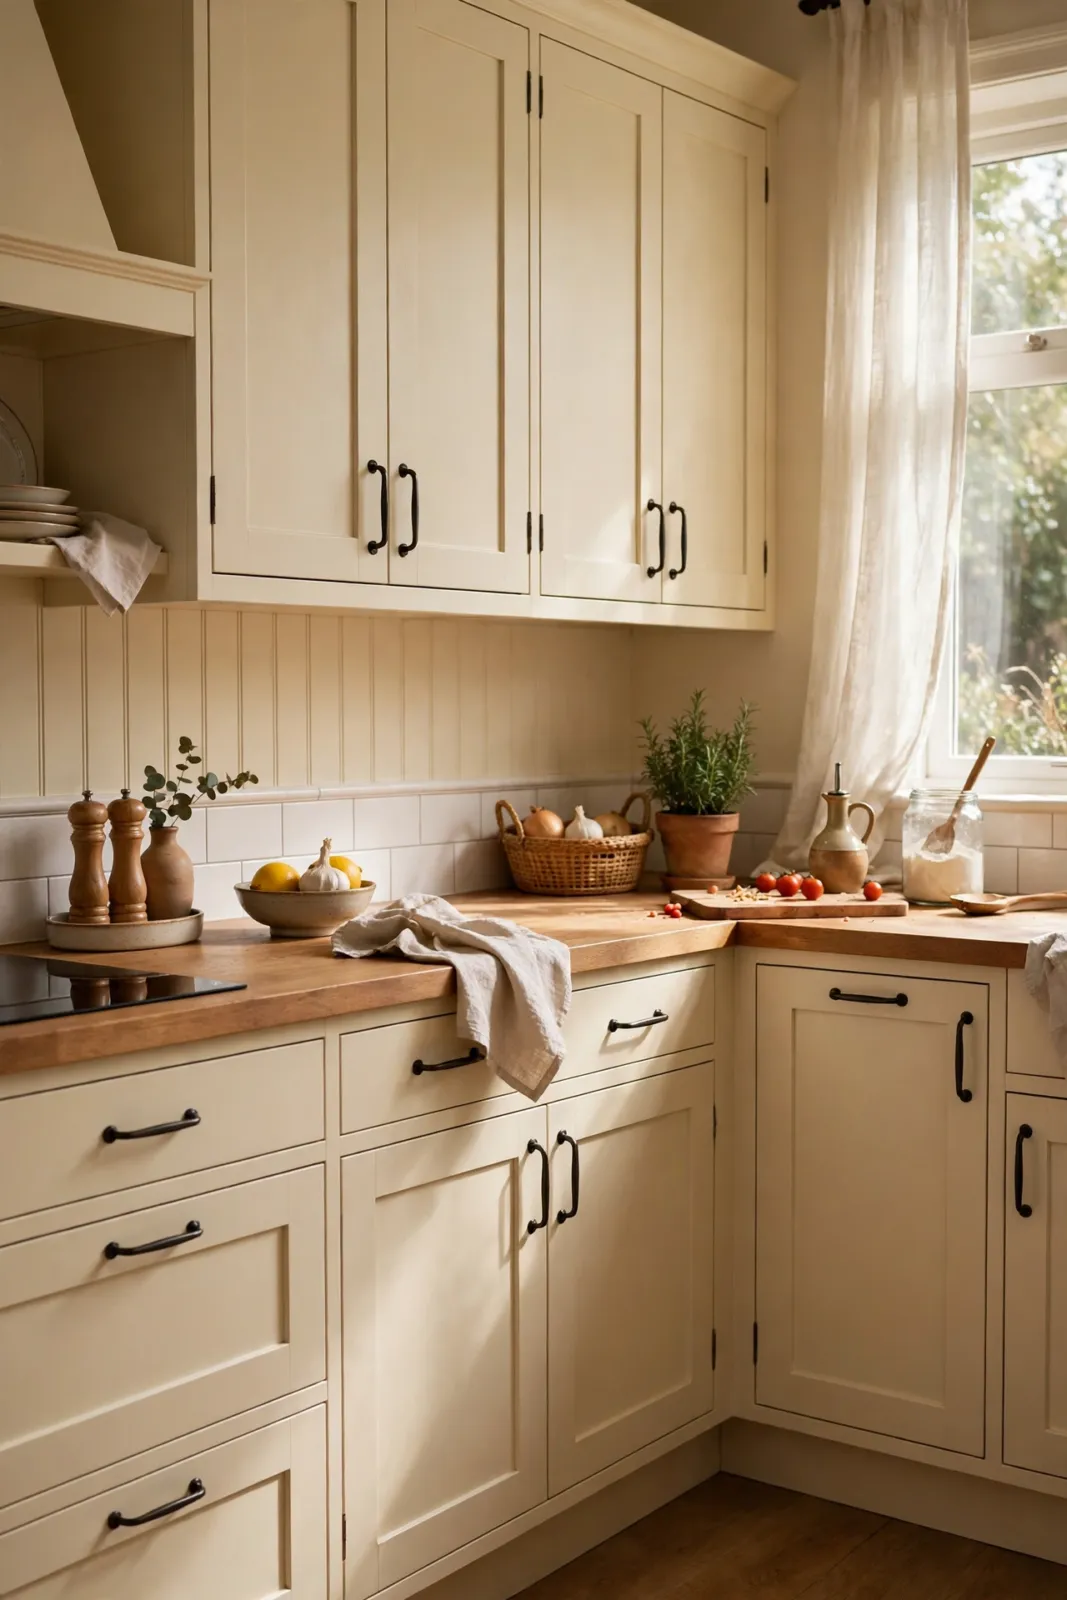
Buy paint made for kitchens or furniture rather than ordinary wall emulsion, which is too soft for doors that are opened twenty times a day. Keep a small labelled jar of the finished colour for future touch-ups; cabinets around the hob and bin will need them eventually, however careful the prep. It is the one maintenance habit every kitchen cabinet colour refresh needs.
Common Cabinet Painting Mistakes to Avoid
The first mistake is skipping the degrease or the primer, usually to save a day. The paint then lifts in sheets around handles and edges. The second is painting doors hanging in place: drips run, edges stick to frames, and the finish at the hinges stays rough. Both mistakes shorten the life of a kitchen cabinet colour refresh more than any others.
Also avoid thick coats to try to finish in one day, choosing a colour from a tiny swatch without a large test, and refitting doors the next morning before the paint has cured. Finally, do not forget the plinths and the side panels visible from the doorway; a refresh that stops at the doors looks unfinished from the one angle everyone sees first. Avoid them, and a kitchen cabinet colour refresh keeps its just-fitted look for years.

Frequently Asked Questions
How long does a cabinet colour refresh take? Two to three days of work spread over a week, allowing for drying and curing. Prep takes about half the total time, and rushing it is the main cause of failure. In short, a kitchen cabinet colour refresh rewards the patient.
Can I paint laminate or melamine cabinets? Yes, with a thorough degrease, a light sand, and a primer made for glossy surfaces. The bond comes from the primer, so that coat matters more than the colour coats.
What colour makes a kitchen look bigger? Light colours on the uppers with the same or a slightly deeper tone below. Keeping walls and uppers close in tone removes visual breaks and makes the room read larger. The same principle works in other small rooms too — see our small living room layout ideas for more ways to make a space feel bigger.
How long will painted cabinets last? With proper prep and cabinet paint, five years or more of daily use is realistic, with small touch-ups around handles and the hob. Poor prep can fail within months.
Should I spray, roll, or brush? A small roller with a brush for edges gives the smoothest finish most people can achieve at home. Spraying is smoother still but needs masking, space, and practice. Whichever you choose, a kitchen cabinet colour refresh follows the same rules: prep properly and paint thin.
A New Kitchen for the Price of Paint
A kitchen cabinet colour refresh rewards patience more than skill. Choose for your light, degrease and prime like you mean it, paint in thin coats, and let it cure before life resumes. Do that, and the room people gather in will feel newly fitted, for the price of a weekend and a few tins.