Ombre Nail Gradient: 9 Soft Ways to Wear Ombre Gradient Nails From Nude to Bold
Ombre nails are the manicure I suggest whenever someone tells me they are bored of plain polish but not ready for nail art with tiny painted details. The colour melts from one shade into another, so you get movement and depth from polish alone, with no stickers, no gems and nothing to catch on your clothes. A soft pink fading into white looks clean enough for work, while a purple melting into blue turns the same simple idea into an evening look.
The gradient works because the eye reads the blend, not the individual colours. Two or three shades from the same family always blend kindly; shades from opposite sides of the colour wheel need a middle shade between them or the join turns muddy. Length helps too — even a few millimetres of free edge gives the colours room to travel — but a well-done ombre looks pretty on short, neat nails as well.
Here are nine ways to wear an ombre nail gradient, from the softest nude fade to a bold sunset, plus the sponge method I use at home step by step, honest advice on colours and products, care tips, and the mistakes that make a gradient look streaky instead of smooth.
Soft and Everyday Ombre Ideas
The everyday versions of this manicure use colours close to your own skin and nail tone, so regrowth is forgiving and chips are hard to see. These are the gradients that last two weeks in real life without anyone noticing the gap at the cuticle.
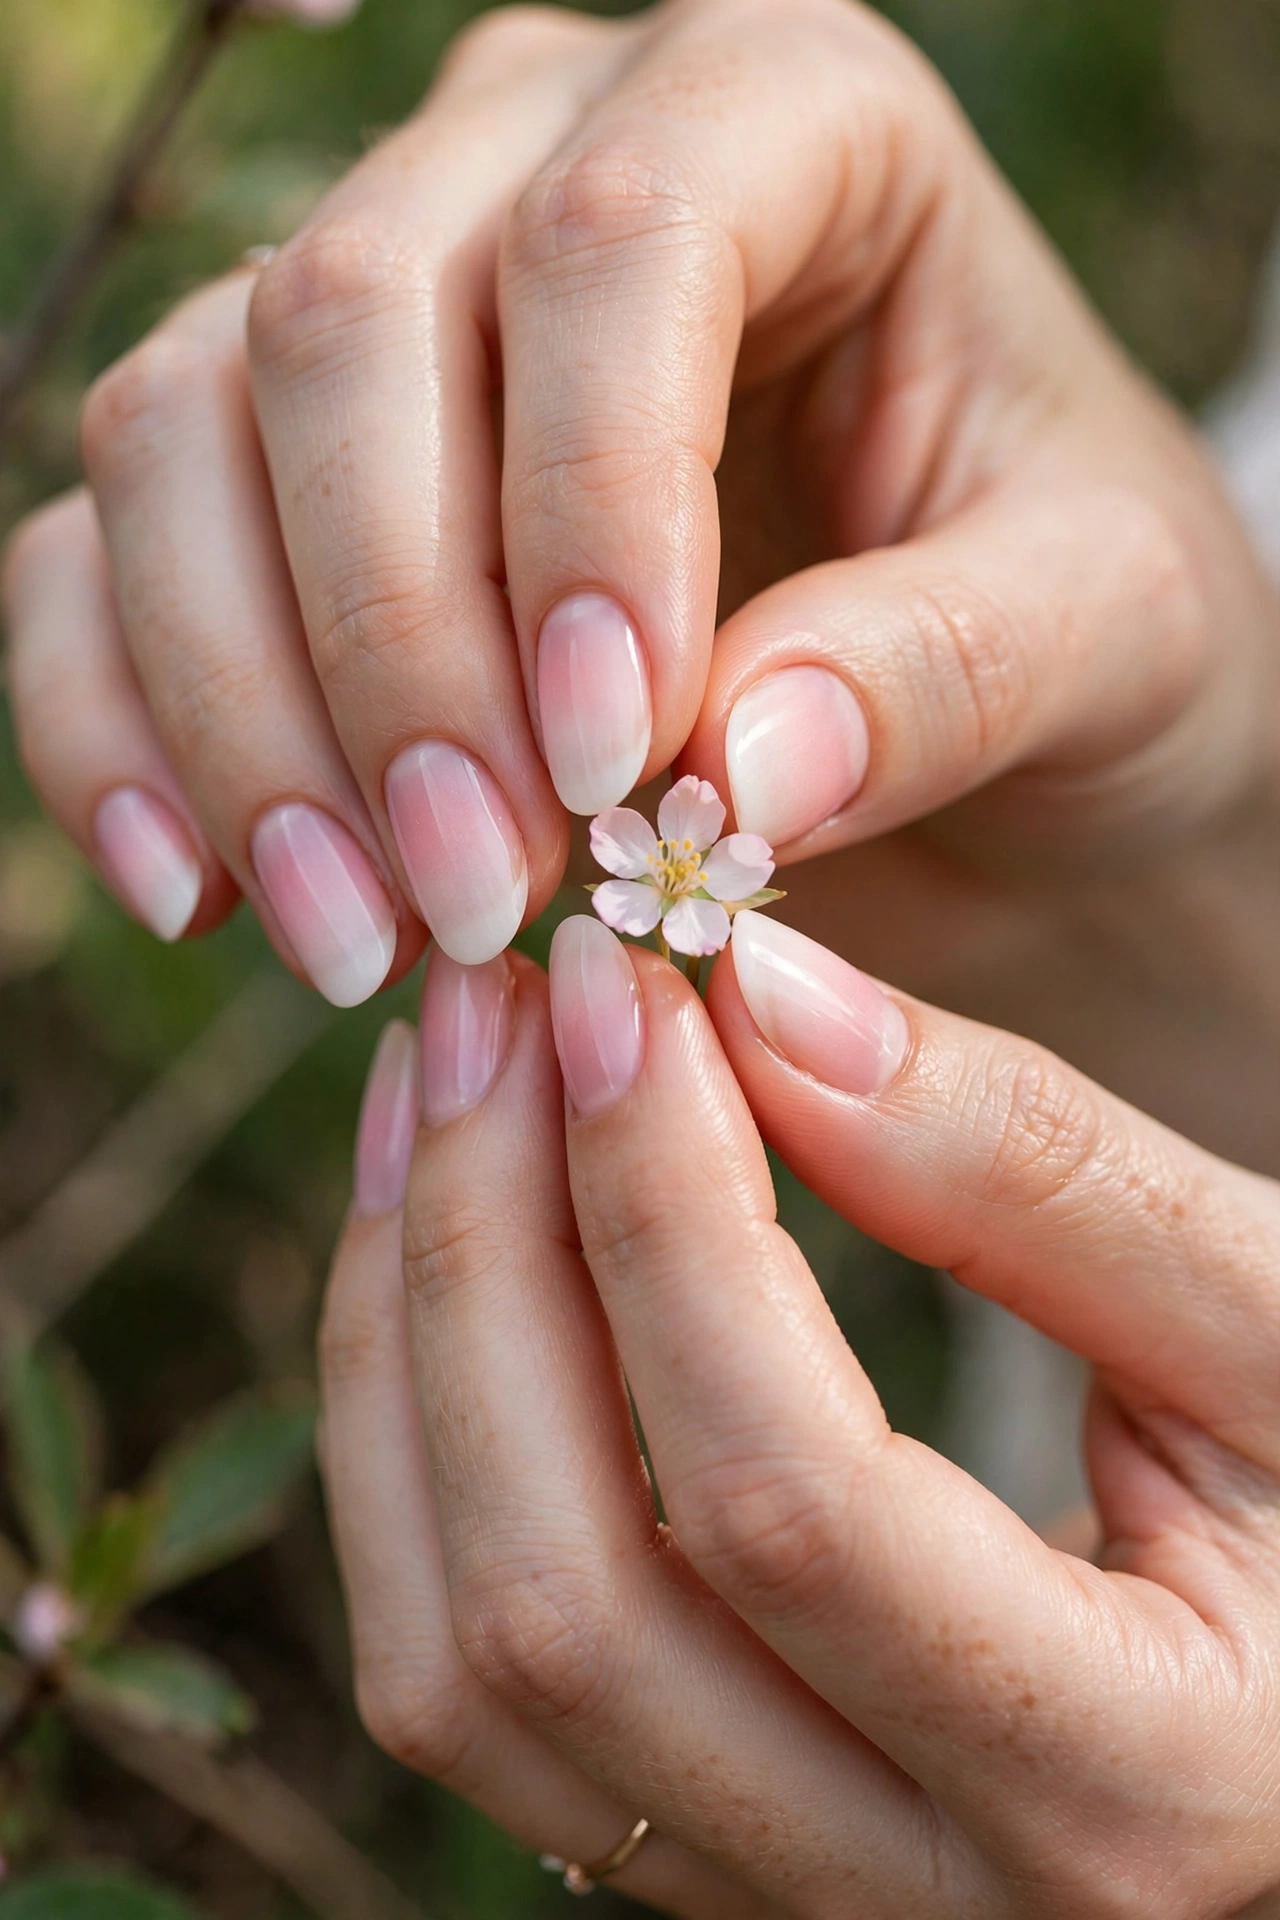
1. Pink to White Baby Boomer Fade
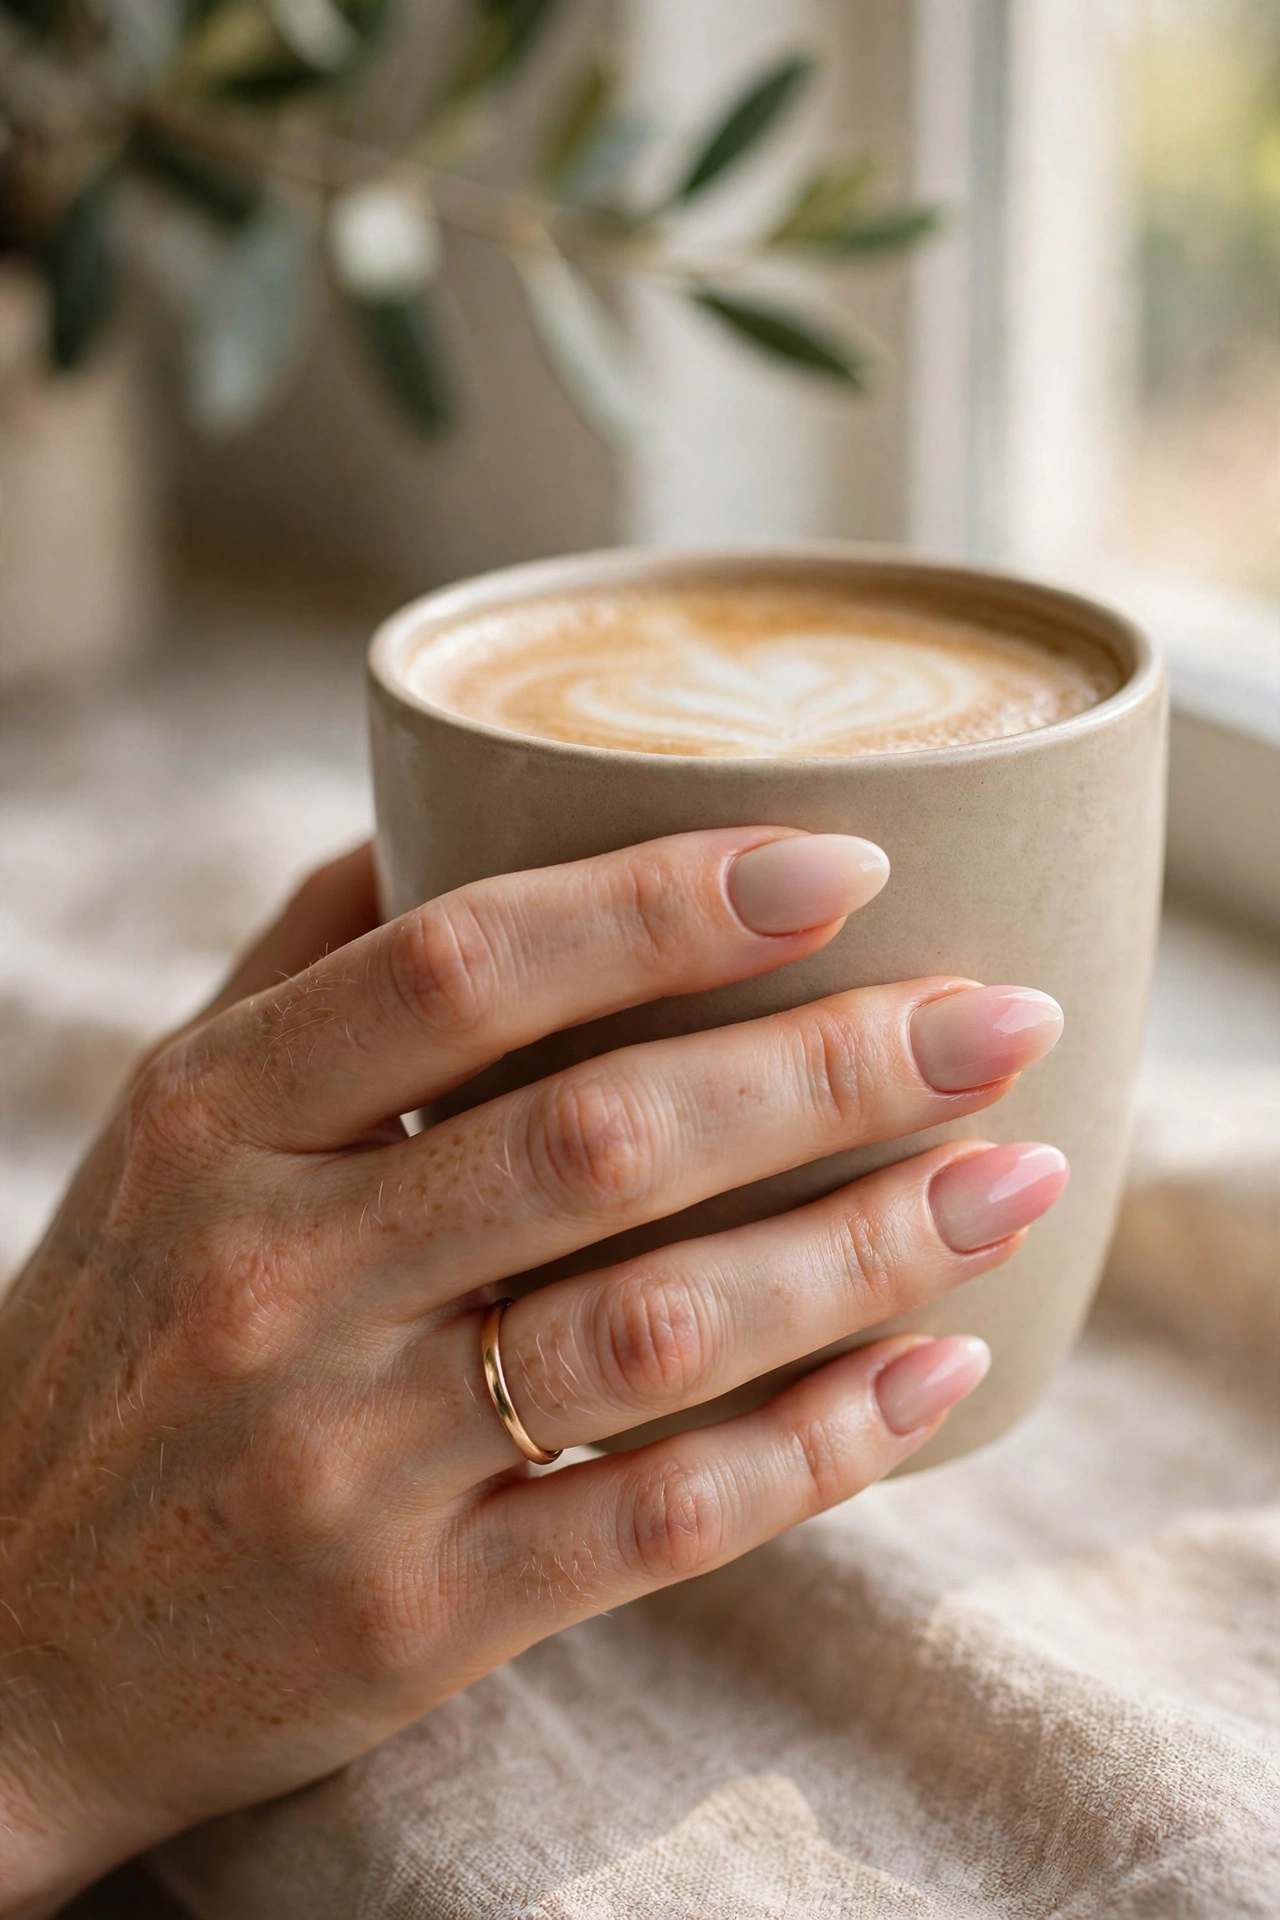
The classic soft ombre: a sheer pink base fading into a milky white tip. It suits every skin tone, every nail shape and every dress code, and it is the most requested version in salons for good reason. On almond and oval nails the fade looks longest and softest. Ask for the pink to stay transparent at the cuticle so the grow-out line stays invisible for as long as possible.
2. Nude to Rose Ombre
Start with a nude that matches your skin and melt it into a dusty rose at the tips. This is my personal everyday favourite because it reads as polished rather than painted. It flatters shorter nails, photographs beautifully, and pairs with gold jewellery especially well. A glossy top coat keeps the rose looking fresh; matte makes it moodier and more modern.
3. Peach to Coral Gentle Gradient
Peach at the base warming into coral tips is the happiest soft gradient, lovely against tanned or deeper skin and perfect with summer dresses. Keep the coral sheer rather than neon for daytime, and save the brighter version for holidays. This pairing also hides minor imperfections in the blend, because the two colours sit so close together.
Colourful Ombre Ideas With More Contrast
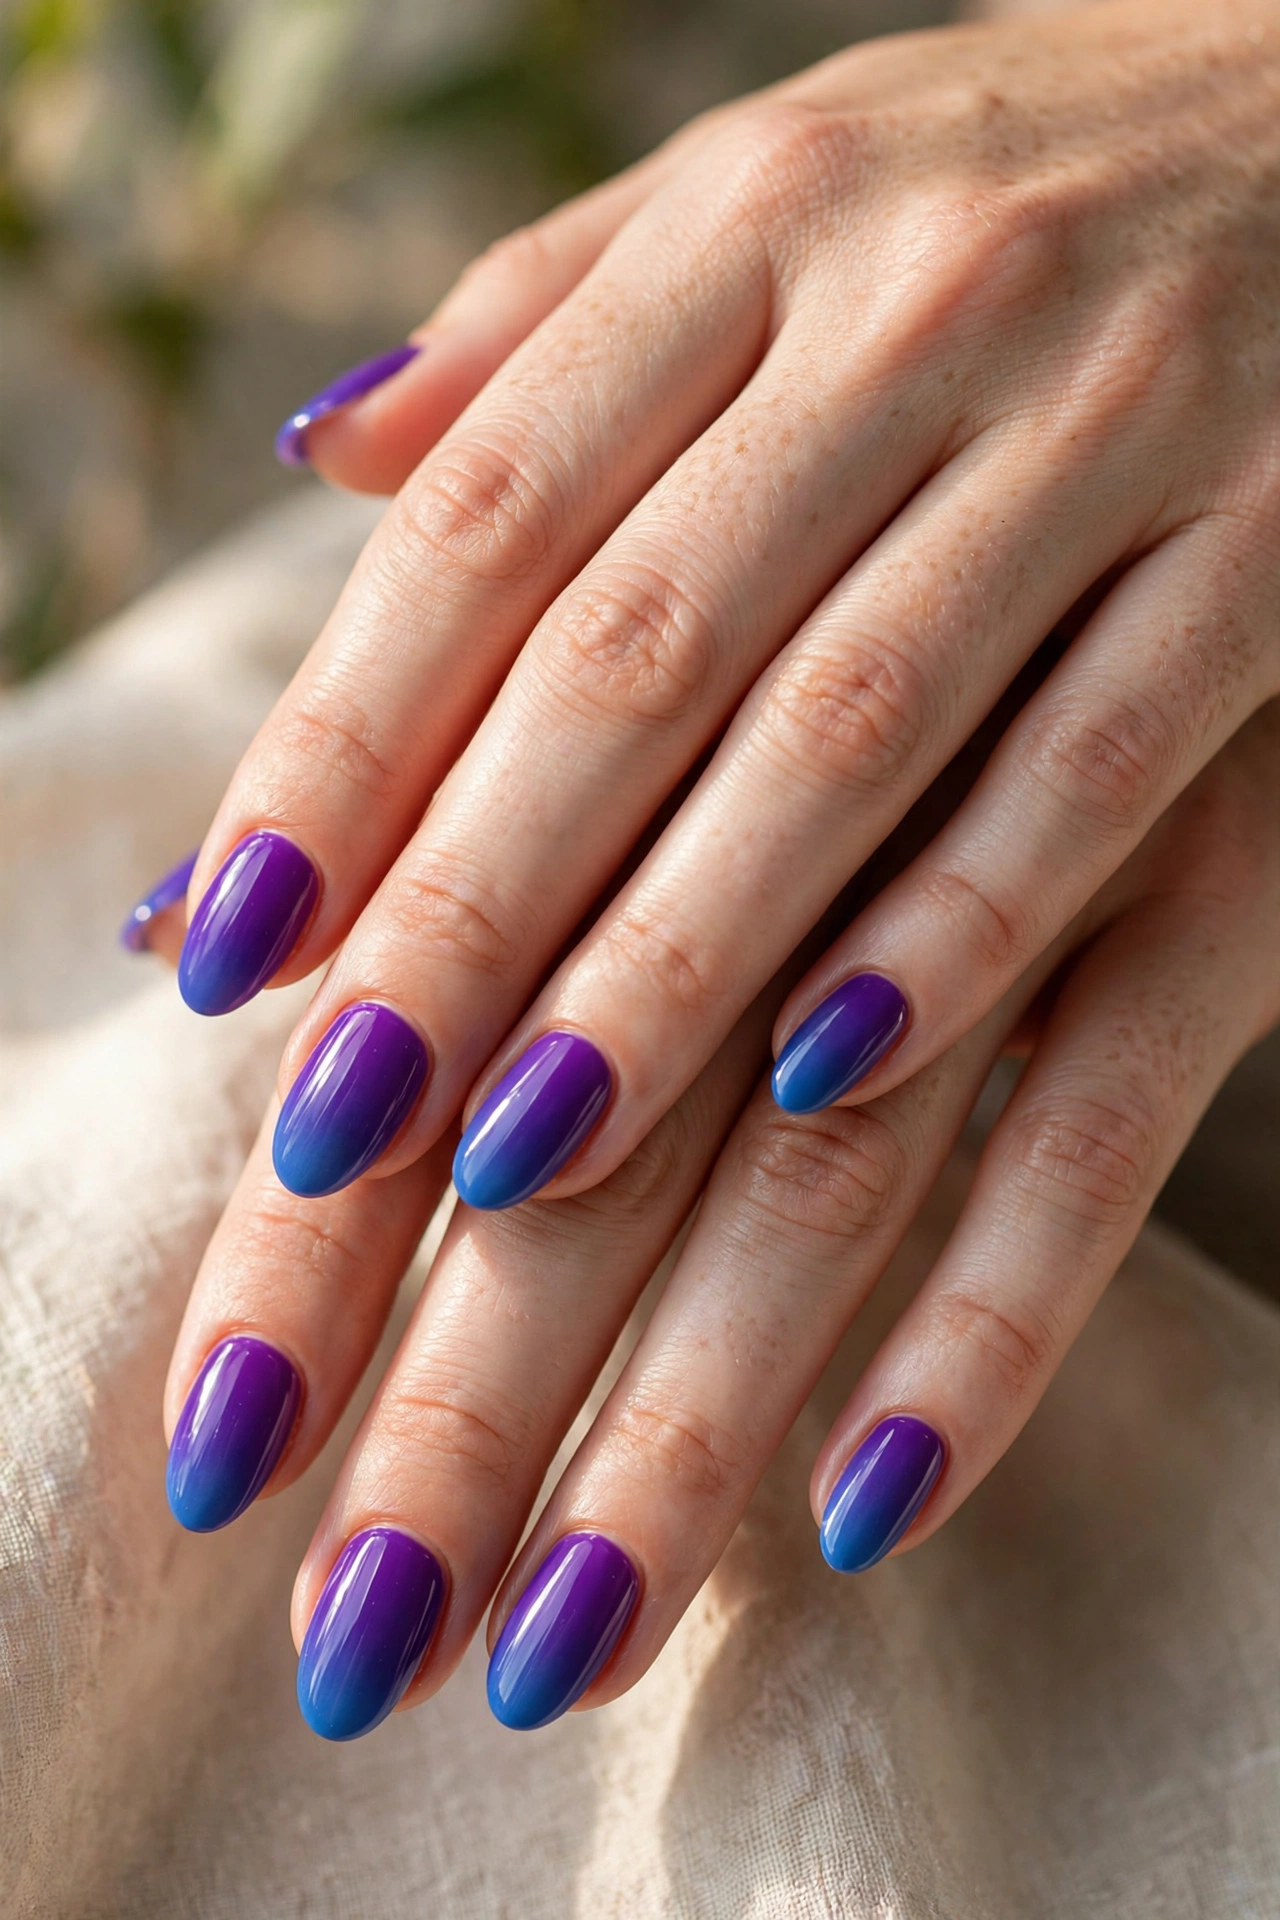
4. Purple to Blue Evening Ombre
A deep purple at the cuticle melting into blue tips is the bold classic. It needs a middle shade — a violet — sponged between the two, or the join shows a grey stripe. On longer nails the effect is striking, like twilight on your fingertips. Wear it with simple clothes and let the nails be the colour in the outfit.
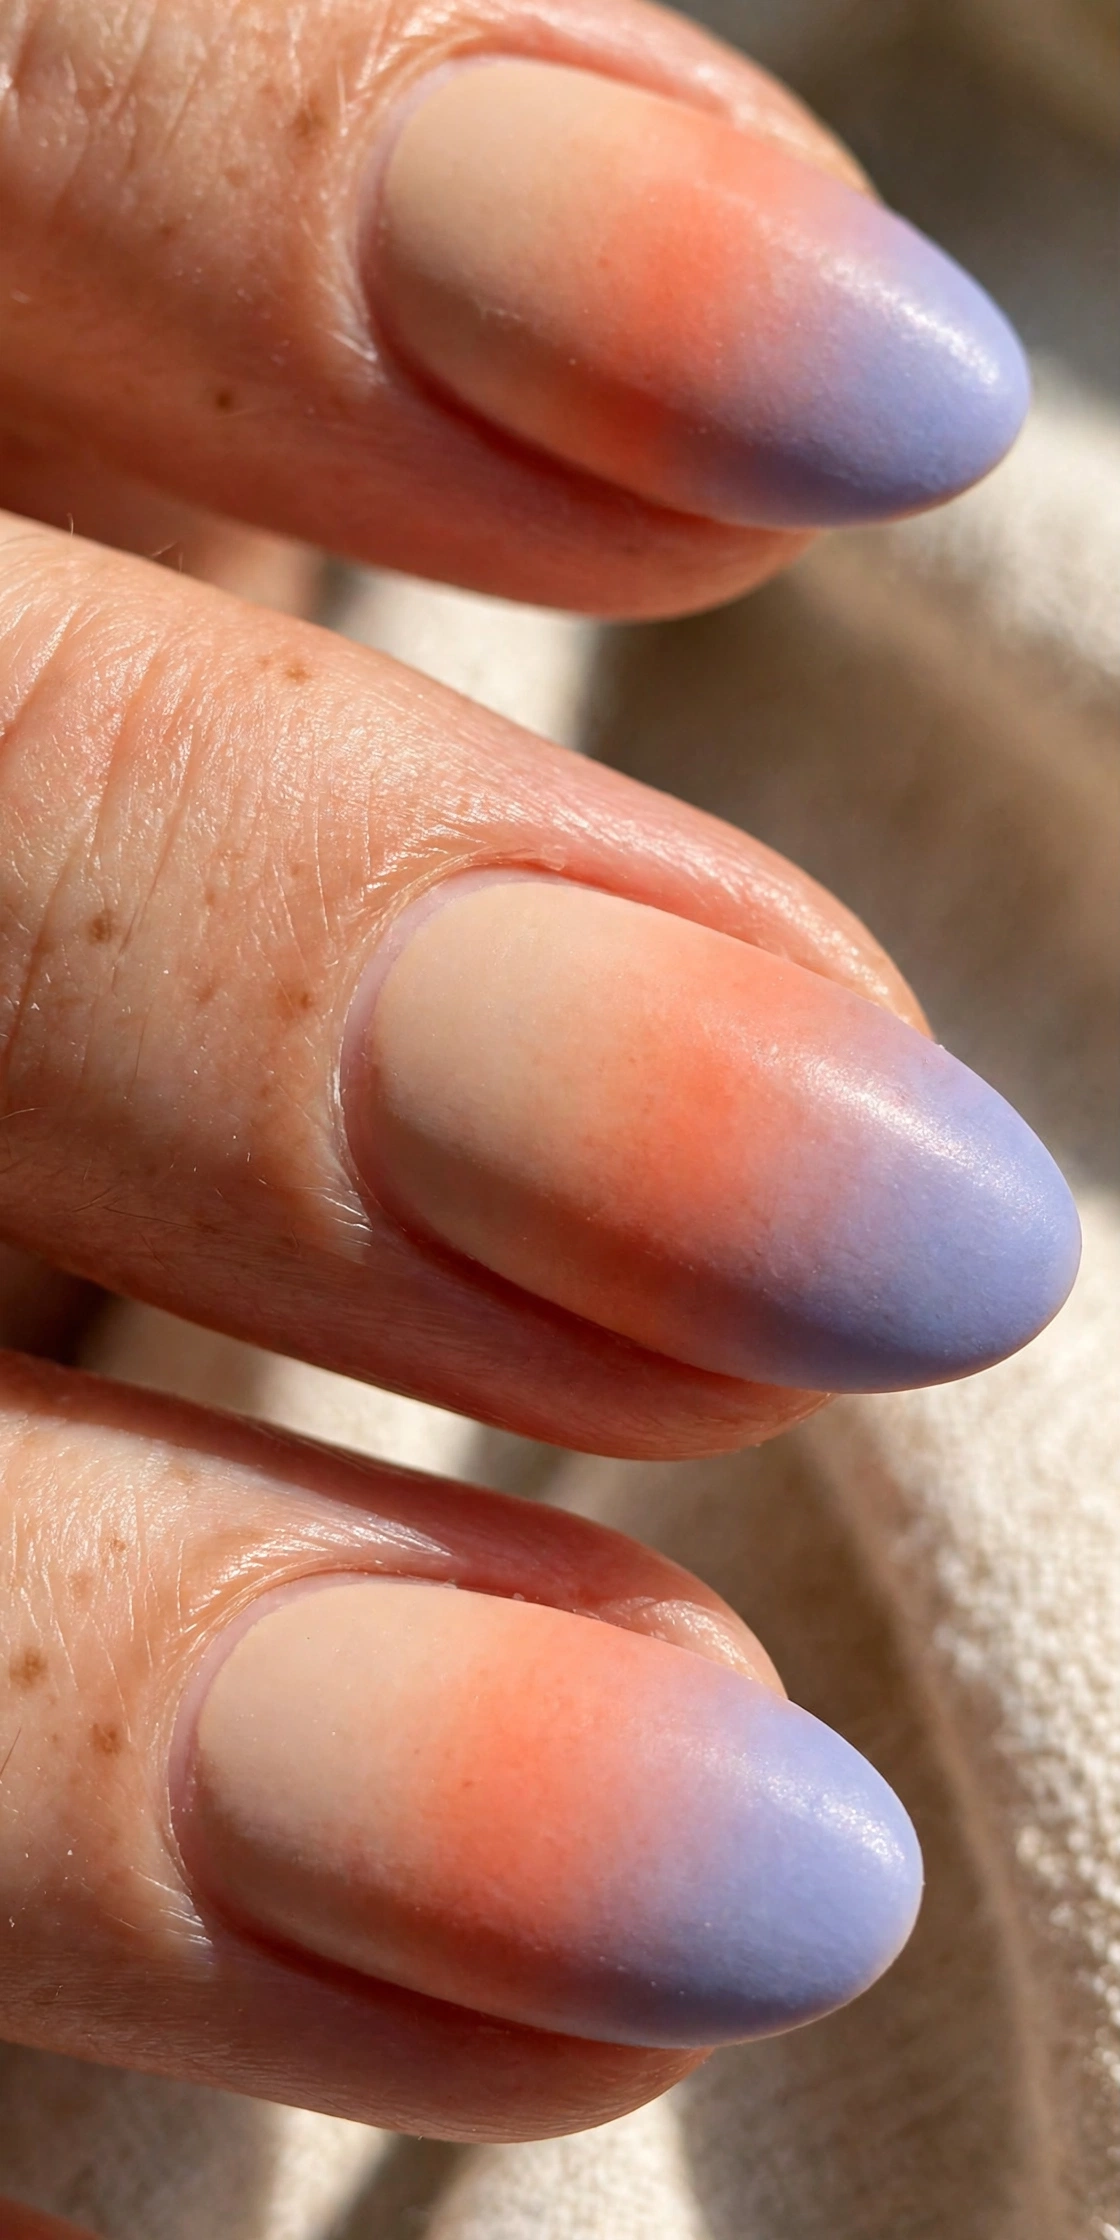
5. Sunset Ombre: Nude, Peach and Lilac
Three shades — nude, soft peach, then lilac at the tips — copy the sky at the end of the day. The trick is thin layers: each colour sponged lightly so the one beneath still glows through. This version suits medium-length nails best, because three colours need a little room. Finish glossy; matte flattens the sky effect.
6. Mint to Sky Blue Fresh Gradient
Pale mint melting into soft sky blue is fresh, clean and surprisingly wearable with white, denim and grey clothes. Both colours must be pastel; saturated versions fight each other. This is a kind gradient for beginners because the two shades are close in depth, so small blending mistakes barely show.
Finishes and Small Twists
7. Matte Ombre for a Soft Powder Look
A matte top coat over any gradient gives a powdery, fabric-like finish that looks expensive and photographs well. Matte shows dry cuticles, though, so oil them daily. Matte also shortens wear a little; expect to refresh the top coat at day four or five to keep it even.
8. Glossy Ombre With One Accent Nail
Keep nine nails in a soft gradient and make one nail per hand bolder — a deeper shade of the same family, or the gradient reversed. The accent stops a soft manicure feeling plain without turning it into busy nail art. Ring fingers are the usual choice, and the reversed accent looks best kept glossy while the rest can be either finish.
9. Short Nail Ombre, Done Lightly
Short nails suit ombre if you use two shades only and keep both light. A dark tip on a very short nail shortens it visually, while a pale fade lengthens. Sponge with a small piece of sponge for control, and blend lower on the nail so more of the light base shows. Square-soft and oval shapes carry the fade best at short lengths.
How to Do an Ombre Gradient at Home, Step by Step
Step 1: Prep properly. Shape the nails, push cuticles back gently, wipe each nail with remover or alcohol to strip oils, and apply a base coat. Gradient polish grabs unevenly on oily nails, and prep is the difference between a smooth blend and a patchy one.
Step 2: Paint the lightest colour all over. Use your lightest shade as the full base and let it dry completely — at least ten minutes. Sponging over a tacky base tears it. Two thin coats of the base shade give the gradient something even to sit on.
Step 3: Paint the colours onto a makeup sponge. Stripe your shades side by side directly onto a wedge sponge, overlapping the stripes slightly. The sponge should be damp with polish, not dripping. A triangular makeup sponge gives the cleanest control; a kitchen sponge works if the pores are fine.
Step 4: Dab, do not drag. Press the sponge onto the nail with small bouncing dabs, moving it a millimetre up and down so the colours meet softly. Two or three light passes build a better blend than one heavy press. Reload the sponge for each nail rather than stretching one load across all ten.
Step 5: Clean up and seal. Peel off any liquid latex or wipe edges with a small brush dipped in remover, then apply a generous glossy top coat — this final coat is what melts the sponge texture into a true gradient. Reapply top coat every two or three days to keep the blend glossy and chip-free.

Choosing Colours and Products That Blend Well
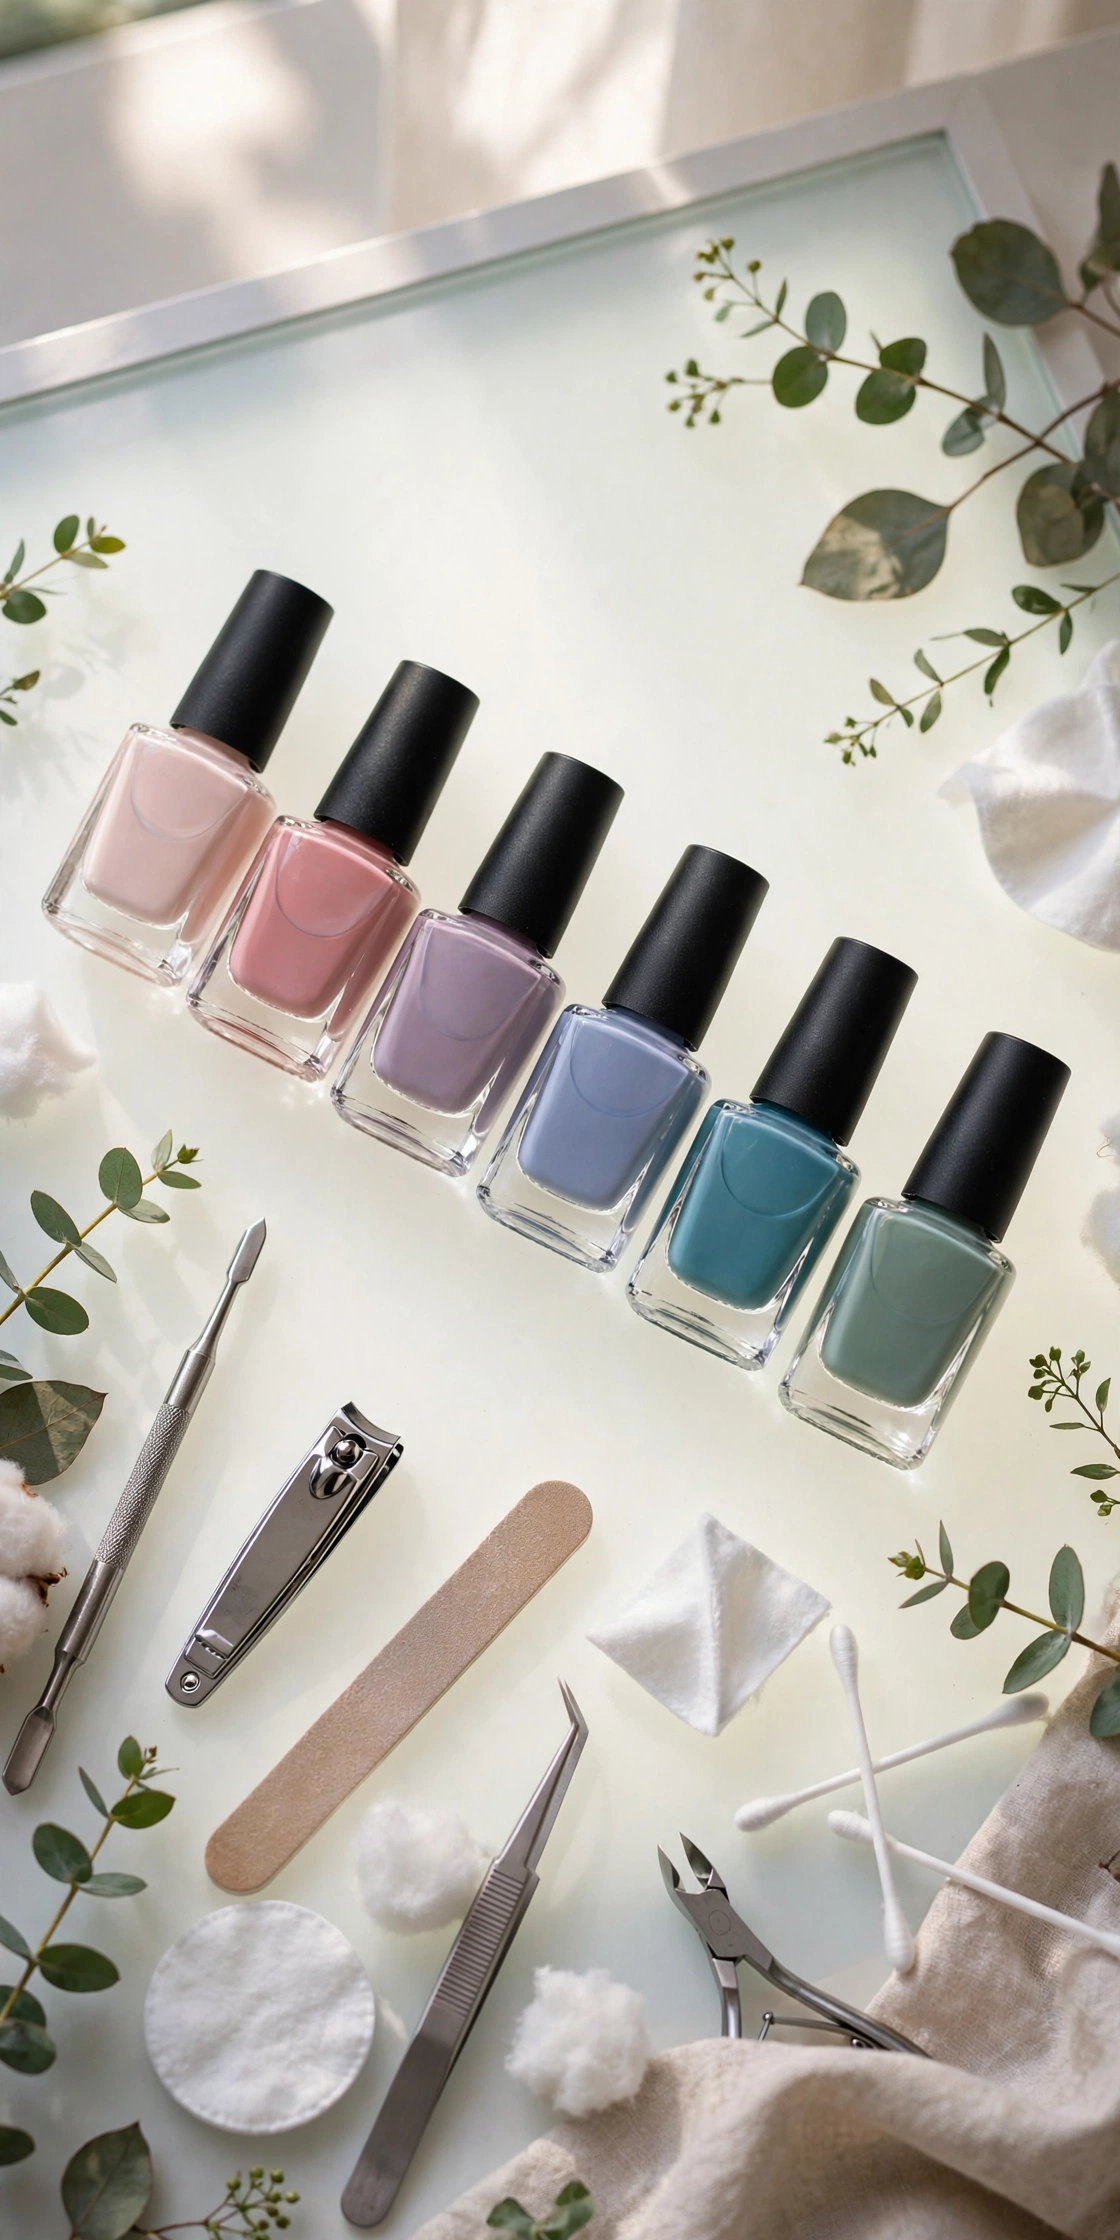
Pick shades with the same finish — all creams or all sheers — because a shimmer sponged over a cream sits on top instead of blending. Colours from one brand range usually share a formula and melt together kindly. If two shades refuse to blend, add a middle shade mixed from the two on a piece of foil. For tools, you need wedge sponges, base and top coat, a cleanup brush and remover; gradient brushes exist, but the sponge method is easier to learn and kinder to beginners.
Care Tips and Common Mistakes to Avoid
Oil your cuticles daily, because gradients draw the eye to the whole nail including its frame. Wear gloves for washing up; hot water and detergent dull the top coat that keeps the blend looking smooth. The common mistakes are sponging over a wet base, pressing instead of dabbing, using colours too far apart with no middle shade, and skipping the final thick top coat — that coat does half the blending work, so never rush it. Another frequent error is judging the blend before the top coat; sponged polish always looks grainy until it is sealed.
Frequently Asked Questions
How long does an ombre manicure last?
With regular polish, expect five to seven good days, longer if you refresh the top coat midweek. Gel ombre lasts two to three weeks. Soft nude fades hide regrowth and chips best, so they look good for the longest even as they wear.
Can I do ombre on very short nails?
Yes, with two light shades and the blend placed low on the nail. Avoid dark tips on very short nails, keep the shape oval or soft square, and use a small sponge piece for control. The result reads clean and neat rather than dramatic.
Why does my gradient look muddy?
Usually the two colours are too far apart with no middle shade, or the sponge was dragged instead of dabbed. Add a bridge colour mixed from the two shades, work in thin layers, and let the base dry fully before sponging.
Which colours blend most easily for beginners?
Neighbours: pink into white, nude into peach, mint into sky blue, lilac into pink. Colours close in depth forgive small mistakes. Save purple-to-blue and other high-contrast pairs until the dabbing technique feels natural.
Is ombre suitable for work?
The soft versions absolutely are — baby boomer and nude-to-rose fades look like a clean, polished manicure at meeting distance. Save the bold and sunset gradients for weekends if your workplace is formal, and keep the length moderate.
A Manicure That Grows With Your Mood
Start with the pink-to-white fade, learn the sponge dab on one practice nail, and then wander: a sunset for a holiday, purple into blue for an evening, mint into sky just because it is spring. The gradient is one technique with a hundred moods, and once your hand learns it, every bottle in your polish drawer pairs with every other.