Table of Contents
There is a reason freshly painted woodwork makes a whole room feel new, even when nothing else has changed. Skirting boards, architraves, door frames and window trim sit at eye level every time you walk through a doorway, and they collect scuffs, yellowing and dust faster than any wall. A skirting and trim paint refresh tackles exactly those tired edges for the price of one tin of paint and a free weekend, and the difference is out of all proportion to the cost.
This is not a full redecoration. The walls stay as they are, the furniture stays where it is, and you work through one room at a time. What changes is the frame around everything: the crisp white line where wall meets floor, the clean edge around each door, the bright reveal inside each window. Rooms that looked slightly shabby start to look cared for again, which is why decorators often do the trim first when a home is being prepared for sale or for guests.
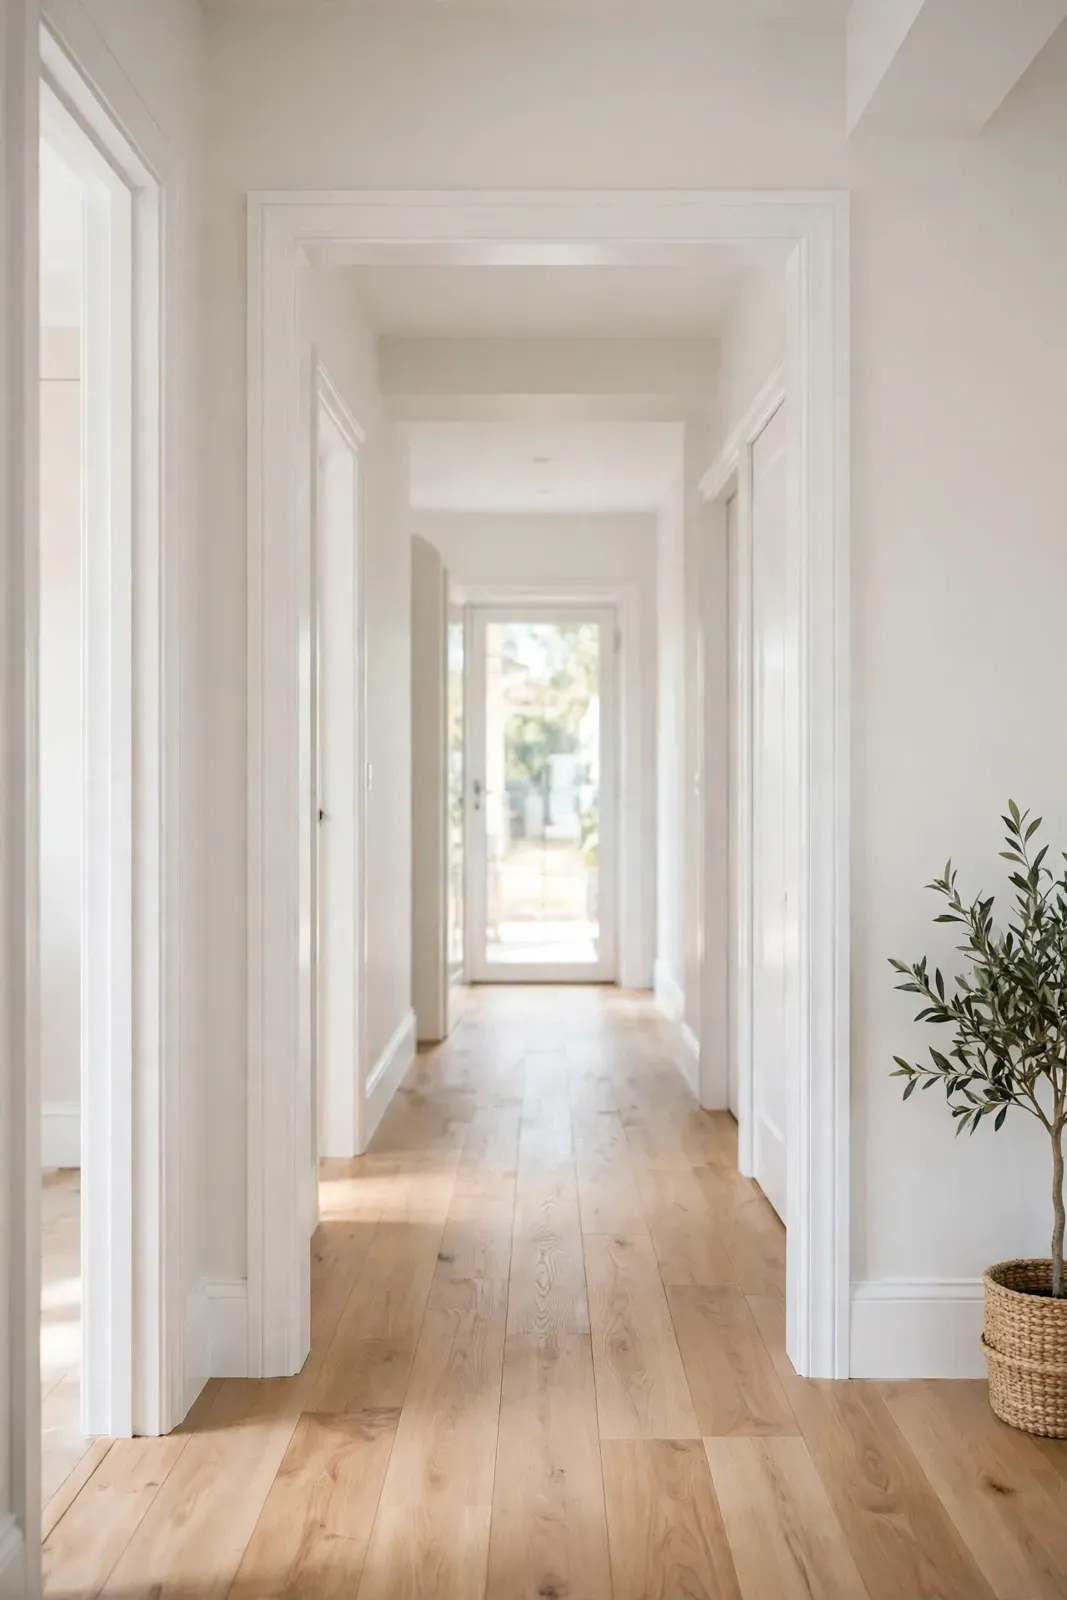
Why a Skirting and Trim Paint Refresh Works So Hard
Trim fails quietly. Gloss and satin paints yellow as they age, especially in rooms with little daylight, so woodwork that was bright white five years ago is now a tired cream that makes even clean walls look grubby. Add the daily evidence of life — vacuum cleaner knocks, shoe scuffs, chair legs, pet paws, the dark line of dust that settles along the top edge — and the baseboards become the most honest record of wear in the house. It is exactly the sort of tired detail a skirting and trim paint refresh is designed to erase.
Paint fixes all of it at once. A fresh coat restores the contrast between wall and woodwork, and contrast is what the eye reads as ‘clean’. It also seals small gaps and hairline cracks at the joints, protects the timber or MDF underneath from moisture in kitchens and bathrooms, and gives you the chance to fill the dings and dents that catch the light. No other job at this price touches every room in the same way. That is the quiet power of a skirting and trim paint refresh: small surfaces, whole-room effect.
Choosing the Right Paint for Skirting and Trim
The finish matters more than the brand. Traditional gloss gives the hardest, shiniest surface and bounces light around a hallway, but it shows every brush mark and yellows fastest. Satinwood is the modern default for a skirting and trim paint refresh: a soft mid-sheen that hides minor imperfections, wipes clean, and stays white far longer. Eggshell is flatter still and suits period homes where shiny woodwork looks out of place. For a plain-English guide to how these finishes behave, the Wikipedia overview of paint explains sheen levels and drying in useful detail.
Water-based paints are the practical choice indoors. They dry in a couple of hours, barely smell, clean up with water, and — most importantly — modern acrylic satinwood stays white instead of yellowing. Oil-based paint still wins on hardness for a staircase that takes daily knocks, but expect a long drying time and a stronger smell. Whatever you choose, buy a paint made for trim rather than using leftover wall emulsion: emulsion is too soft for woodwork and will scuff and peel within months. In short, the right product is what makes a skirting and trim paint refresh last.
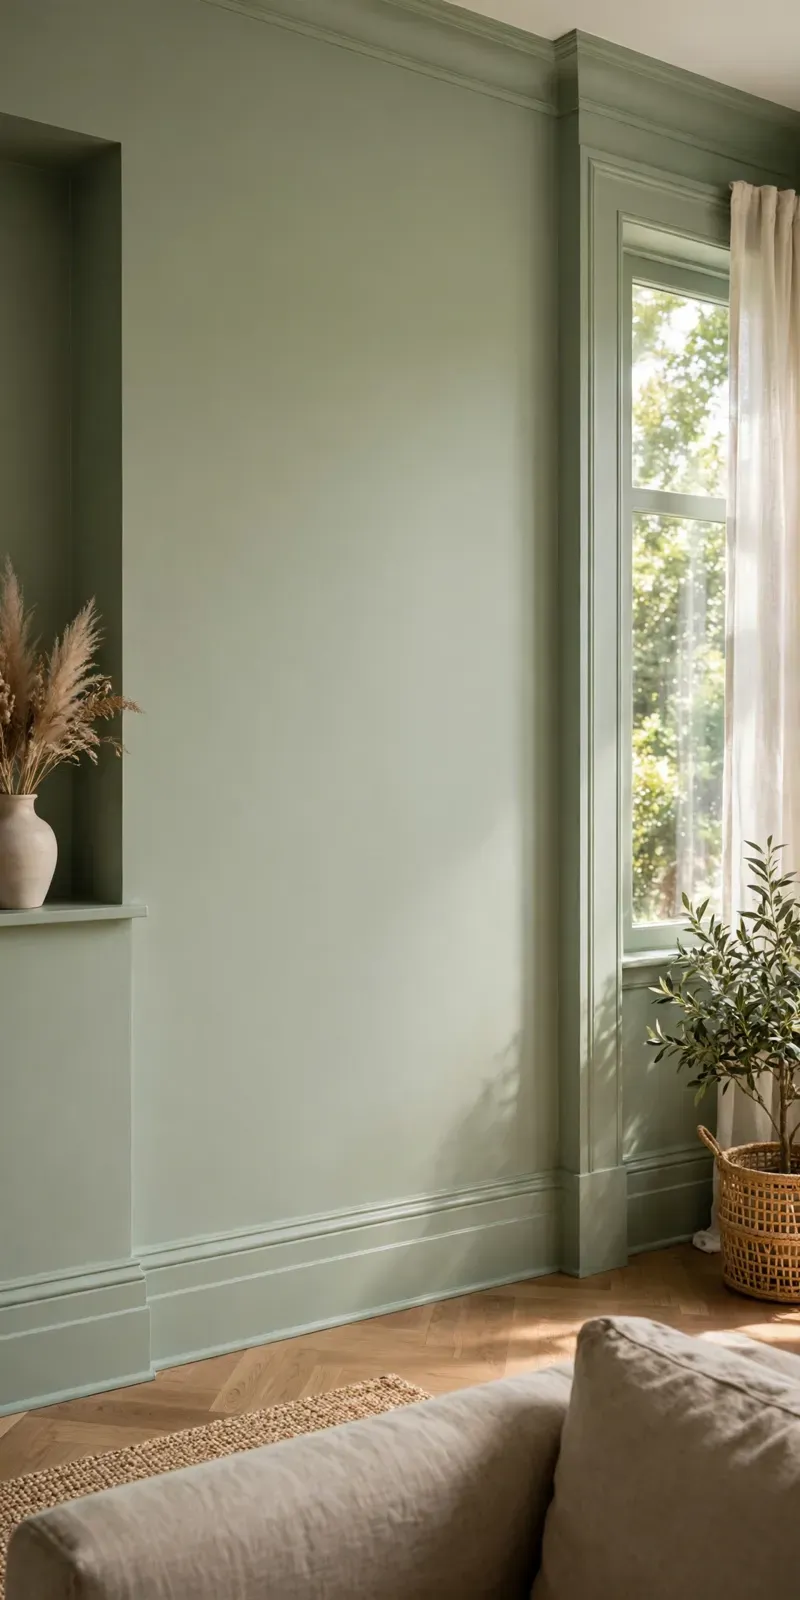
Colour is simpler than it looks. Pure brilliant white is right for most modern rooms, but against warm wall colours a slightly softer white (the tins labelled things like cotton, chalk or antique white) avoids a harsh blue-grey clash. In a bold room, painting the trim the same colour as the wall — colour drenching — makes small spaces feel calmer and hides awkward pipe boxing and uneven architraves completely. Whichever route you choose, test the shade at home first, because a skirting and trim paint refresh lives or dies by that final colour choice.
Skirting and Trim Paint Refresh: Step by Step
Work through these steps in order and the finish will look professional rather than patched. Take them one room at a time and the skirting and trim paint refresh stays manageable from start to finish.
Step 1: Clean before anything else. Wash all the woodwork with sugar soap solution and a sponge, rinse with clean water and let it dry. Paint over greasy, dusty trim peels, and skirting boards are always greasier than they look, especially in kitchens and hallways. Every successful skirting and trim paint refresh starts with this unglamorous step.
Step 2: Sand and fill. Run 120-grit sandpaper lightly over every surface to give the new paint something to grip, and rough up old gloss a little more thoroughly. Fill dents, gaps and mitre cracks with flexible filler, let it harden, then sand it flush. Run a thin bead of decorator’s caulk along the top edge of the skirting where it meets the wall — this single detail is what makes the finished line look sharp.
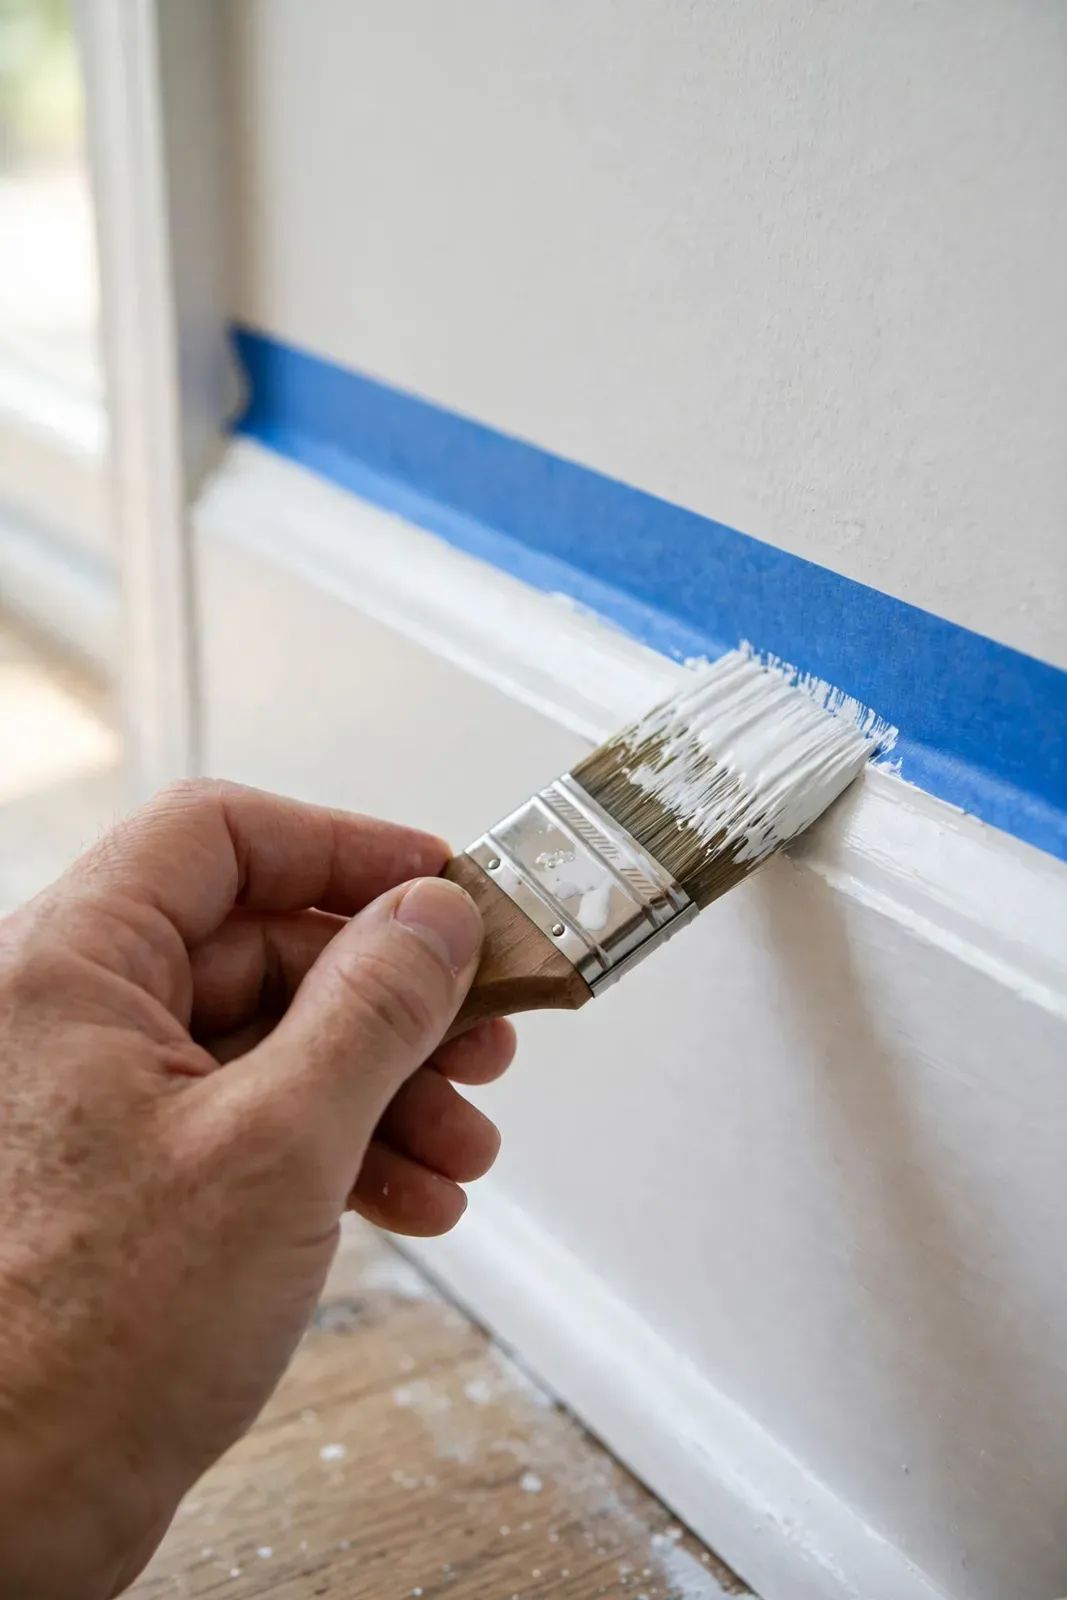
Step 3: Mask and protect. Lay dust sheets tight against the skirting, and run painter’s tape along the floor edge and the wall edge. Take your time here; ten careful minutes of taping saves an hour of touching up. The masking tape page explains the difference between low-tack and standard tapes, which matters on freshly painted walls.
Step 4: Prime only where needed. Bare wood, filled patches and any stain marks (water rings, nicotine, knot bleed) need primer or a stain-block coat. Sound old paint that has been sanded does not — your first coat of satinwood can go straight on.
Step 5: Paint in the right order. Do window frames first, then door frames and architraves, then the skirting last, so you are never leaning over wet paint. Use a 1.5 or 2 inch angled brush, load it a third of the way up the bristles, and lay the paint on in long strokes following the grain, finishing with one light stroke in a single direction. Two thin coats beat one thick coat every time: thick paint sags, drips and wrinkles.
Step 6: Peel the tape at the right moment. Remove masking tape while the final coat is still slightly tacky, pulling it slowly back on itself. Leave it until the paint is fully hard and you risk tearing the new edge away with the tape. Touch up any wobbles with an artist’s brush once everything is dry.
Room-by-Room Notes
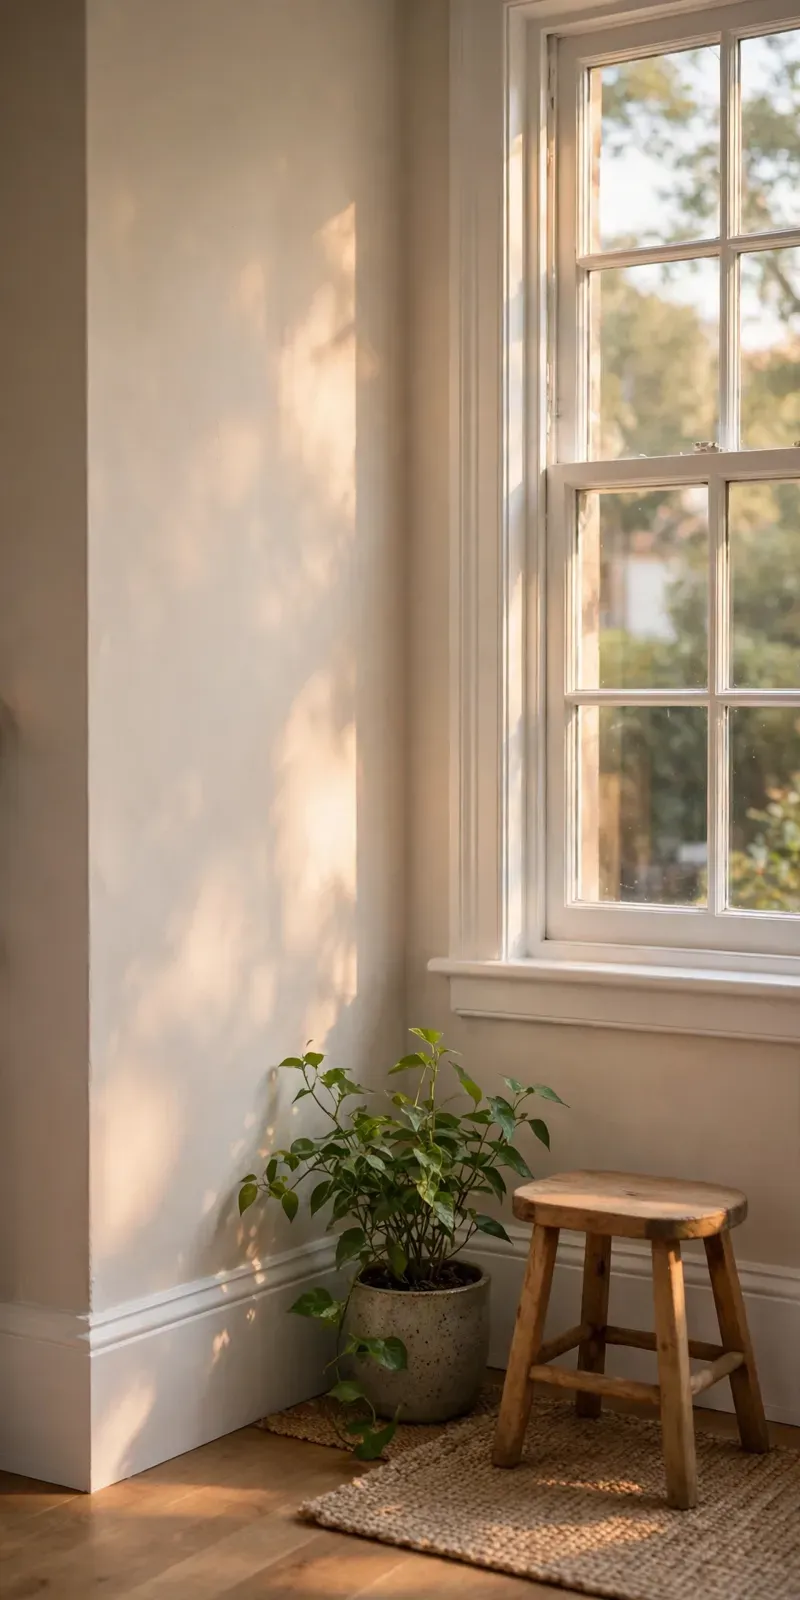
Hallways and stairs take the worst punishment, so they repay a harder-wearing finish and an extra coat on the stair skirting and handrail-adjacent trim. In living rooms, the trim around the fireplace and any picture rails or coving should be painted in the same session so the whites match exactly — painting half the woodwork in a room makes the other half look worse by comparison. Treat each room as its own small skirting and trim paint refresh and the results stay consistent.
Bedrooms benefit most from the softer whites and lower sheens, which keep the room feeling restful; a high gloss around a bed headboard can glare under lamplight. In kitchens and bathrooms, choose a mould-resistant or kitchen-and-bathroom labelled trim paint around windows and doors where condensation gathers, and be extra careful with the caulk line along bathroom skirting, because that joint is where moisture creeps in. If you are planning bigger kitchen changes too, our guide to small living room layout ideas shows how much difference the finishing details make in compact spaces. The same eye for edges is what makes a skirting and trim paint refresh pay off in small rooms.
Budget, Timing and Buying Advice
One room’s woodwork usually needs a single 750ml or 1 litre tin of satinwood, which costs less than a takeaway meal in most markets; a whole flat can often be done from one 2.5 litre tin. Add sugar soap, filler, caulk, two grades of sandpaper and a decent brush and the full kit for a room is still modest. Do not economise on the brush: cheap brushes shed bristles into wet paint and leave tramlines, while a good synthetic brush lasts for years of refreshes. For a typical skirting and trim paint refresh, that brush is the one tool worth paying extra for.
Timing is realistic: cleaning, filling and sanding one room takes about an hour, each coat takes 20 to 30 minutes to apply, and water-based paint is ready for its second coat in 2 to 4 hours. A room per evening, working through the home across a week, is a comfortable pace that never leaves the house looking half-finished. Keep a small labelled jar of the trim paint afterwards — future scuffs then take two minutes to touch up instead of becoming next year’s project. That little habit stretches the life of every skirting and trim paint refresh you do.
Mistakes That Ruin a Trim Refresh
Skipping the wash is the classic one: the paint looks fine for a month, then flakes off the greasy patches. Painting straight over shiny old gloss without sanding causes the same failure. Another frequent error is loading the brush too heavily on the top edge of the skirting, so paint pools and drips down the face while you are working on the next section — check back over each length within a few minutes and brush out any runs while they are wet. Most skirting and trim paint refresh failures trace back to skipped preparation rather than poor painting.
Colour mistakes come from testing white against white under shop lighting; brush a little onto card and hold it against your wall in daylight and lamplight before committing. And avoid painting in a cold, damp room or late in the evening: condensation settling on slow-drying paint leaves a dull, bloomed finish that no second coat quite fixes. A calm, methodical skirting and trim paint refresh avoids both traps.
Frequently Asked Questions
How often should skirting and trim be repainted?
In a busy household, every three to five years keeps woodwork looking fresh; hallways and stairs may need attention sooner. Water-based whites stay bright longer than old oil-based gloss, so the interval stretches once you have switched. Keeping to that rhythm means each skirting and trim paint refresh is a light job, not a rescue mission.
Can I paint over old gloss without sanding?
Not reliably. The new coat needs a keyed surface, so at minimum wash with sugar soap and sand until the shine is gone, or use a dedicated adhesion primer. Skipping this is the main cause of peeling trim paint. It is the single most important habit behind a durable skirting and trim paint refresh.
Should trim be painted before or after the walls?
If you are doing both, paint the trim first, let it harden for a day, then tape its edge and paint the walls — wall paint mistakes wipe off sealed woodwork easily. For a trim-only refresh like this one, just mask the walls carefully.
What is the best finish for skirting boards?
Satinwood suits most homes: durable, wipeable and not too shiny. Choose gloss for maximum hardness in high-traffic halls, eggshell for a soft period look, and always a water-based formula if staying white matters.
How do I stop white paint yellowing?
Use a quality water-based satinwood or eggshell, since yellowing is mainly an oil-based paint problem in low light. Good ventilation and daylight help, and avoiding smoking indoors keeps any finish brighter for longer.
A Small Job Worth Doing Properly
A skirting and trim paint refresh will never be the most glamorous project in a home, but it might be the most satisfying per rupee, pound or dollar spent. The materials are cheap, the skills are learnable in one room, and the result — those clean white lines framing every doorway — quietly lifts every other thing you own. Start with the hallway, where the difference shouts loudest, and let that first finished room carry you through the rest of the house. Done well, a skirting and trim paint refresh is the upgrade guests notice without ever knowing why.