Table of Contents
Open most kitchen cupboards and you will find the same quiet problem: three open packets of rice, a bag of flour folded over on itself, and lentils whose age nobody can remember. A pantry jar labelling system fixes that in the simplest possible way. Everything dry goes into a clear jar you can see through, every jar gets a clear label you can read at a glance, and the oldest stock always sits at the front where it gets used first. Nothing is hidden, nothing is guessed, and far less ends up in the bin. That is what a pantry jar labelling system is for.
The change is not really about pretty shelves, although the shelves do end up looking calm and orderly. It is about information. When you can see exactly what you have and how much of it, shopping lists write themselves, duplicate packets stop appearing, and cooking on a weeknight gets faster because nothing needs hunting for. This guide walks through choosing jars, labelling them properly, and running the small rotation habit that keeps the whole system honest. A pantry jar labelling system turns that information into a daily habit.
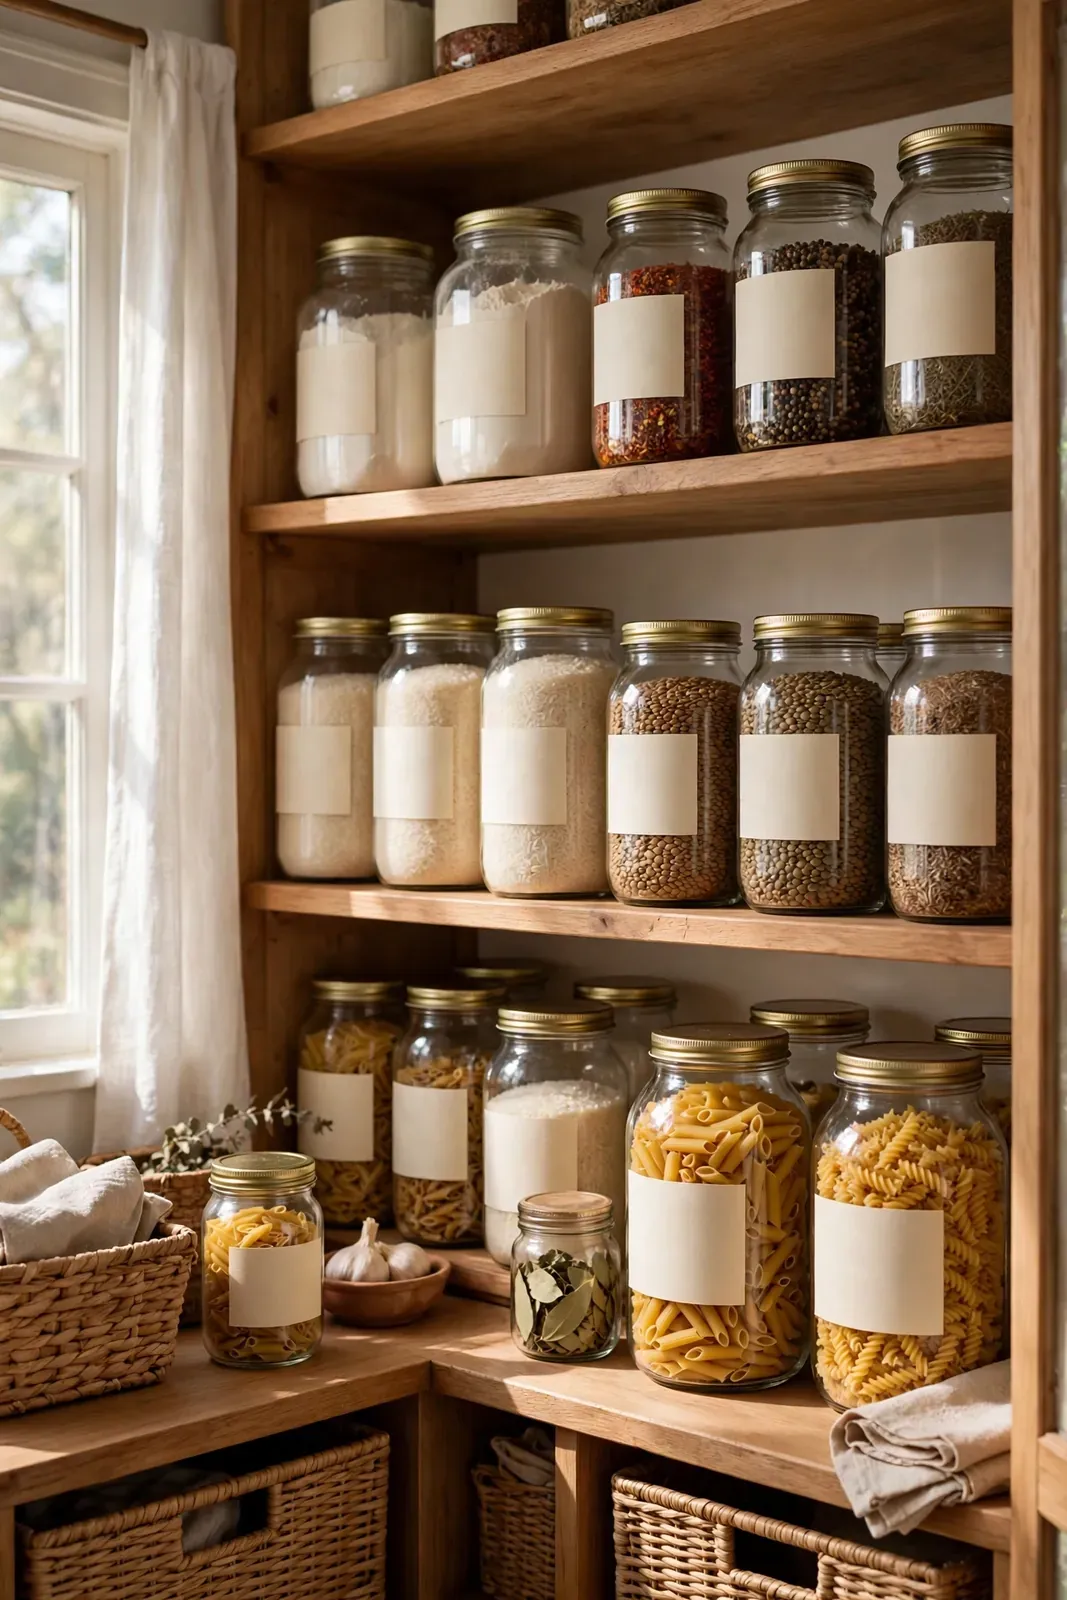
What a Pantry Jar Labelling System Actually Does
A good system does three jobs at once. First, it makes dry goods visible: flour, rice, pasta, oats, sugar, beans and spices sit in clear containers at eye level instead of slumping in torn packaging at the back of a cupboard. Second, it dates everything, so you know not just what a jar holds but when it went in. Third, it creates a simple order of use, oldest first, which is the habit professional kitchens rely on to keep stock fresh. A pantry jar labelling system keeps that order visible every day.
The idea is an old one. The traditional pantry, a cool dedicated room or cupboard for storing food, worked because everything had a place and could be surveyed in one look before cooking or shopping. Modern flats rarely have a separate larder, but a single cupboard or two open shelves organised this way give you the same advantage in miniature: one glance tells you what is for dinner and what needs buying.
Choosing Jars That You Can See Through and Seal Properly
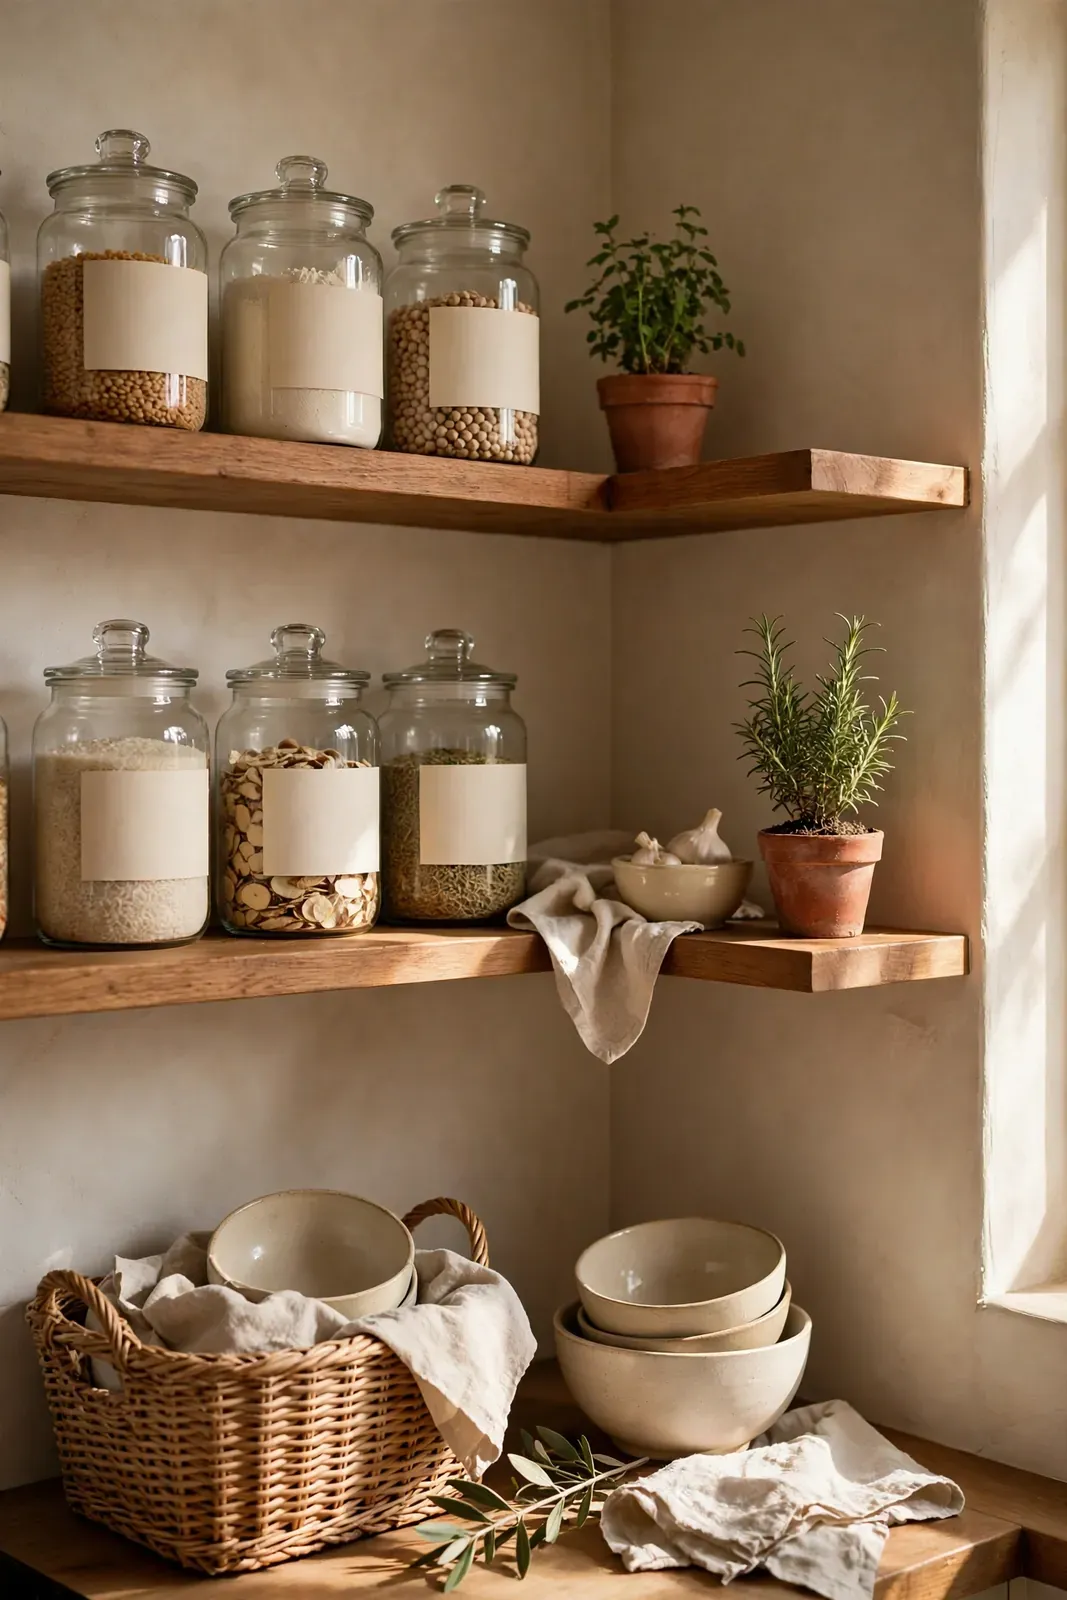
Start with the container, because the label cannot save a bad jar. Clear glass, a material valued for centuries because it does not absorb smells or flavours, is the best default for dry goods: it shows the contents honestly, washes clean, and does not hold the smell of last month’s spices. Look for wide mouths you can fit a scoop or your hand into, because jars that are awkward to fill are jars that stop being used.
The lid matters as much as the body. Airtight seals — a rubber gasket on a clip-top lid, or a well-fitting bamboo or metal lid with a silicone ring — keep flour and oats from going stale and keep pantry moths out. Buy one family of jars in two or three sizes rather than a dozen different shapes. Matching footprints stack and line up neatly, and a shelf of uniform jars is far easier to read than a crowd of mismatched containers.
Keep a couple of smaller jars for seeds, baking soda and the odds and ends that otherwise live in half-open packets. If you are setting up jars for the first time, our companion guide to pantry organisation with jars and labels covers the basic layout to build on.
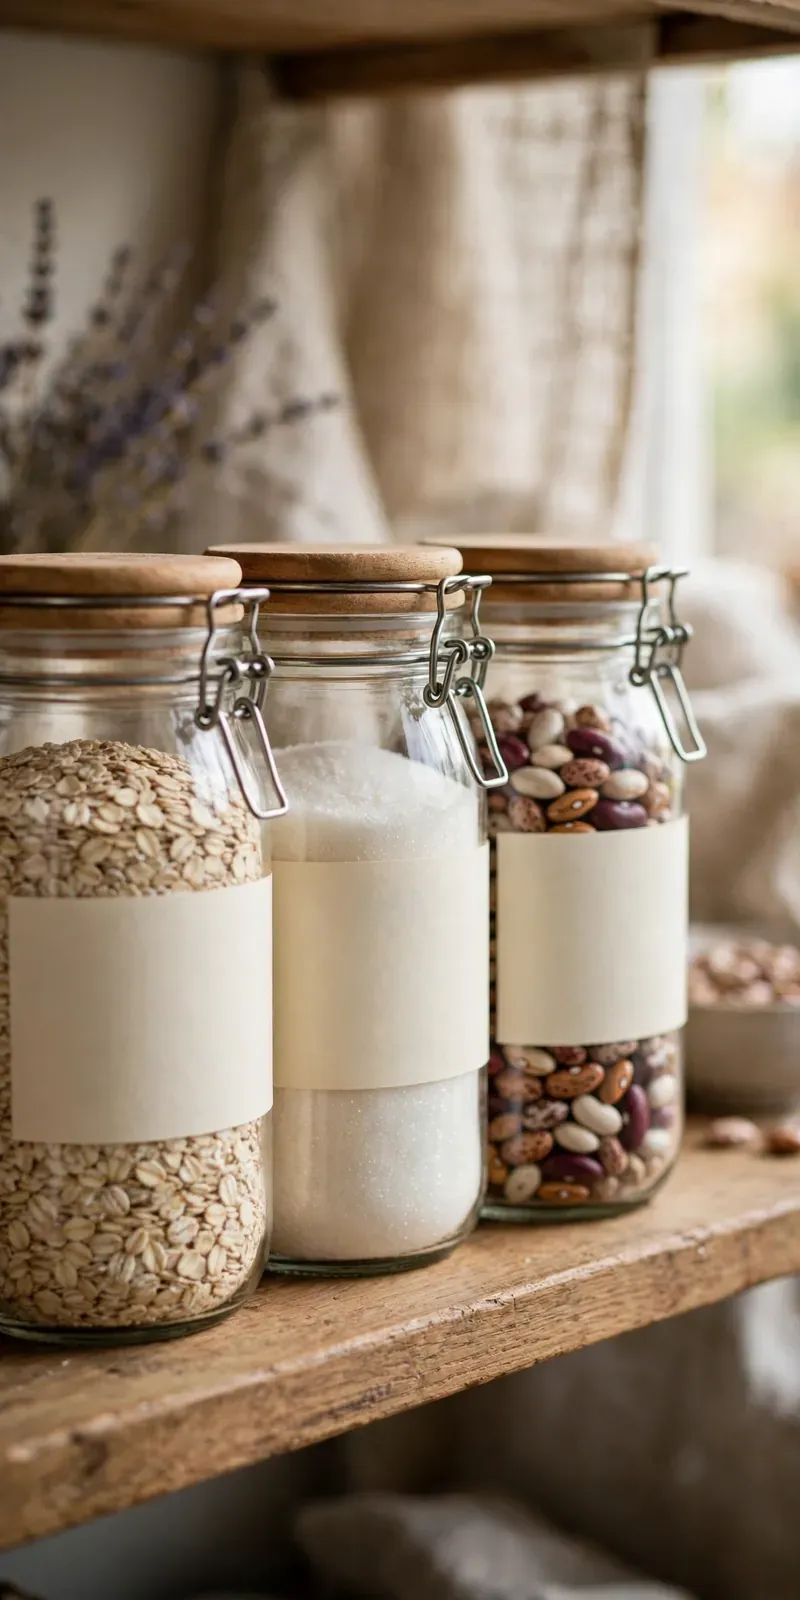
Labels That Stay Readable: Name, Date and One Extra Detail
Every label needs three things: the name of the contents, the date it was decanted or opened, and one useful extra — the expiry date from the original packet, a cooking time for grains and beans, or a note like ‘gluten-free’ where it matters. Write in plain block letters with a thick marker or printed labels in a decent-sized font. A label you have to squint at will be ignored, and an ignored label is just decoration. That is the heart of a pantry jar labelling system: a label anyone can read in seconds.
Place every label in the same position — centred on the front of the jar, at the same height — so your eye learns where to look. For jars stored on high shelves, a second small label on the lid helps. Choose one labelling method and stick to it across the whole pantry: all paper labels, all chalk-style labels, or all printed. Mixed styles look untidy and, more importantly, mixed date formats cause mistakes. Write dates the same way every time, day and month spelled out if that is clearer in your household. Consistency is what makes a pantry jar labelling system easy for the whole household to use.
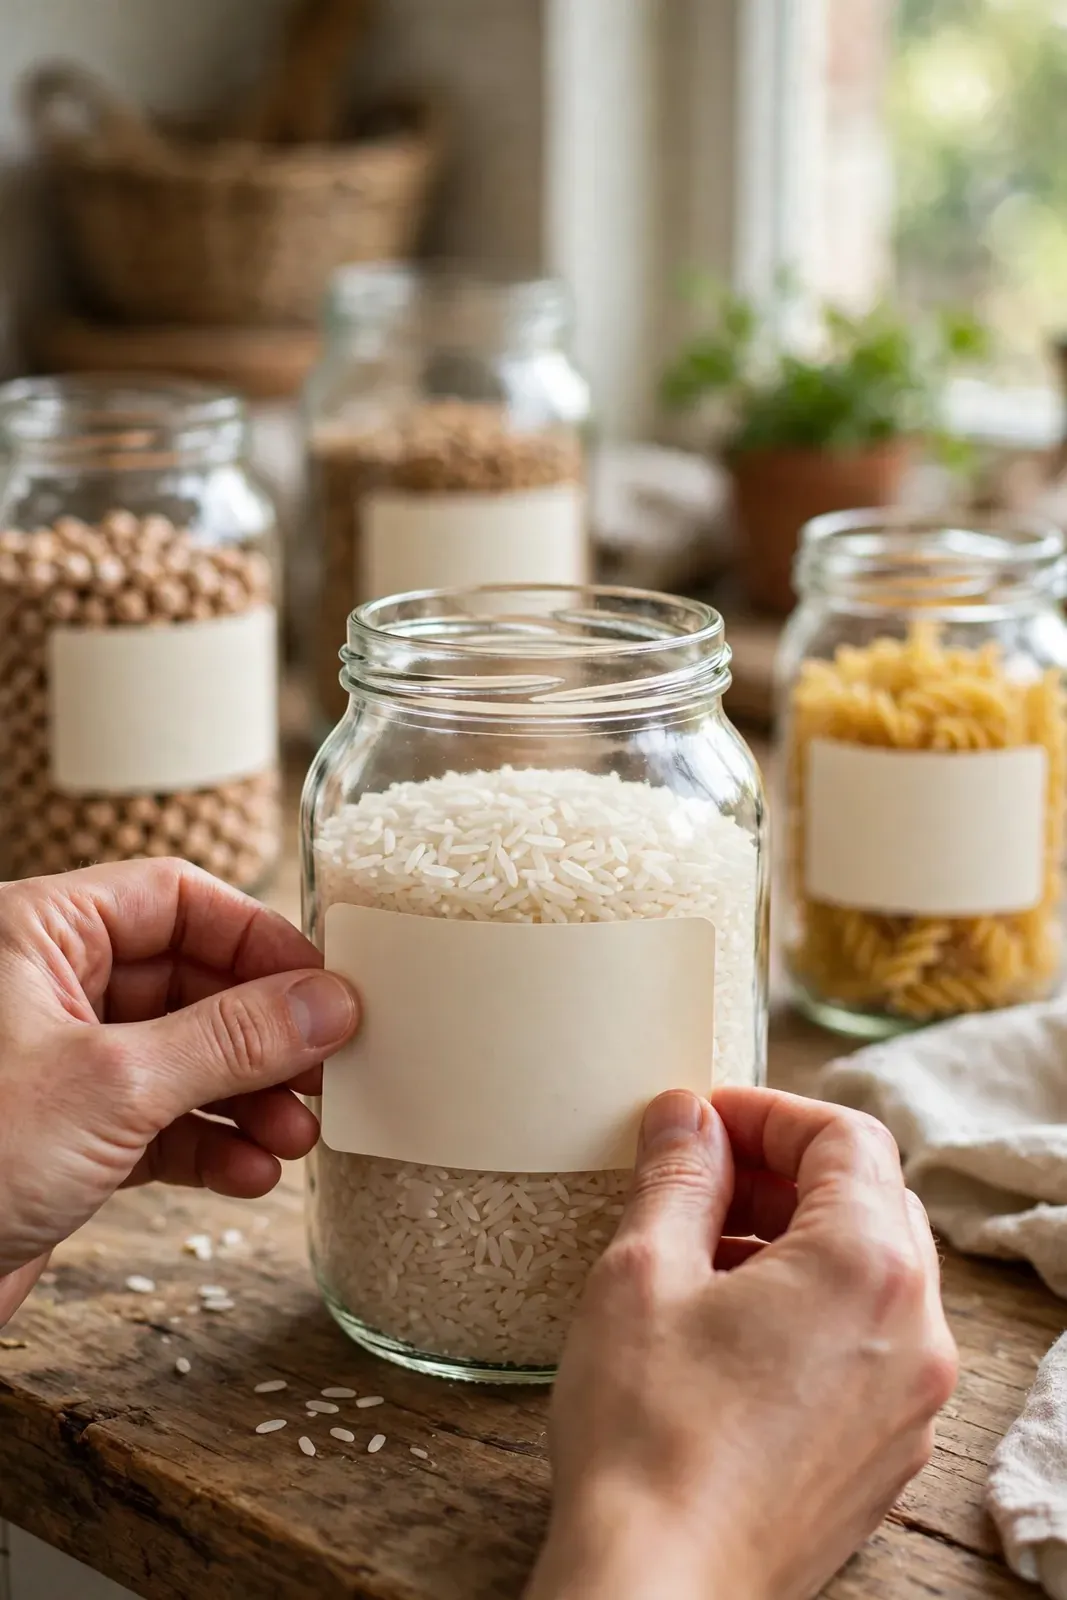
Your Pantry Jar Labelling System, Step by Step
Step 1 — Empty and sort. Take everything out of the cupboard or shelves. Group by type: grains, flours, beans and lentils, pasta, baking supplies, spices. Throw out anything stale, and combine duplicates into one pile so you can see your real stock for the first time.
Step 2 — Wash, dry and decant. Wash the jars and dry them completely; even a little moisture will spoil dry goods. Fill each jar, leaving a small gap at the top, and cut the expiry date off the original packet and slip it inside the lid or note it straight onto the label.
Step 3 — Label as you go. Label each jar the moment it is filled — name, today’s date, expiry or cooking note. Never rely on labelling later; unlabelled jars are how mystery powders are born. Photograph the finished shelf if it helps the rest of the household keep to the system.
Step 4 — Arrange by use, oldest in front. Put everyday items at eye level and occasional baking supplies higher or lower. Within each row, the oldest jar goes at the front. If you have two jars of the same thing, the older one is always the one in use.
Step 5 — Add a running list. Stick a small notepad or whiteboard inside the cupboard door. When a jar drops below a quarter full, its name goes on the list. Shopping from that list, instead of from memory, is what stops the duplicate packets coming back.
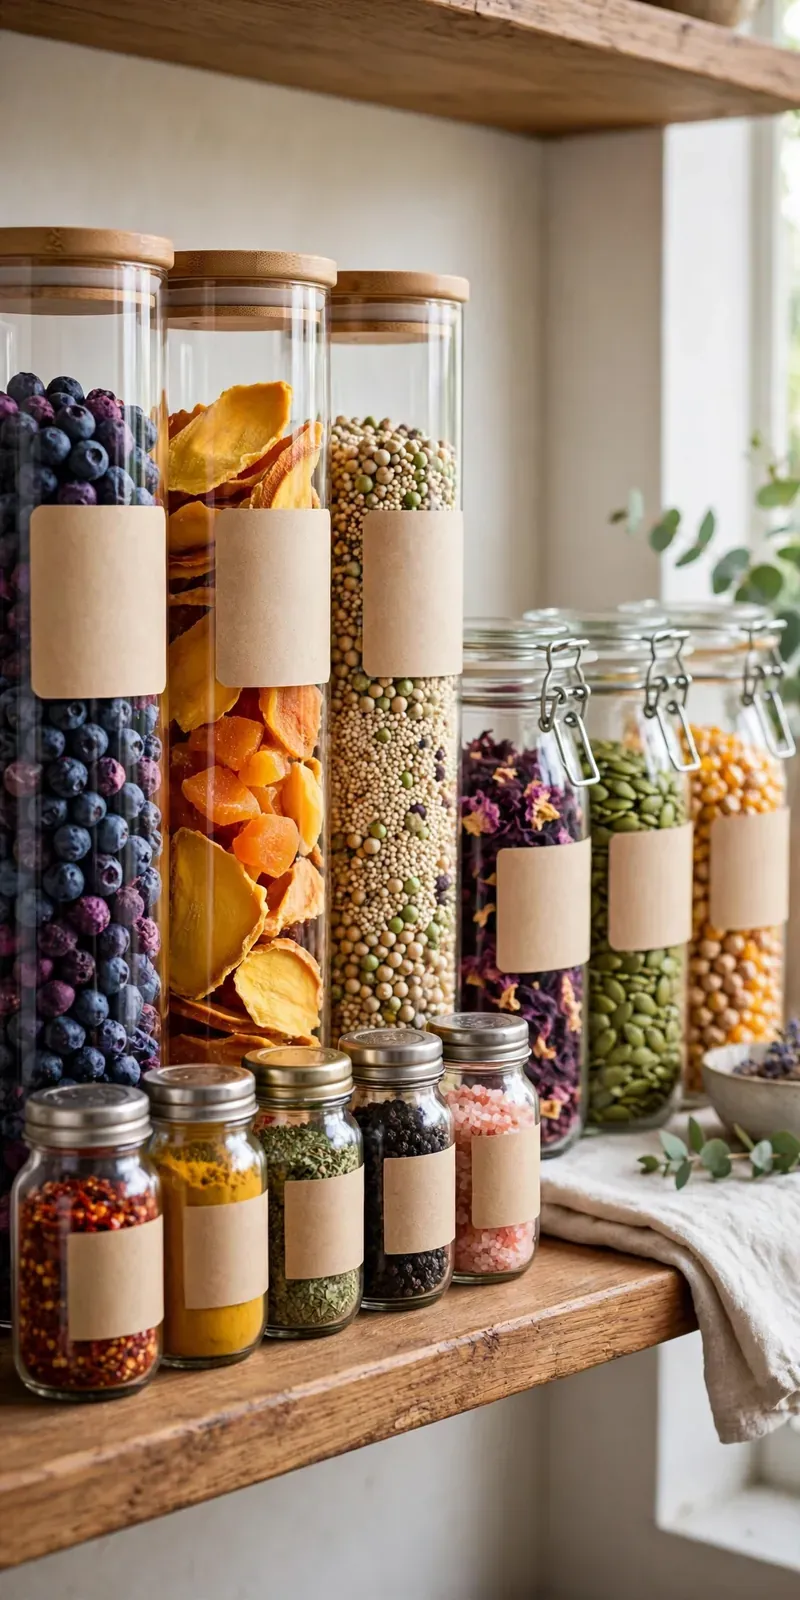
Stock Rotation: The Small Habit That Prevents Waste
Rotation is the part people skip, and it is the part that actually saves money. The rule is first in, first out: new stock never goes in front of old stock, and a new bag of rice is never tipped on top of old rice in the same jar. Topping up a jar mixes ages, buries the oldest grains at the bottom, and makes the date on the label meaningless. Finish the jar, wash it, then refill it and write the new date. Rotation is where a pantry jar labelling system earns its keep.
Once a week, give the shelves thirty seconds of attention while the kettle boils. Slide anything near its date to the front, check the running list, and plan one meal around whatever needs using soonest — the half jar of red lentils, the pearl barley, the small amount of polenta. That tiny weekly glance is the difference between a labelling system that works for years and one that quietly becomes a display of forgotten jars. That weekly check keeps the pantry jar labelling system honest.
Budget and Buying Advice: Build It Gradually
You do not need a matching designer set to start. Clean jam jars, coffee jars and sauce jars with the labels soaked off are perfectly good containers, and many households build half their system from jars they already own. Spend money first where it counts: a few large airtight jars for flour and rice, which suffer most from stale air and pests, and a proper set of labels or a label maker only if handwriting genuinely will not be read in your house. A pantry jar labelling system can start with jars you already own.
Buy jars in small batches as you learn your sizes. Most families find they need fewer, larger jars than expected for staples and more small ones than expected for spices and seeds. Charity shops and market stalls are good sources of heavy glass jars at very low prices; just check the seals and replace tired rubber gaskets, which are cheap and widely sold. Avoid buying a huge uniform set on day one — it locks you into sizes before you know how your kitchen actually cooks. Built gradually, a pantry jar labelling system fits the way your kitchen really cooks.
Common Mistakes to Avoid
The most common mistake is decanting without dating, which leaves you with beautiful jars and no idea what is fresh. The second is topping up instead of finishing and washing, which mixes old and new stock and can carry weevils or staleness from one batch into the next. Third, labelling in faint pencil or tiny script that nobody can read in cupboard light. Fourth, storing jars in a hot spot above the cooker, where heat and steam shorten the life of everything inside. Finally, buying decanters for foods you rarely eat — the system should cover your real weekly cooking, not an imagined version of it. Every one of these mistakes weakens a pantry jar labelling system.
Frequently Asked Questions
What should go on a pantry jar label?
Three things: the name of the food, the date you filled the jar, and one useful extra such as the packet expiry date or the cooking time. Keep the wording and date format identical on every jar so anyone in the house can read the shelf at a glance. In a pantry jar labelling system, every label follows that same pattern.
Can I reuse jars I already have?
Yes — clean jam, coffee and sauce jars work well, especially for spices, seeds and smaller quantities. Wash them thoroughly, dry them completely, and check that the lids seal well. Save your spending for a few large airtight jars for flour, rice and other staples. Reused jars work well in a pantry jar labelling system if the lids seal properly.
How do I stop old and new stock getting mixed?
Follow first in, first out. Never tip a new bag on top of old contents in the same jar. Finish the jar, wash and dry it, then refill and relabel with the new date, and always keep the oldest jar at the front of the row. That rule protects any pantry jar labelling system.
How often should I check the jars?
A quick weekly glance is enough for most homes: move anything nearing its date to the front, note low jars on the door list, and plan a meal around what needs using. A fuller sort once or twice a year catches anything the weekly check missed. A pantry jar labelling system needs only that light, regular attention.
Are plastic containers just as good as glass?
Good airtight plastic works, but clear glass has real advantages: you can see the contents and level instantly, it does not absorb smells or stains, and it washes completely clean. If you use plastic, choose clear, food-grade tubs and replace any that stay cloudy or scented after washing. Either way, a pantry jar labelling system works best with containers you can see into.
A labelled pantry is not a weekend project that ends; it is a small, kind routine that keeps paying you back. One shelf of clear, dated jars means calmer cooking, shorter shopping lists and food that gets eaten while it is still good — and there is a quiet pleasure in opening a cupboard where everything can be seen, read and reached without a search. A pantry jar labelling system is simply that routine, kept up jar by jar.