There is a particular kind of nail that goes with everything you own, photographs like a dream and never shouts. Blush marble is that nail. Soft pink washed through with milky white swirls, it has the depth of a salon design and the neutrality of a nude — and in an almond shape on a press-on, you can have it on your hands in fifteen minutes at the kitchen table, with no appointment and no drying time.
This guide covers nine ways to wear blush marble almond press-ons, from the sheer everyday version to a longer evening set, then walks through application step by step so they last a week or more instead of popping off in the washing-up. There is buying advice on sizing, glue versus tabs, and finish, plus the removal routine that keeps both your natural nails and the press-ons in good enough shape to reuse.
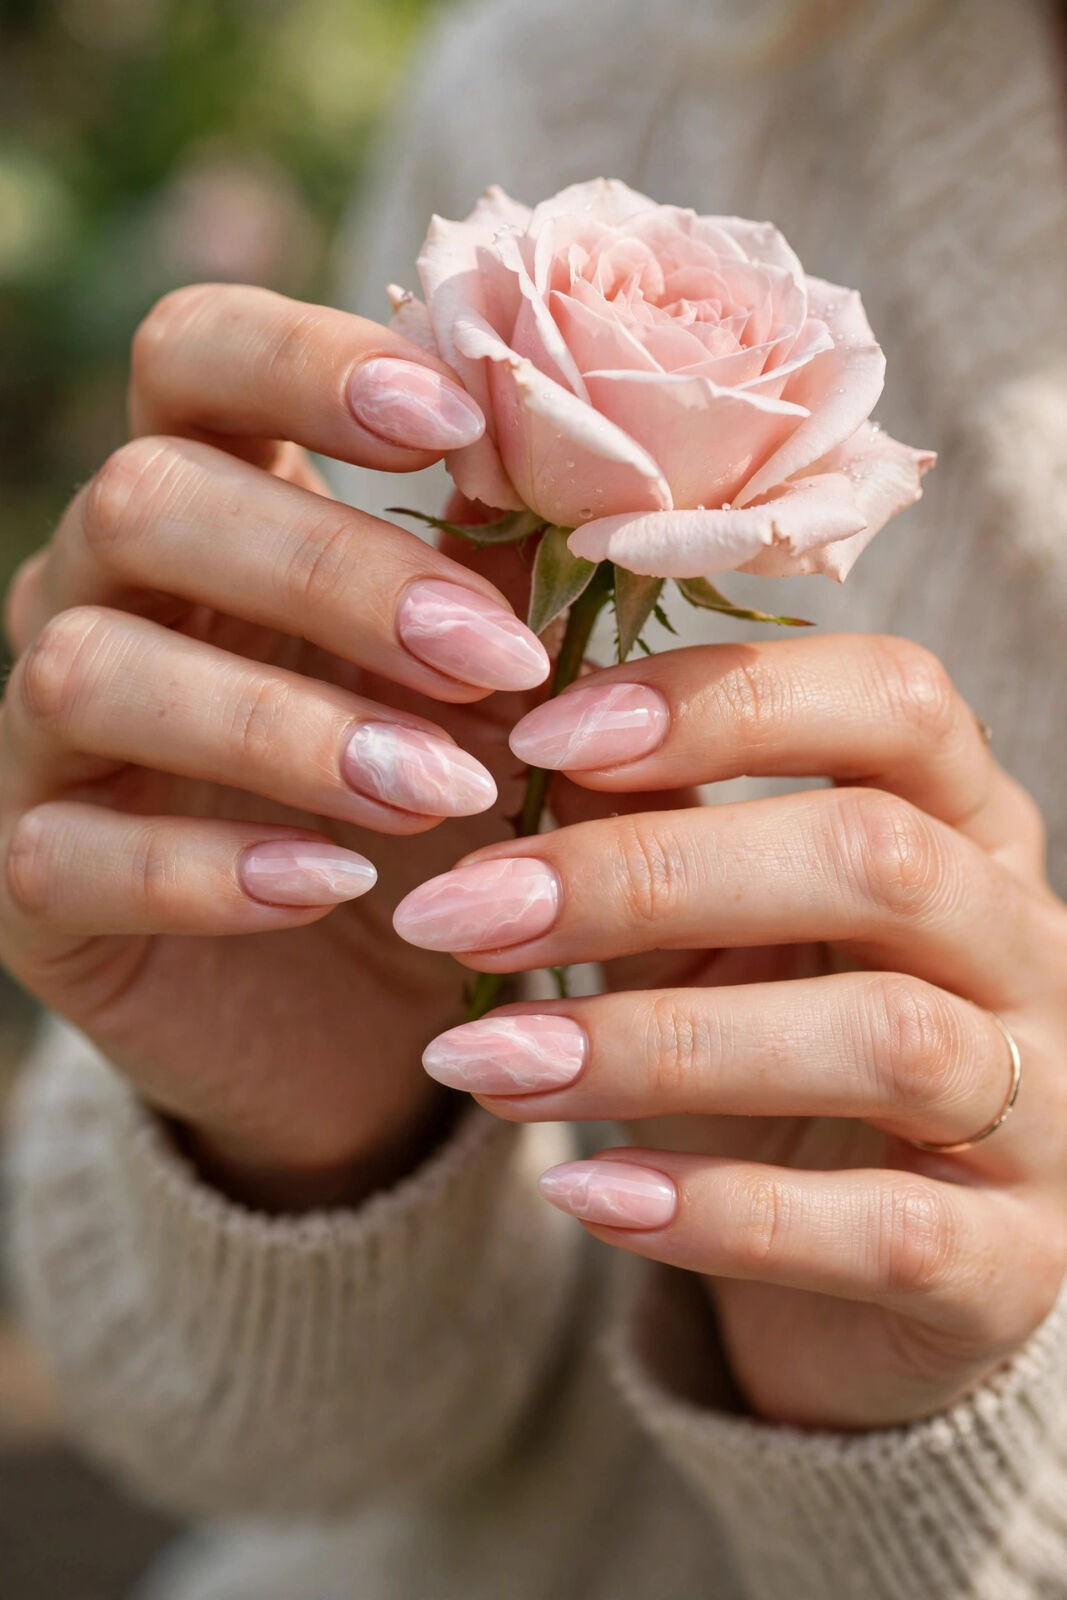
Why Blush Marble and Almond Were Made for Each Other
Marble designs need surface to breathe. On a short square nail, the white swirls get chopped into corners and the pattern reads as a smudge; on an almond, the design follows the long curve of the nail and the veining flows tip to cuticle the way it does on real stone. Blush is the kindest marble colour, too — cooler grey marbles can look chilly on many skin tones, while blush pink warms the hands and flatters short fingers by visually lengthening them.
Press-ons have quietly become the sensible way to wear a design like this. A good set is printed or hand-painted under a gel-effect top coat, so the marble sits under glass rather than on top of it, and every nail in the set matches — something even good salons struggle to repeat across ten fingers. When the set comes off cleanly, it goes back in its case for another wear, which makes the cost per wear lower than almost any other manicure.
1. Classic Medium Almond, Full Marble
The set as it comes: medium almond, marble on all ten nails, glossy finish. This is the hero look in the first photo — soft, finished, and neutral enough for work, weddings and everything between. Choose a set where the veining varies from nail to nail; real marble never repeats, and a set with identical prints on every finger is the one giveaway that they are press-ons.
2. Sheer Blush With Marble Accents
If a full marble set feels busy, wear plain sheer blush on eight nails and marble only on the ring fingers, or on ring and middle. The accent version is the most office-friendly of all — from a normal distance your nails just look like a perfect pale pink, and the marble appears when someone looks closely.
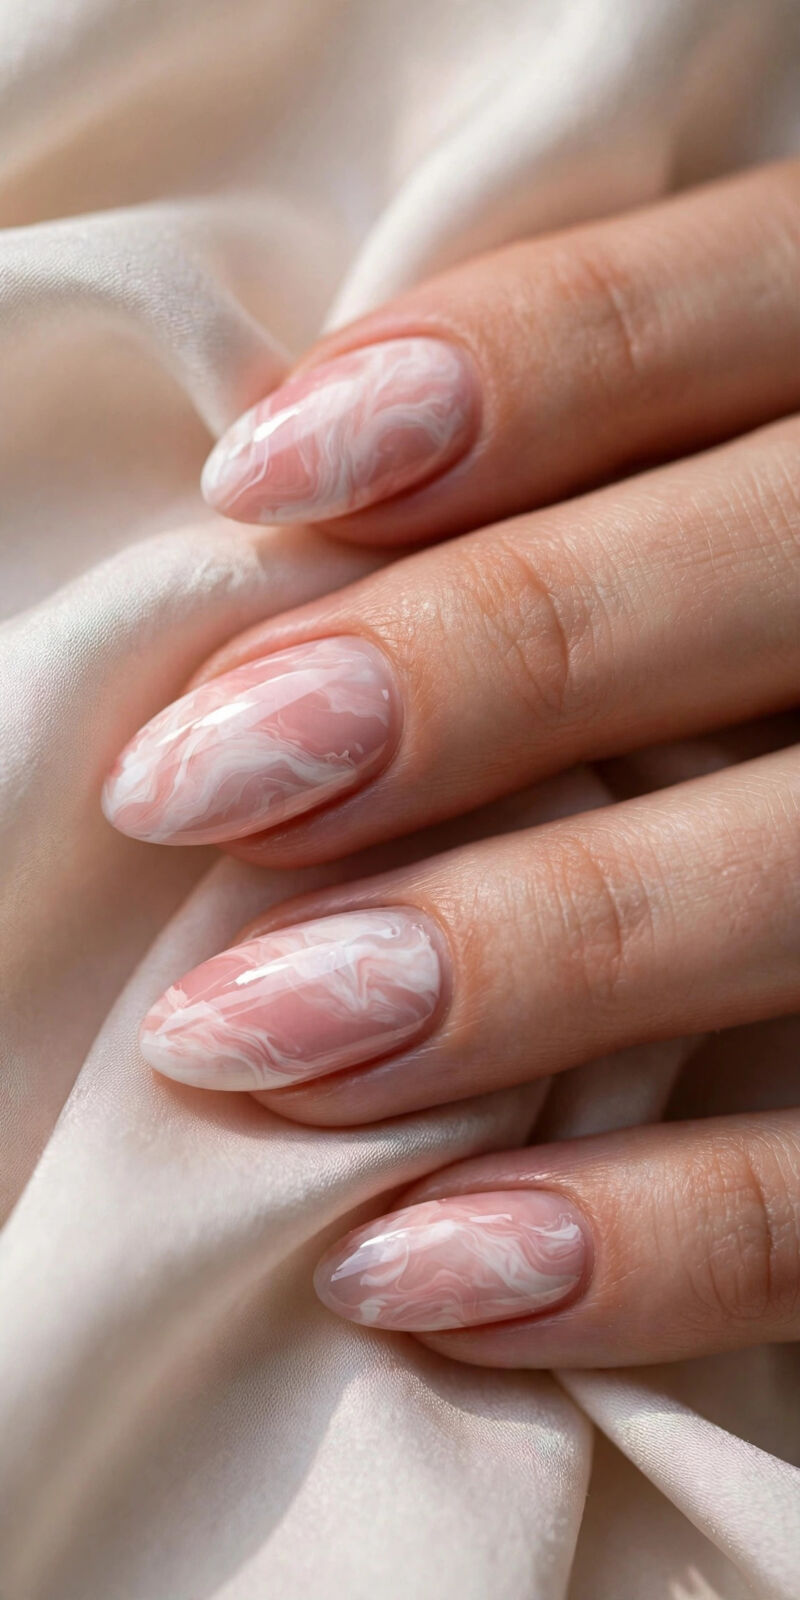
3. Short Almond for Real Life
Almond does not have to mean long. A short almond — just past the fingertip, with the same tapered sides — keeps the elegant shape but survives typing, cooking and small children. The marble pattern is printed at the same scale, so on short nails choose a set with finer, softer veining rather than bold swirls, which can overwhelm a small nail.
4. Longer Almond for Evenings
For events, step up to a long almond set, like the coffee-cup photo in this guide. The extra length makes the marble look like poured stone and turns simple outfits — a black dress, a cream knit — into a whole look.
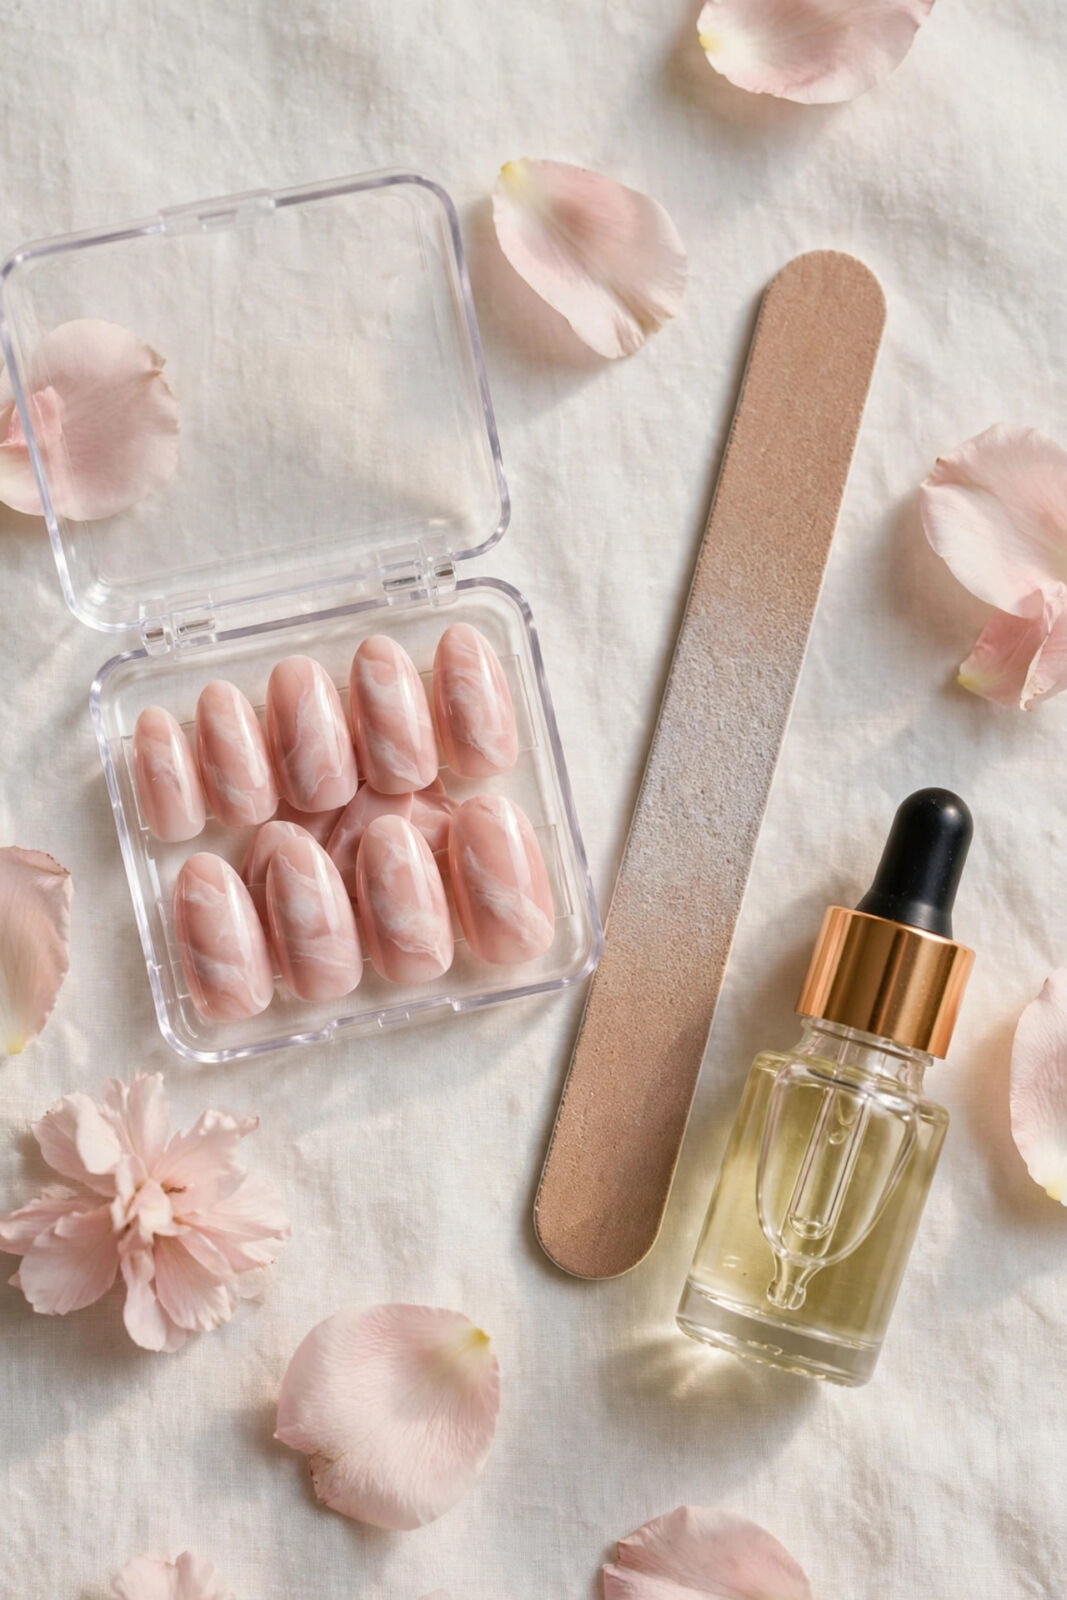
5. Matte Marble for a Stone-True Finish
Real marble is not shiny, and a matte top coat makes blush marble look startlingly like the actual material. Matte sets read quieter and more modern than glossy ones and hide small application flaws better, which makes them a kind first set for beginners. The trade-off: matte finishes pick up foundation and pen marks more easily, so keep a gentle soap wash in your evening routine.
6. Marble French Tips
A newer twist: a sheer blush base with the marble concentrated at the tip, in place of the classic white French line. It gives you the lengthening effect of a French manicure with a softer, more organic edge, and because the free edge is where press-ons get knocked most, the busier pattern there also disguises tiny chips better than a plain tip would.

7. Mixed With Plain Gold Foil Accents
A few sets now pair blush marble with one or two nails of fine gold foil flecked through blush. Worn on the ring finger only, it catches light against the matte softness of the marble and ties in gold jewellery beautifully. Keep it to one accent per hand — foil on every nail turns a soft design loud, and the blush stops reading as blush.
8. The Bridal and Occasion Set
Blush marble has become a quiet favourite for weddings because it photographs soft, matches blush and ivory dresses, and will not date in photos the way bold colours do. For a bridal set, choose medium length, glossy finish, and apply the night before with glue rather than tabs — you want zero chance of a casualty during the day.

9. Barely-There Blush for Nail Rest Weeks
Between stronger sets, a very sheer blush marble — almost a tint, with the faintest white clouding — gives nails a finished look while your natural nails rest from gels or acrylics. Press-ons applied with tabs for a few days at a time are one of the gentlest ways to keep nails looking cared for during a break.
How to Apply Press-Ons So They Last, Step by Step
Step 1: Size every nail before anything else. Lay the set out and match each press-on to each finger first, writing the order down or lining them up in sequence. A press-on should cover the nail side wall to side wall without overlapping skin; if you are between sizes, choose the slightly larger one and file its sides — a too-small nail pops off first and looks pinched in the meantime.
Step 2: Prep is ninety percent of the wear time. Push cuticles back gently, buff the natural nail very lightly just to remove shine, then wipe each nail with the alcohol pad from the kit. Oils are the enemy: skip hand cream from this moment until the set is on. This two-minute routine is the entire difference between a two-day set and a ten-day set.
Step 3: Choose glue for wear, tabs for weekends. Brush-on nail glue gives the longest hold — a thin layer on your nail and a dot inside the press-on. Adhesive tabs are kinder and come off with warm soapy water, but expect two to four days rather than a week-plus. For marble sets you plan to reuse, tabs keep the underside clean; for a holiday or event week, glue is worth it.
Step 4: Press at an angle and hold. Place the press-on at the cuticle first, at a slight angle, then lower it onto the nail — this pushes air out instead of trapping a bubble under the marble, which would show as a pale spot. Press firmly for a full thirty seconds per nail. Do your thumbs last, and start with your non-dominant hand while your patience is fresh.
Step 5: Give them an hour of kindness. Avoid water, lotion and heavy gripping for the first hour while the bond sets fully. After that, treat them normally but wear gloves for washing up — hot soapy water working under the edges is the number one cause of early losses, marble or otherwise.
Buying Advice, Removal and Reuse
When buying, check three things: the size range in the box (a set with twelve or more sizes will fit far more hands than a ten-size set), the thickness at the cuticle edge (good press-ons taper thin at the cuticle so the join disappears, and are sturdier at the tip), and whether the marble is printed under a top coat or painted on the surface — under-coat designs survive reuse, surface paint scratches. For removal, never pull. Soak glued sets in warm soapy water with a drop of oil for fifteen minutes and ease them off with the wooden stick from the kit; tabs release in the same soak within minutes. Clean the undersides with alcohol, let them dry fully, and store them back in their case — a blush marble set removed kindly will easily give you three or four wears.
Common Mistakes to Avoid
The classic mistake is skipping prep because the nails are ‘only for one night’ — that is exactly the night one pops off into the dinner. Second is using too much glue, which floods the cuticle and makes removal miserable; a thin layer bonds stronger than a blob. Third is filing the tops of press-ons to adjust length, which removes the sealed edge — always file from the sides and tip before application, and never break the top coat after. And never use press-ons to cover a nail that is sore, lifted or infected; designs wait, nail health does not.
Frequently Asked Questions
How long do blush marble press-ons last?
With glue and proper prep, seven to ten days is realistic; with adhesive tabs, two to four days. The almond shape helps longevity because its tapered sides catch on pockets and packaging less than square corners do. Wearing gloves for washing up and avoiding using your nails as tools adds days to any set.
Will almond press-ons suit short fingers?
Yes — almond is one of the most lengthening shapes because the tapered sides draw the eye along the finger. Choose a short or medium almond rather than a long one, and keep the marble veining fine and soft. Avoid very wide almond sets, which can look bulky on smaller hands; sizing each nail carefully makes the difference.
Can I reuse a marble press-on set?
If you remove them by soaking rather than pulling, absolutely. Glue residue cleans off the underside with alcohol; tabs leave almost nothing behind. Inspect the tips before reapplying — once the sealed edge at the tip is worn through, that nail is done, but the rest of the set usually has more wears in it.
Are press-ons damaging to natural nails?
Far less than most salon enhancements when they are applied and removed properly. There is no drilling, minimal buffing, and removal is a soak rather than a pry. Damage almost always comes from pulling sets off dry. If your nails feel thin after removal, a week of cuticle oil and a sheer strengthener before the next set works wonders.
Glossy or matte marble — which looks better?
Glossy looks like polished stone and a classic manicure; it is the safer choice for events and photographs. Matte looks like raw stone — softer, modern, and very forgiving of small flaws. If you cannot decide, buy the glossy set: you can add a matte top coat over press-ons for a day and remove it, but you cannot easily make a matte set glossy.
A Last Word Before You Wear It
Blush marble almond press-ons are the rare beauty shortcut that is not a compromise: the colour flatters everyone, the shape flatters every hand, and a careful fifteen-minute application buys you a week of looking polished. Size them properly, respect the prep, soak them off kindly — and keep the little case, because you will be wearing this set again.