There is a moment before a party when everything comes together, then you look down at plain nails and the outfit feels unfinished. That is why I keep coming back to glitter ombre festive nails. They are sparkly enough for photos, soft enough not to fight with your jewellery, and forgiving enough that a small chip does not ruin your evening. The glitter grows denser as it fades into colour, so there is no hard line to keep perfect.
I first tried this look for a winter wedding, in navy fading into gold, because I could not decide between two polishes. By dessert, three people had asked which salon had done them. Since then I have worn it in red, rose gold, emerald and soft pink, and it has never felt repeated. Change the colour, glitter size, or direction of the fade, and you have a new manicure in under an hour.

Why a Glitter Fade Works So Well for Parties
A solid glitter manicure can look wonderful, but it can also feel heavy, especially on longer nails or in bright indoor light. An ombre softens that effect. The sheer or pale part near the cuticle keeps the nail looking clean and grown-out friendly, while the concentrated sparkle at the tip catches light every time you pick up a glass, hold a clutch or wave across a room. It is festive without shouting.
There is a practical side too. Tips wear first, and dense glitter hides tiny chips for an extra day or two, which matters during a busy party week. Grow-out is gentler as well, because the area near the cuticle is the lightest part of the design.
9 Sparkling Ways to Wear It
1. Navy into gold. This is the classic evening pairing in the first photo. A deep navy tip with warm gold glitter looks rich with emerald, black or cream outfits and suits almond nails beautifully.
2. Rose gold over nude pink. Soft, romantic and very forgiving. Keep the base close to your natural nail tone, then build rose gold glitter from the middle to the tip. It is lovely for weddings and daytime celebrations.
3. Burgundy into copper. Warm and a little moody, this one flatters medium and deep skin tones especially well. Copper softens the red so it reads festive rather than flat.
4. Silver over icy blue. Think frost, but wearable. A pale blue base with fine silver glitter at the tips looks clean in daylight and sparkly under evening lights.
5. Emerald into gold. Green and gold is made for festive dressing. Use emerald only on the last third of the nail if you want it subtle, or bring it halfway down for a bolder result.
6. Black into silver. For anyone who finds colour too sweet, a sheer smoky base fading into silver glitter is sharp and modern, particularly on short square nails.
7. Blush pink into champagne. The quietest option on this list and the one I choose for work parties. It sparkles in photos but still looks neat in a Monday meeting.
8. Purple into holographic glitter. Lilac or plum with holographic pieces that shift colour in the light. Keep jewellery simple and let the nails do the talking.
9. Clear base, glitter only. If you are short on time, skip colour altogether. A clear or milky base with glitter fading from the tip gives the same party feeling and dries fast because the layers stay thin.
Choosing the Right Shape and Length
Ombre needs a little length, but not extensions. A short almond or oval gives room for three zones: light, blended and dense. Square nails work for a tip-focused fade. Coffin and stiletto shapes give the most dramatic gradient, but ask for more care when you type or cook.
If your nails are very short, make the fade faster: start glitter a third of the way down, use fine glitter, and keep the base sheer. Press-ons are also a fair shortcut; paint the set before you put them on.
Step-by-Step: Glitter Ombre at Home
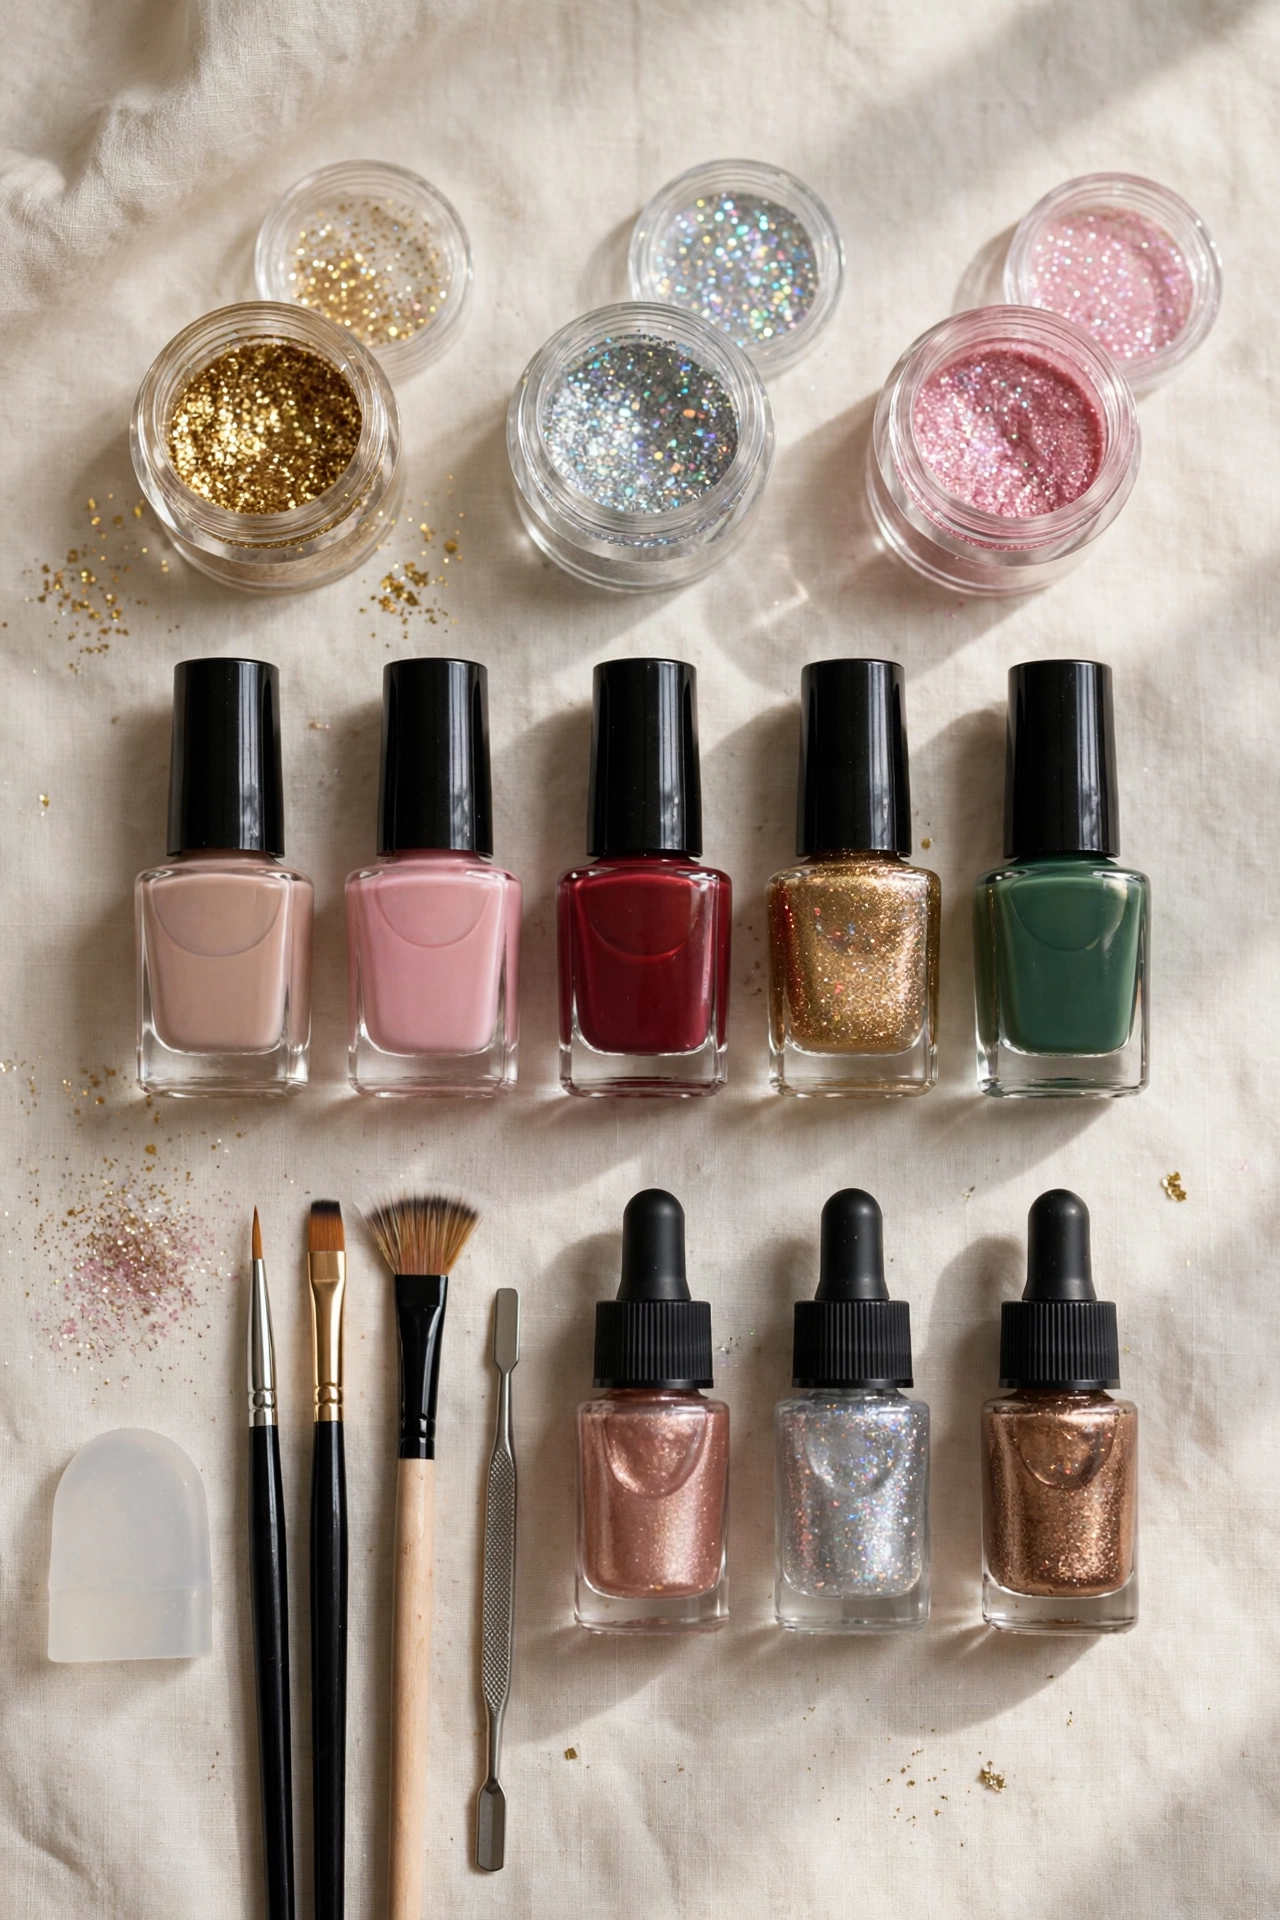
You need a base coat, your colour polish, a glitter polish or loose cosmetic glitter, a small makeup sponge, a flat brush dipped in remover for tidy edges, and a good top coat. Lay everything out first, because glitter has a habit of travelling.
Step 1: Prep properly. Push cuticles back gently, shape the nails, and wipe each nail with remover or alcohol to remove oil. Apply base coat and let it dry fully. This step decides how long the manicure lasts, so do not rush it.
Step 2: Lay the colour. Paint one or two thin coats of your base colour over the whole nail, or only where the colour will show. For the navy and gold look, I paint navy mainly toward the tip and feather it down. Let this layer become tacky, not wet.
Step 3: Sponge the glitter. Paint a stripe of glitter polish onto the corner of a makeup sponge and dab it onto the tip. First pass should be light and go a little further down the nail. Second pass stays closer to the tip, so density builds where you want it. Dab, do not drag, or the fade turns into streaks.
Step 4: Blend the middle. With a nearly clean part of the sponge, tap once or twice right where glitter meets colour. This softens the border. If you used loose glitter, press it in gently with a fingertip while the polish underneath is still tacky.
Step 5: Clean and seal. Tidy the skin with the flat brush, then apply top coat over the whole nail. Glitter can feel rough, so a second top coat the next day restores the smooth, glassy finish and refreshes the shine before your event.

Buying Advice: Polishes and Glitter Types
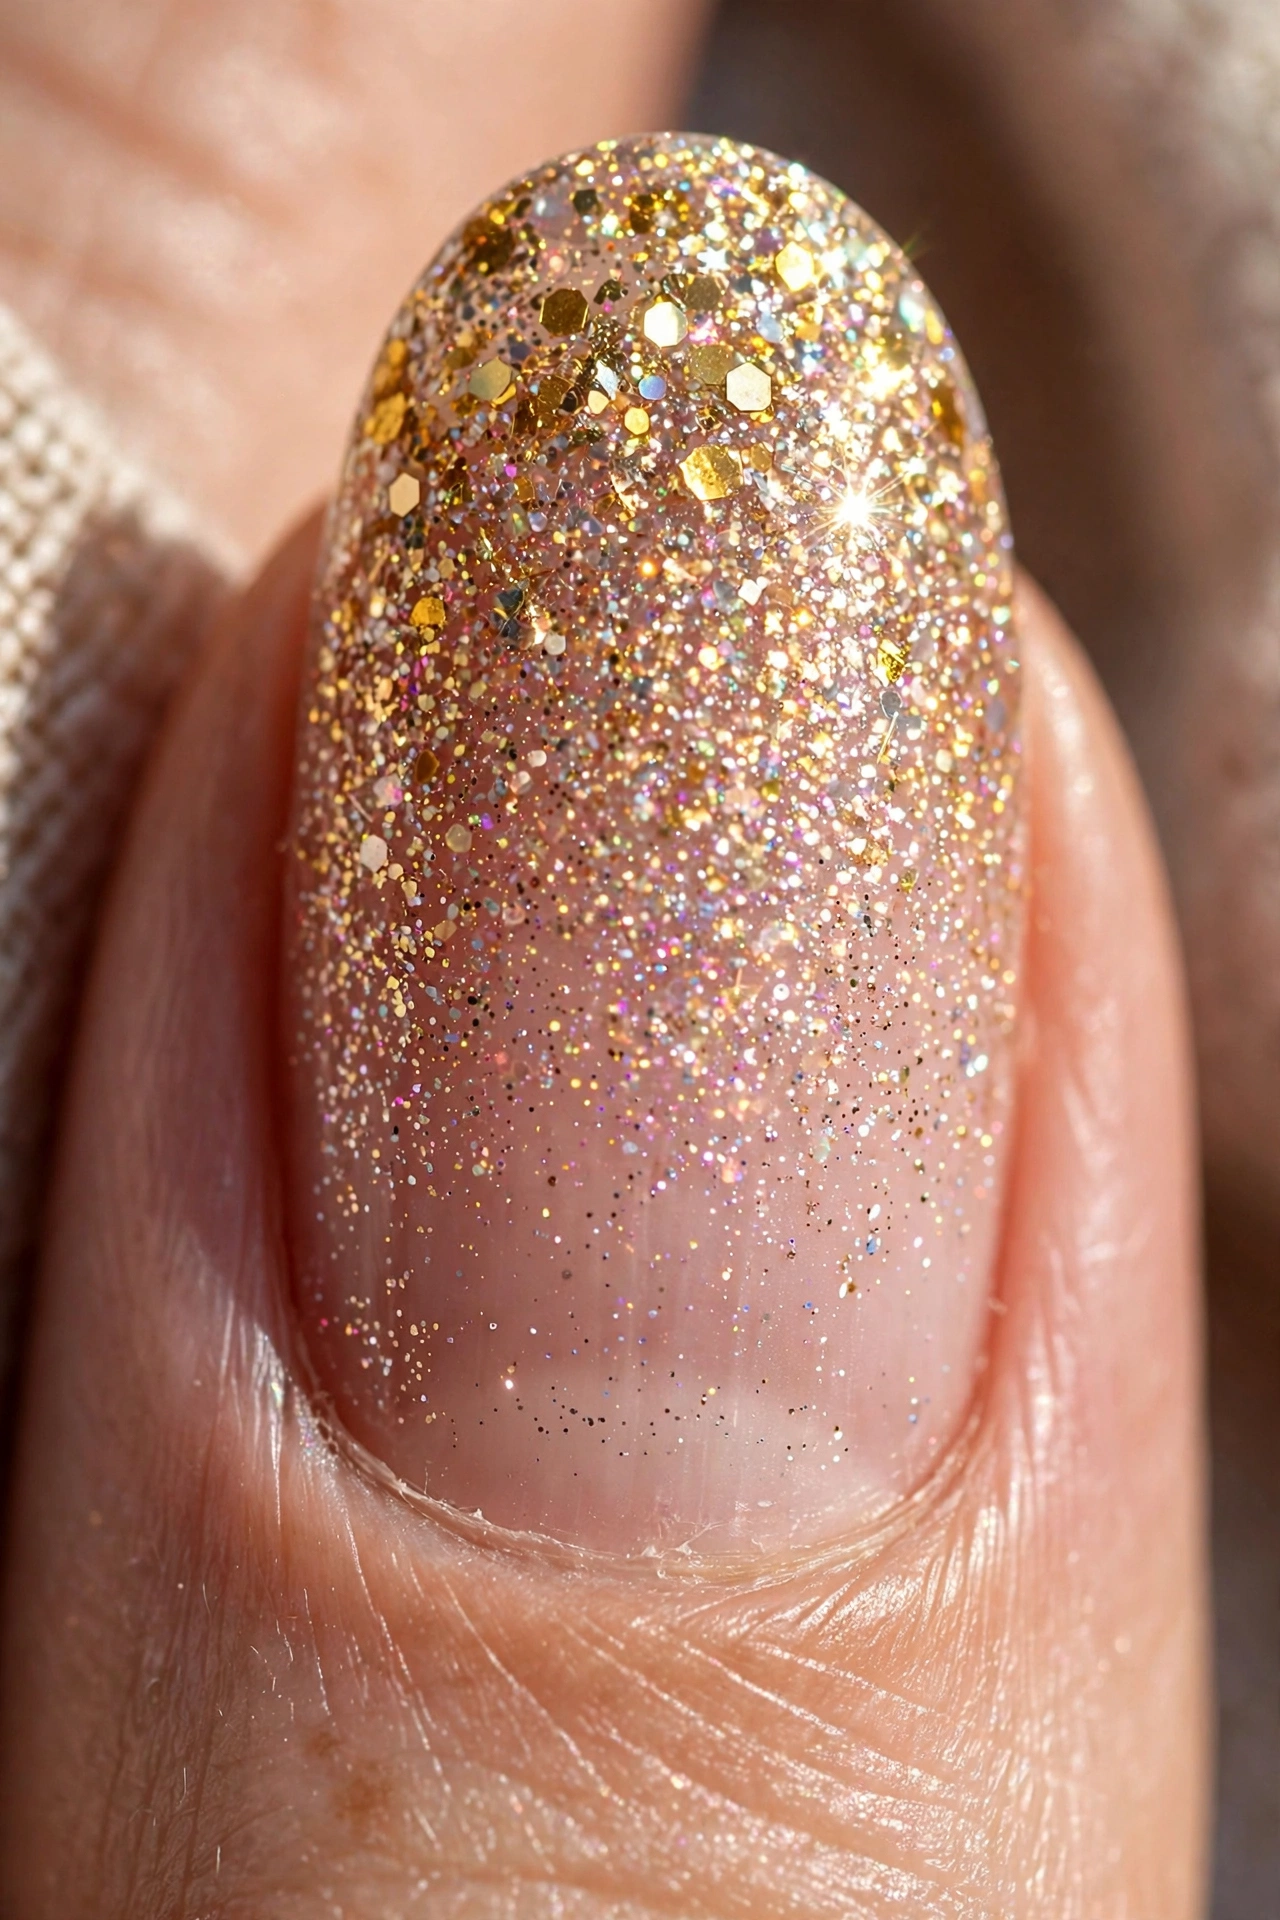
Fine glitter is the easiest place to start. It blends smoothly, lies flat and needs only one top coat. Chunky or hexagonal glitter gives a jewel-like sparkle, as you can see in the macro photo, but it needs pressing down and extra top coat or the edges lift. My favourite mix is mostly fine glitter with a few larger pieces near the tip, which gives depth without a rough surface.
Glitter polish is simpler for beginners and spreads evenly, though you may need several sponged layers for density. Loose glitter gives stronger payoff and lets you mix shades, but buy cosmetic-grade glitter, not craft glitter. Choose a base colour opaque in two coats, and spend on top coat first: a thick, glossy one turns a homemade sponge job into salon-looking work.

Care, Touch-Ups and Gentle Removal
Apply cuticle oil daily, ideally after washing your hands, and wear gloves for washing up. Hot water and detergent are harder on a manicure than almost anything at a party. If a tip chips, do not repaint the whole nail. Dab a little glitter onto the chip with the sponge, seal it, and the repair disappears into the fade. That is the quiet gift of this design.
Removal needs patience. Soak a cotton pad in acetone remover, place it on the nail, wrap with foil and wait ten minutes. The glitter should slide off. If pieces remain, soak again rather than scraping. Afterwards wash your hands, add cuticle oil, and give your nails a polish-free evening if you can.
Common Mistakes to Avoid
The biggest mistake is making the border too straight, like a French tip drawn with a ruler. A fade should look smoky, so vary your dabbing and let a few stray sparkles land higher than the rest. Second is using layers that are too thick. Thick glitter clumps, dries slowly and peels in sheets; thin sponged layers always win. Third is skipping the sponge and painting glitter on with the brush, which usually leaves a hard line halfway down the nail.
Also watch colour balance. Glitter over a base that is too close in shade can vanish in indoor light, so test one nail and check it across the room before finishing all ten. And do not forget your thumbs. They sit at a different angle, so people often under-glitter them and the set looks uneven in photos. Do thumbs last, with fresh polish on the sponge.

Frequently Asked Questions
How long does a glitter ombre manicure last?
With base and top coat, most people get five to seven good days, and often longer because glitter hides tip wear so well. Gel versions can last two weeks or more. Your own wear depends on water, typing and how thick you build the layers.
Can I do glitter ombre on short nails?
Yes, and it can look very neat. Use fine glitter, start the fade closer to the tip, and keep the base sheer or pale. Avoid very chunky pieces, which overwhelm a small nail and make the gradient hard to read.
Which direction should the fade go?
Either direction works. Glitter dense at the tip is the easiest and most flattering for most hands, while glitter dense at the cuticle gives a softer, jewellery-like effect and hides chips less well. Try tip-first if this is your first attempt.
Do I need loose glitter or is glitter polish enough?
Glitter polish is enough for a soft, pretty fade and is far less messy. Loose glitter gives a denser, more dramatic finish and more colour choices. Many people start with polish, then add a pot of loose glitter once they know which shade they wear most.
How do I stop glitter getting everywhere?
Work over a sheet of paper, keep the pot closed between nails, and use a damp sponge rather than sprinkling dry glitter over wet polish. Brush loose sparkle off your skin before top coat, not after. A quick roll of a lint roller over your table at the end catches most strays.
A Last Word Before the Party
Glitter ombre festive nails welcome beginners, suit almost every outfit, and still look considered in close-up photos. Pick one pairing, give yourself an unhurried hour, and let the fade be a little imperfect. That soft edge is the whole charm. I hope your next set catches the light when you reach for your glass.