Some manicures shout. Lavender ombre short nails do something much nicer: they whisper. The colour melts from a soft milky lilac at the base of the nail into a deeper lavender at the tip, and on short nails that gentle fade looks fresh, tidy and quietly pretty in a way that works for the office, a wedding, a holiday and everything in between. I first tried this look because I wanted colour without the upkeep of long nails, and it has become the manicure I return to whenever my hands need to look cared for but my week is too busy for salon appointments.
Short nails suit this gradient especially well. There is no length to distract from the blend, so the colour itself becomes the detail, and practical nails that never chip on a keyboard or catch on a bag strap can still look considered. If you have been curious about lavender ombre short nails but assumed the fade was a salon-only skill, this guide walks through nine soft ways to wear the look, a step-by-step method you can genuinely do at home, honest buying and care advice, and the small mistakes that make an ombre look muddy instead of dreamy.

Why Lavender Suits Short Nails So Well
Lavender sits in a sweet spot on the colour wheel. It is softer and more forgiving than a bold purple, cooler and cleaner than pink, and it flatters a wide range of skin tones because you can nudge it warmer or cooler to suit you. On short nails, a single flat colour can sometimes look plain; the ombre fade adds depth and movement without needing nail art, gems or stickers.
There is also a practical reason this look is everywhere. As short nails grow out, a pale base near the cuticle hides regrowth far better than a dark solid colour. An ombre that starts light buys you several extra days before the manicure looks tired, which is exactly what a busy person needs from a polish job.
1. The Classic Milky-to-Lavender Fade
The version most people picture is a milky, almost-white lilac at the base deepening into a true lavender tip. It is the cleanest take on the trend and the easiest to wear with everything from a white shirt to a floral dress. Keep the transition in the middle third of the nail so both colours get their moment, even on a short nail bed.
If your nails are very short, concentrate the darkest colour right at the free edge. That little ribbon of depth makes the nail look slightly longer than it is, in the same way a darker lip liner shapes lips. A glossy top coat is essential here; shine is what makes the two shades read as one melted gradient rather than two stripes.
2. Deep Purple Tips for More Drama
For evenings or autumn outfits, deepen the tip colour towards a rich grape or soft plum while keeping the base pale. The contrast is stronger, so the fade reads clearly even in low light, and it pairs beautifully with gold jewellery and darker clothing. This is the version I choose when my nails need to do the work of an accessory.
Take care with very dark tips on short nails: apply the deep shade thinly and only to the last third, or the nail can look shorter. Two thin coats, sponged lightly, give you control that one thick coat never will.

3. A Single Glitter Accent Nail
If you love a little sparkle, keep the ombre on four nails and give one nail, usually the ring finger, a fine lavender or silver glitter over the same gradient. The trick is restraint: a fine glitter looks like sugar frosting and keeps the look soft, while chunky glitter fights with the gentle fade. This is a lovely option for parties and weddings where your hands will be in photographs holding a glass or a bouquet.
4. Matte Lavender Ombre
Swapping the glossy finish for a matte top coat changes the mood completely. The gradient turns velvety and modern, almost like frosted glass, and the colours look slightly paler and powdery. Matte finishes do show oils and marks more easily, so this version suits a quieter few days rather than a week of cooking and gardening. A quick wipe with a dry cloth refreshes the surface.
5. Lavender Ombre With a French Twist
Combine two classics by keeping the ombre very pale through most of the nail and finishing with a crisp white or deep lavender tip line. On short nails, draw the tip line thinner than you think; a fine edge looks elegant, a thick one shortens the nail visually. This hybrid is a favourite for brides and for anyone whose workplace prefers a polished, understated hand.
How to Do Lavender Ombre at Home, Step by Step
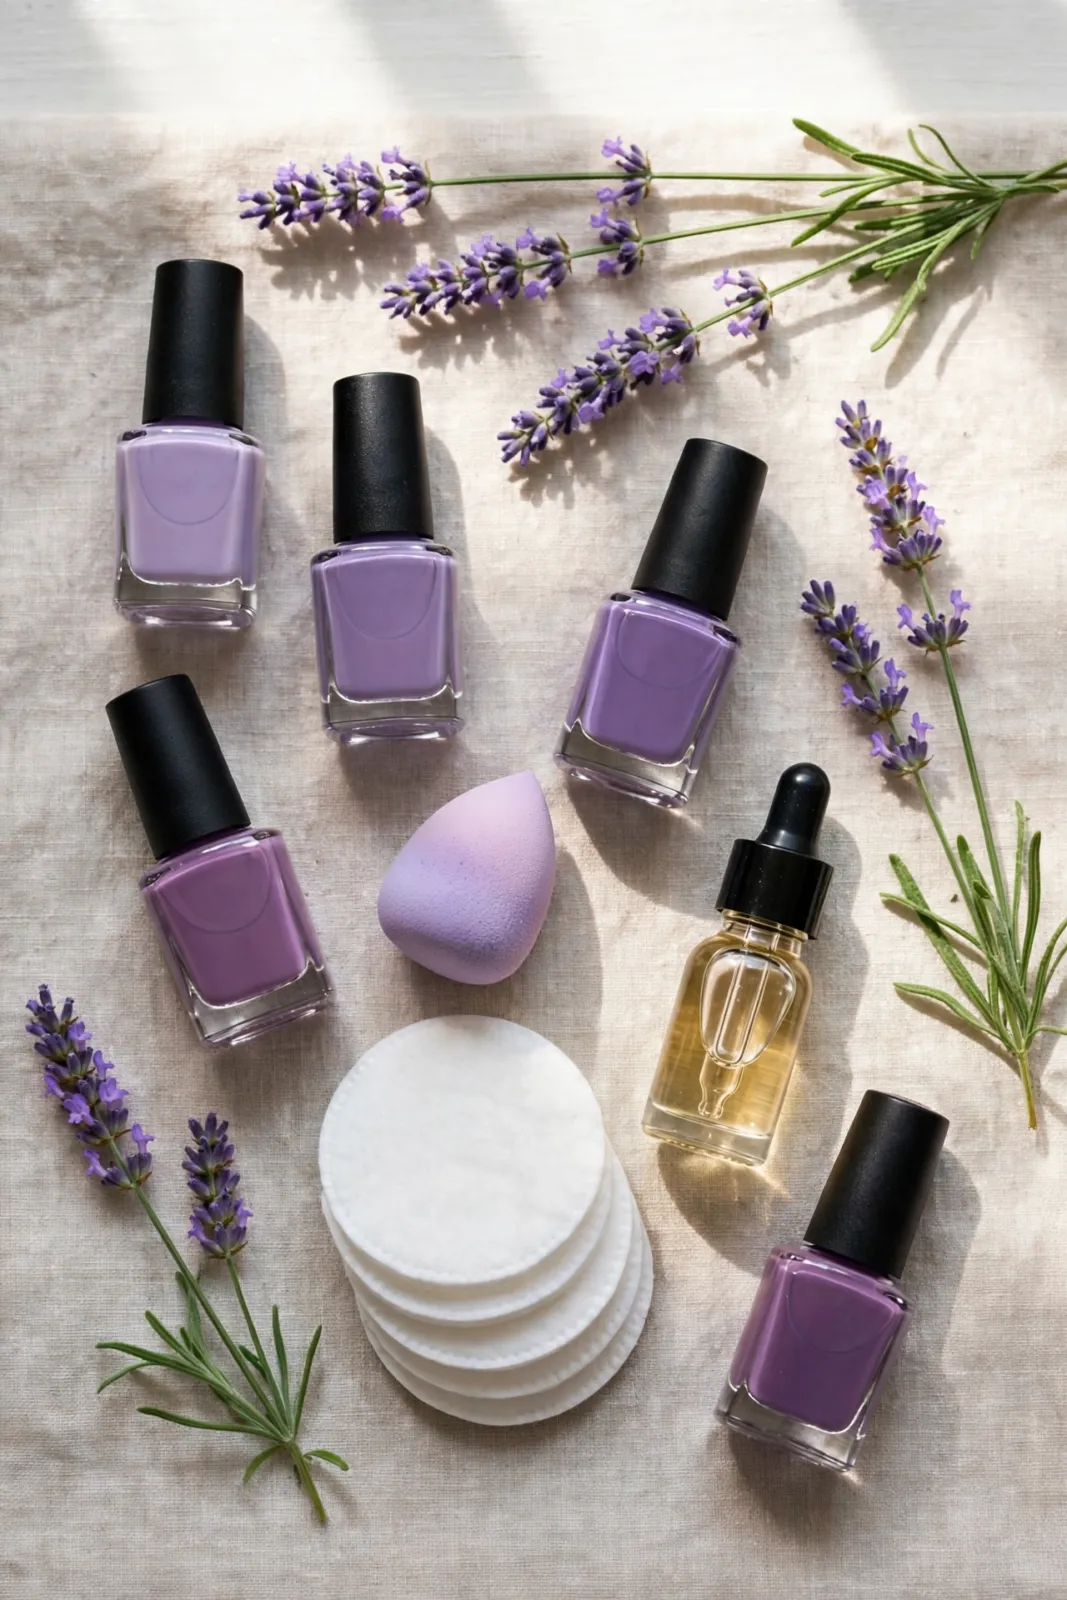
You need a base coat, a pale milky lilac, a mid lavender, a deeper lavender, a small makeup sponge, a top coat, and a little brush with remover for tidying edges. Start with clean, dry nails: push cuticles back gently, file into a soft square or rounded shape, and wipe each nail with remover so the polish grips. Apply base coat and let it dry fully, because a tacky base drags when you sponge.
Next, paint the whole nail with the palest shade and let it dry. On the sponge, paint three stripes side by side: pale at the bottom, mid lavender in the middle, deepest at the top. Dab the sponge lightly onto the nail with a gentle rocking motion, two or three presses, and do not worry if it looks textured at this stage. Repeat once for stronger colour, letting the first sponged layer go tacky in between. Work one or two nails at a time so the polish on the sponge stays wet enough to blend.
Clean the skin around the nail with the brush dipped in remover, keeping strokes small so you do not flood the cuticle. Finish with a generous glossy top coat; this is the step that melts the sponged texture into a smooth gradient, so never skip it. A second thin top coat on day three refreshes the shine and extends the wear noticeably.
Buying Advice: Polish, Gel and Press-Ons
Regular polish is the friendliest route for beginners because mistakes wipe away and the whole set costs little. Look for a lavender with a slightly grey undertone if you want a sophisticated finish, or a pink-leaning lilac for a sweeter one, and always judge the colour dried on one nail rather than in the bottle. Gel polish gives a harder, longer-lasting gradient and holds the blend beautifully, but it needs a lamp and careful removal; never peel gel off, as that takes layers of nail with it.
Press-on nails in a lavender ombre are the fastest option of all and the quality has improved enormously. Choose short, natural shapes, size each nail before gluing, and file the edges gently after application so they follow your own nail line. Whichever route you pick, a good cuticle oil used daily makes short nails look healthier and keeps any manicure looking fresh for longer.
Common Mistakes to Avoid
The most common mistake is rushing the pale base. If it is not dry, sponging lifts it and the gradient turns streaky. Second is pressing the sponge too hard, which deposits blobs instead of a mist of colour; light, repeated dabs always win. Third, people often place the darkest colour too far down the nail, which shrinks short nails visually. Keep the drama at the tip.
Skipping top coat is another classic error, because sponged polish dries bumpy and dull without it. And finally, choosing shades that are too close in depth gives a fade nobody can see, while shades from different colour families, a warm lilac with a blue-purple, can blend into a muddy middle. Stay within one family and step the depth gradually.

Frequently Asked Questions
How long does a lavender ombre manicure last on short nails?
Regular polish usually looks good for five to seven days with a top coat refresh midweek, while gel can last two to three weeks. Short nails chip less than long ones because the tips take fewer knocks, and the pale base hides small chips and regrowth kindly.
Can I do ombre nails without a sponge?
Yes. A small flat brush can drag the tip colour downwards in light strokes, and an eyeshadow applicator works in a pinch. The sponge simply gives the softest blend for beginners, so it is worth using if you have one.
What colours pair well with lavender ombre nails?
White, silver and soft grey outfits let the nails sing, while sage green and dusty pink make pretty, gentle combinations. Gold jewellery warms lavender up, and a lilac or lavender item of clothing a shade deeper than your tips creates a considered, matched look.
Is lavender ombre suitable for a professional setting?
In its paler versions, absolutely. A milky-to-lavender fade on short, neat nails reads as groomed rather than bold, and it is far softer than a dark solid colour. Save the deep purple tips and glitter accents for weekends if your workplace is conservative.
How do I remove ombre polish without staining my nails?
Soak a cotton pad in remover, rest it on the nail for twenty seconds, then wipe downwards in one motion instead of scrubbing back and forth. Darker tips can leave a faint tint; a gentle buff and a day of cuticle oil between manicures keeps the natural nail bright.

A Final Word
Lavender ombre short nails prove that a manicure does not need length, gems or an hour in a salon chair to feel special. The soft fade is forgiving to apply, kind as it grows out, and pretty with almost everything in your wardrobe. Start with the classic milky fade, master the sponge on a quiet evening, and you will have a reliable, gentle look you can return to in every season.