There is something so gentle about lavender on nails. It is soft without being plain, pretty without trying too hard, and it suits almost every skin tone I have seen it on. Add a few tiny pearls and the whole manicure changes — suddenly your hands look dressed up, even if you are wearing a plain white top and jeans. That is why lavender pearl press-on nails have become my favourite quick manicure for spring. They give you that neat, finished feeling in minutes, with no salon appointment and no waiting for polish to dry.
Press-ons are also kind when you choose well and apply them properly. You can enjoy a shape for a week or so, then remove it without committing to weeks of the same look. For a wedding, brunch, or photo day, this style works. Below are nine delicate ways to wear it, the application routine that helps mine last, and honest buying advice I wish I had earlier.
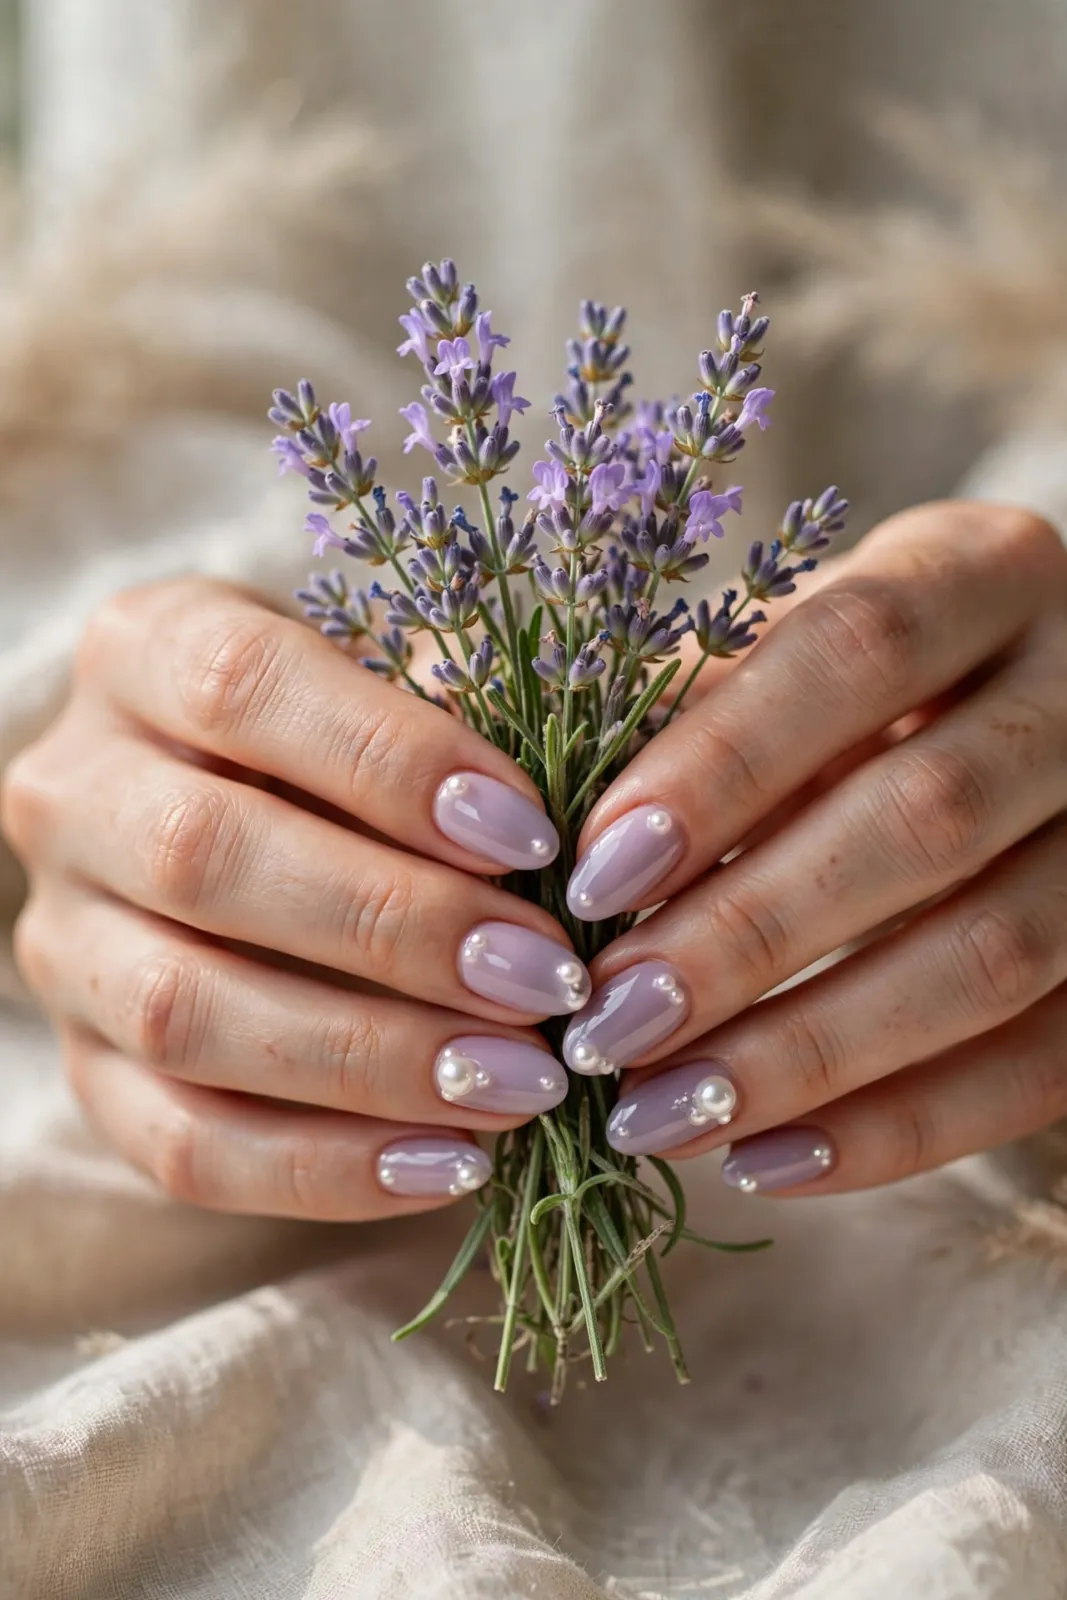
1. Classic All-Lavender With a Single Pearl on Each Nail
The simplest version is often the prettiest. A smooth lavender base on every nail, finished with one small pearl near the cuticle, looks clean and thoughtful. People notice it when you hold a cup or tuck your hair back. This is the set I would pick for work or family gatherings — polished, but not heavily decorated. Keep the pearls the same size on each nail for a neat, matching feel.
2. Pearl-Tipped Lavender Nails for a Soft French Twist
If you like a French manicure but want something more romantic, place tiny pearls along the tip instead of painting a white line. The pearls follow the curve of the nail and catch the light in a way flat polish never quite does. It looks lovely on almond and oval shapes, and it is especially pretty for bridesmaids, engagement photos, and spring parties with light, floaty dresses.
3. Mixed Pearls — Tiny, Medium, and One Accent Pearl
For a slightly more playful set, mix pearl sizes. Use the smallest pearls on most nails, then add one medium pearl as an accent on each ring finger. The mix stops the design looking too uniform and gives it a jewellery-like quality. Keep larger pearls nearer the cuticle, where they sit flatter — pearls close to the free edge catch easily on hair and clothing.

4. Short and Sweet — The Everyday Lavender Pearl Set
Long nails are beautiful in photos, but short lavender pearl nails are the ones I reach for in real life. A short almond or short square length lets you type, cook, and open jars without thinking about your nails every five minutes. Choose smaller pearls and fewer of them — two or three tiny pearls in a cluster at the base of each nail. The result still feels special, but it fits an ordinary Tuesday as well as a weekend out.
5. Lavender Ombre With Pearls Fading Up the Nail
An ombre base — deeper lavender at the tip fading to pale lilac near the cuticle — makes a lovely background for pearls. Scatter the tiniest pearls where the colour changes, as if they are drifting up the nail. This design photographs beautifully and is forgiving of small application imperfections. Pair it with silver rings rather than gold if you want the cool tones to stand out.
6. Pearls and a Little Shimmer for Evenings
For evenings, look for lavender press-ons with a fine shimmer or soft chrome sheen under the pearls. The base glows when light hits it, and the pearls add texture on top. Keep the rest of the look simple — a plain satin dress and small pearl earrings if you like a matching touch. This is my pick for dinner dates and wedding-season evenings when I want something refined.

7. Lavender and White — Fresh, Clean, and Very Springlike
Alternate lavender nails with soft white nails, then add pearls to both. The white breaks up the purple and makes the set feel fresh, like clean laundry and spring flowers. Try three lavender and two white nails on each hand, or keep white only on the ring fingers as an accent. Use the same pearl style across the set so the two colours still feel like one manicure.
8. Pearl Cluster Accent Nails With Plain Lavender Elsewhere
If full pearl decoration feels busy, concentrate it. Keep eight nails plain glossy lavender and turn the two ring fingers into small pearl clusters — five or six tiny pearls in a little arc near the cuticle. It is an easy way to try the trend, and it tends to last better too, because most nails stay smooth and catch on nothing during daily tasks.
9. Pastel Mix — Lavender Pearls With Pink or Mint Neighbours
The ninth way is for pastel lovers. Keep lavender as the main colour, but swap one or two nails for baby pink, pale mint, or the softest butter yellow, with pearls as the thread tying the set together. Keep every colour at the same softness — no bright neon neighbours. Done gently, it is a cheerful choice for holidays and spring weekends.

How to Apply Press-On Nails So They Actually Last
Good application matters more than the price of the set. Follow these steps slowly the first few times; after that, the routine takes about fifteen minutes.
Step 1: Start with clean, bare nails. Remove old polish, wash your hands with soap, and dry them well. Hand cream before application is the enemy of a good hold — save it for later.
Step 2: Tidy the nail bed. Gently push back your cuticles and lightly buff each natural nail. You are not thinning the nail, just removing the shine so adhesive has something to grip.
Step 3: Size every nail before any glue. Lay out all ten press-ons in order. Each should cover your natural nail side to side without pressing into the skin. If you are between sizes, choose the larger one and file its sides down a little.
Step 4: Wipe with alcohol. An alcohol prep pad or nail dehydrator removes the last traces of oil and buffing dust. Sets applied right after this step usually hold noticeably longer.
Step 5: Apply adhesive evenly. For glue, use a thin layer on your natural nail and a little inside the press-on. For adhesive tabs, press the tab firmly onto your natural nail and peel off the backing without touching the sticky surface.
Step 6: Place, angle, and hold. Slide the press-on up to the cuticle at a slight angle, lower it down, and press firmly for twenty to thirty seconds, including the sides.
Step 7: Keep them dry for the first hour. Avoid washing dishes and long showers straight after application. After that, normal life can resume — just wear gloves for washing up whenever you can.
Care, Buying, and Budget Advice
To help a set last, treat the first day gently, apply cuticle oil to the skin around the nails each night, and never use your nails as tools to open cans or peel stickers. If a pearl starts to lift, a tiny dot of nail glue under it usually saves it. To remove a set, soak your hands in warm soapy water with a little oil for ten to fifteen minutes and ease the nails off slowly. Never force or pry them — patience here keeps your natural nails healthy.
When buying, look beyond the prettiest photo. A good set includes at least twenty-four nails in several sizes, a file, a wooden stick, and a choice of glue or tabs. Check reviews for comments about thickness: very thin nails split, while very thick ones look bulky. Flat-backed or half pearls sit better and feel more comfortable than round ones. For budget, one well-made reusable set, cleaned and stored in its box, is better value than three cheap sets that crack on day two. Many lavender pearl sets can be worn two or three times if you remove them gently and file off old glue before reuse.

Common Mistakes to Avoid
The most common mistake is skipping preparation because you are in a hurry. Glue over oily, shiny nails will lift, usually within a day. Another mistake is choosing nails that are too small and forcing them to fit — they feel tight, look squeezed, and pop off sooner. Too much glue causes messy overflow and air bubbles that weaken the hold, while too little leaves gaps where water gets in. Finally, be honest about length. If your days involve typing, cleaning, or childcare, a long set with many pearls will annoy you quickly. Choose the shorter, simpler version and you will enjoy it far more.
Frequently Asked Questions
How long do lavender pearl press-on nails usually last?
With glue and careful preparation, most sets last seven to ten days, sometimes a little longer. Adhesive tabs are gentler and easier to remove, but usually hold for three to five days. How you use your hands matters as much as the adhesive.
Will press-on nails damage my natural nails?
Applied and removed gently, press-ons are one of the kinder options. Damage usually comes from forcing nails off or picking at lifted edges. Soak, wait, and ease them off slowly, and your nails should stay in good condition.
Can I reuse a press-on set with pearls?
Yes, often two or three times, if the nails have not cracked and the pearls are still secure. File away dried glue from the underside, wash the nails in warm soapy water, dry them fully, and store them flat in their box.
What nail shape suits lavender pearl nails best?
Almond and oval shapes suit this design beautifully, because their soft curves match the round pearls. Short square nails look neat and modern with a single small pearl. If your nail beds are wide, a medium almond is usually the most flattering.
Are pearl press-ons suitable for a wedding?
They are a lovely choice for weddings, for guests and for brides who like a soft colour. Lavender and pearls photograph gently and suit pastel outfits and silver jewellery. Apply them the day before, and keep a small tube of glue in your bag for emergencies.
A Soft Finishing Touch
Lavender pearl press-on nails are a small treat that makes ordinary days feel a little more cared for. Whether you pick the classic set, the pearl-tipped French twist, or a pastel mix, keep application slow and careful, choose sizes honestly, and let the pearls stay small and delicate. Your hands will look pretty, and you can change the look the moment your mood changes.