There is a particular kind of frustration that only long hair can give you. You have spent a year or more growing it, you love the length, and yet most mornings it just hangs there — heavy at the ends, flat at the roots, and somehow both too much hair and not enough shape at the same time. I lived with that exact problem for nearly two years before a stylist finally said the sentence that changed everything: you do not need to cut it shorter, you need to cut it smarter. That is what a long layered haircut does. It keeps every centimetre of length you worked for, but removes the hidden weight inside the hair so it can finally move, swing and frame your face instead of hiding it.
If you are attached to your length but bored with how it falls, layers are the kindest cut you can ask for. This guide covers the nine variations worth knowing, exactly what to say in the salon chair, a simple home styling routine, the few products that genuinely help, and the mistakes that leave people disappointed.

Why Long Layers Flatter Almost Every Head of Hair
A layered cut means the hair is cut to different lengths throughout, rather than ending in one blunt line. On long hair, those layers usually start somewhere between the cheekbones and the collarbone and step down gradually to the longest point at the back. Because the top sections are lighter, the whole head of hair gains movement. Instead of one solid curtain, you get pieces that separate, catch the light and fall back into place when you turn your head.
The face-framing effect is the part most people fall in love with first. Shorter pieces around the front soften a strong jaw, draw attention to the cheekbones and give the front a shape even on days when the rest is tied back. Layers also solve a practical problem: thick hair becomes manageable instead of triangular, and fine hair stops looking stringy because the graduated lengths create the impression of fullness. One warning, though — layers are not a fix for damaged ends. If the last few centimetres are split, your stylist may suggest tidying them first, because layers built on broken hair never sit properly.
Nine Long Layered Styles Worth Asking For
1. Classic soft layers
The starting point for almost everyone. Layers begin around the collarbone and blend gently all the way down, so the change is subtle but real. Choose this if you have never had layers and feel nervous — it grows out gracefully and suits straight, wavy and curly hair alike.
2. Face-framing layers
Here the shortest pieces start at the cheekbones or jaw and angle down to meet the length. It is the most flattering option if you wear your hair loose most days, because the front does all the work even when the back is simple.
3. Long feathered layers
Feathering means the ends of each layer are softened and flicked slightly outward, giving that light, airy finish you see in salon blow-out photos. It works beautifully on medium to thick hair and pairs well with a bouncy blow-dry.
4. Wavy layers with curtain pieces
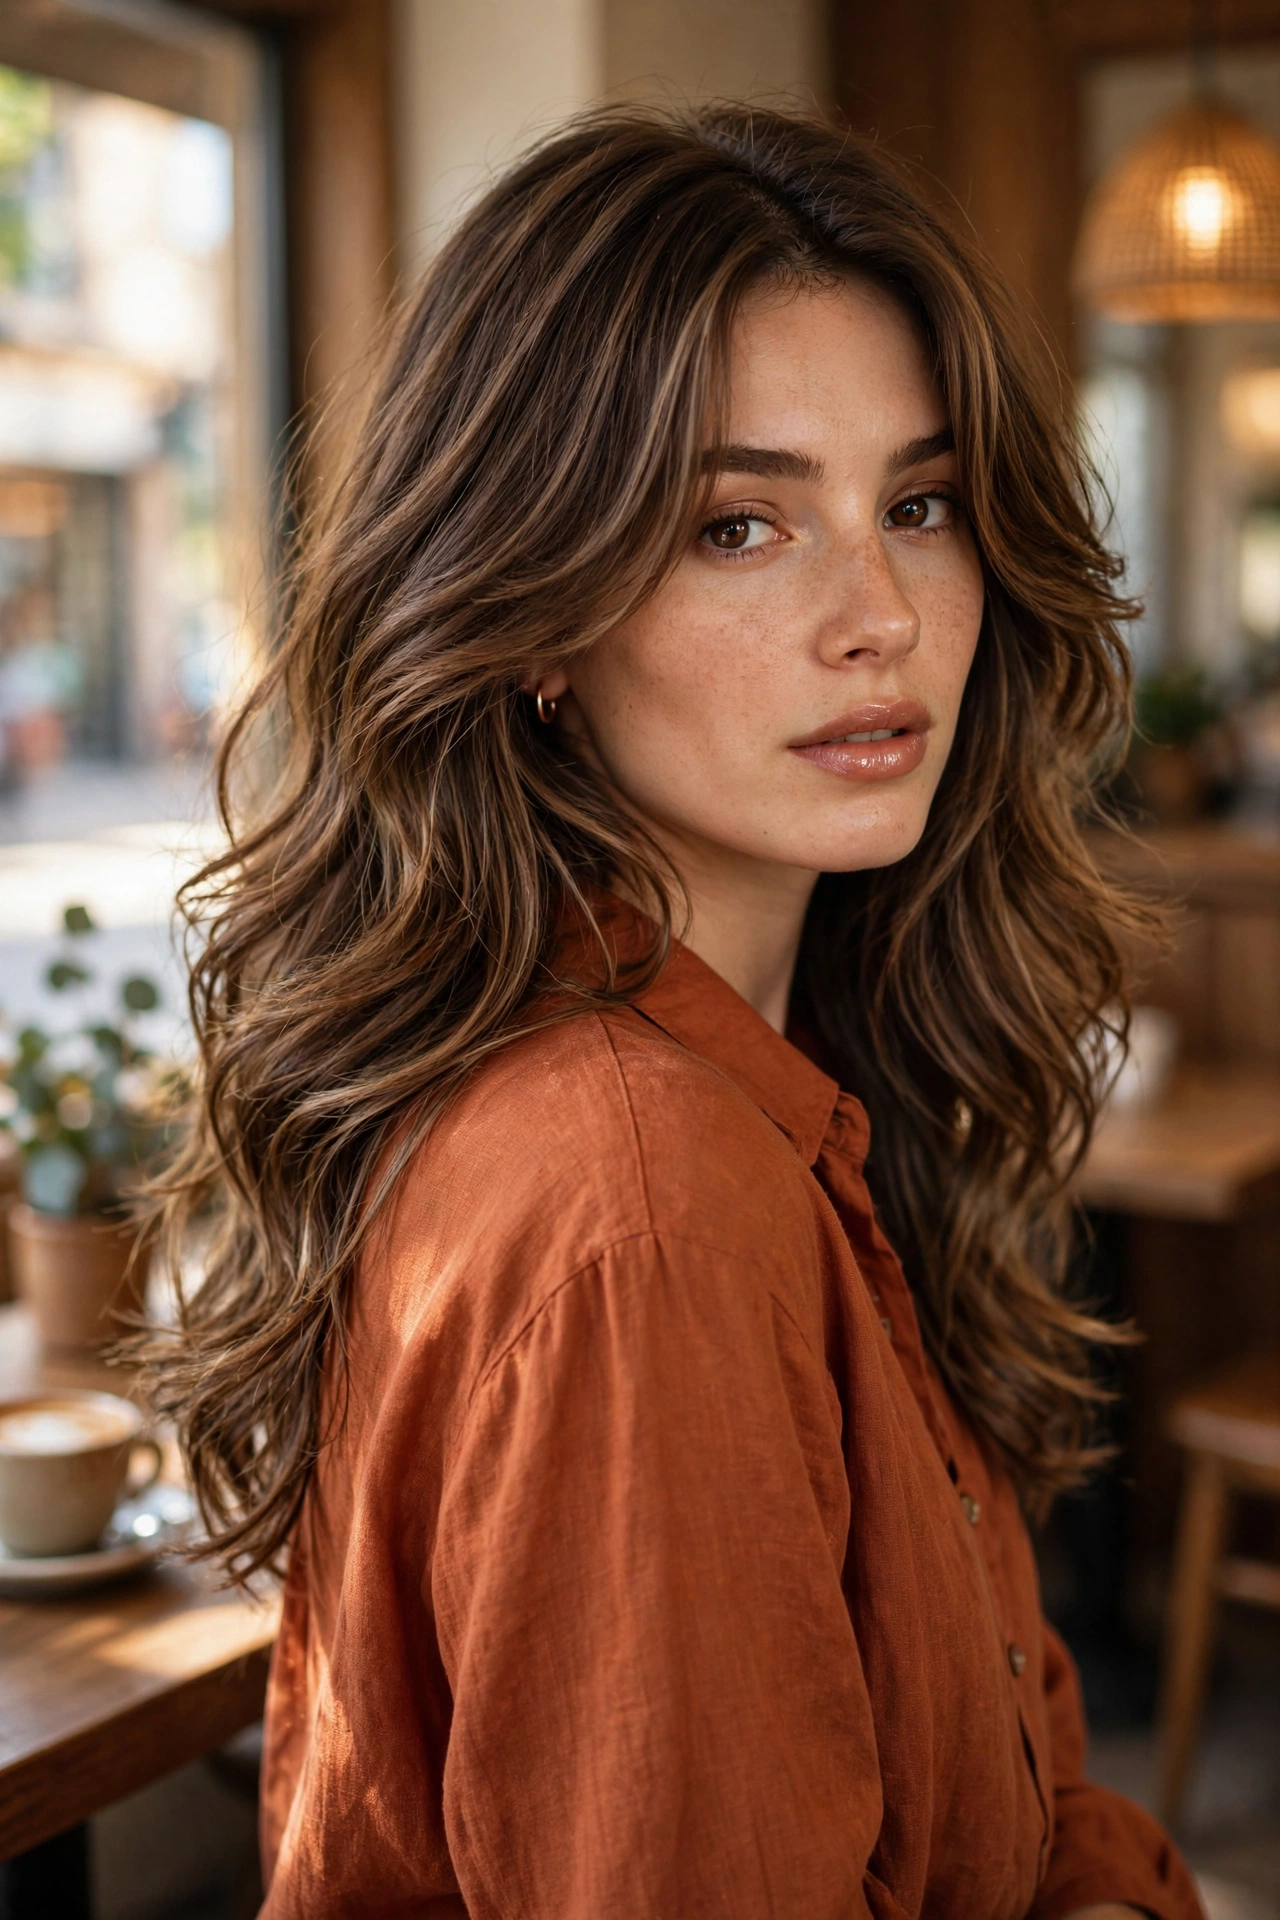
If your hair has a natural wave, layers cut to follow that wave stop it puffing out at the sides. Add soft curtain pieces at the front that part in the middle and sweep back, and you have a style that genuinely improves as the day goes on.
5. Sleek straight layers
Layers do not have to mean volume. On straight hair, long, low layers — starting below the chin — keep the surface smooth and glossy while removing the heavy, dragging feeling at the ends. This is the version to choose for a polished office look.
6. Curly layers with shape
Curl by curl, a good stylist cuts layers so each ringlet sits on its own shelf instead of stacking into a pyramid. The result is defined curls with space between them. Always have curly layers cut by someone who works with curls regularly, ideally on dry hair so the true length is visible.
7. Layers with balayage or highlights
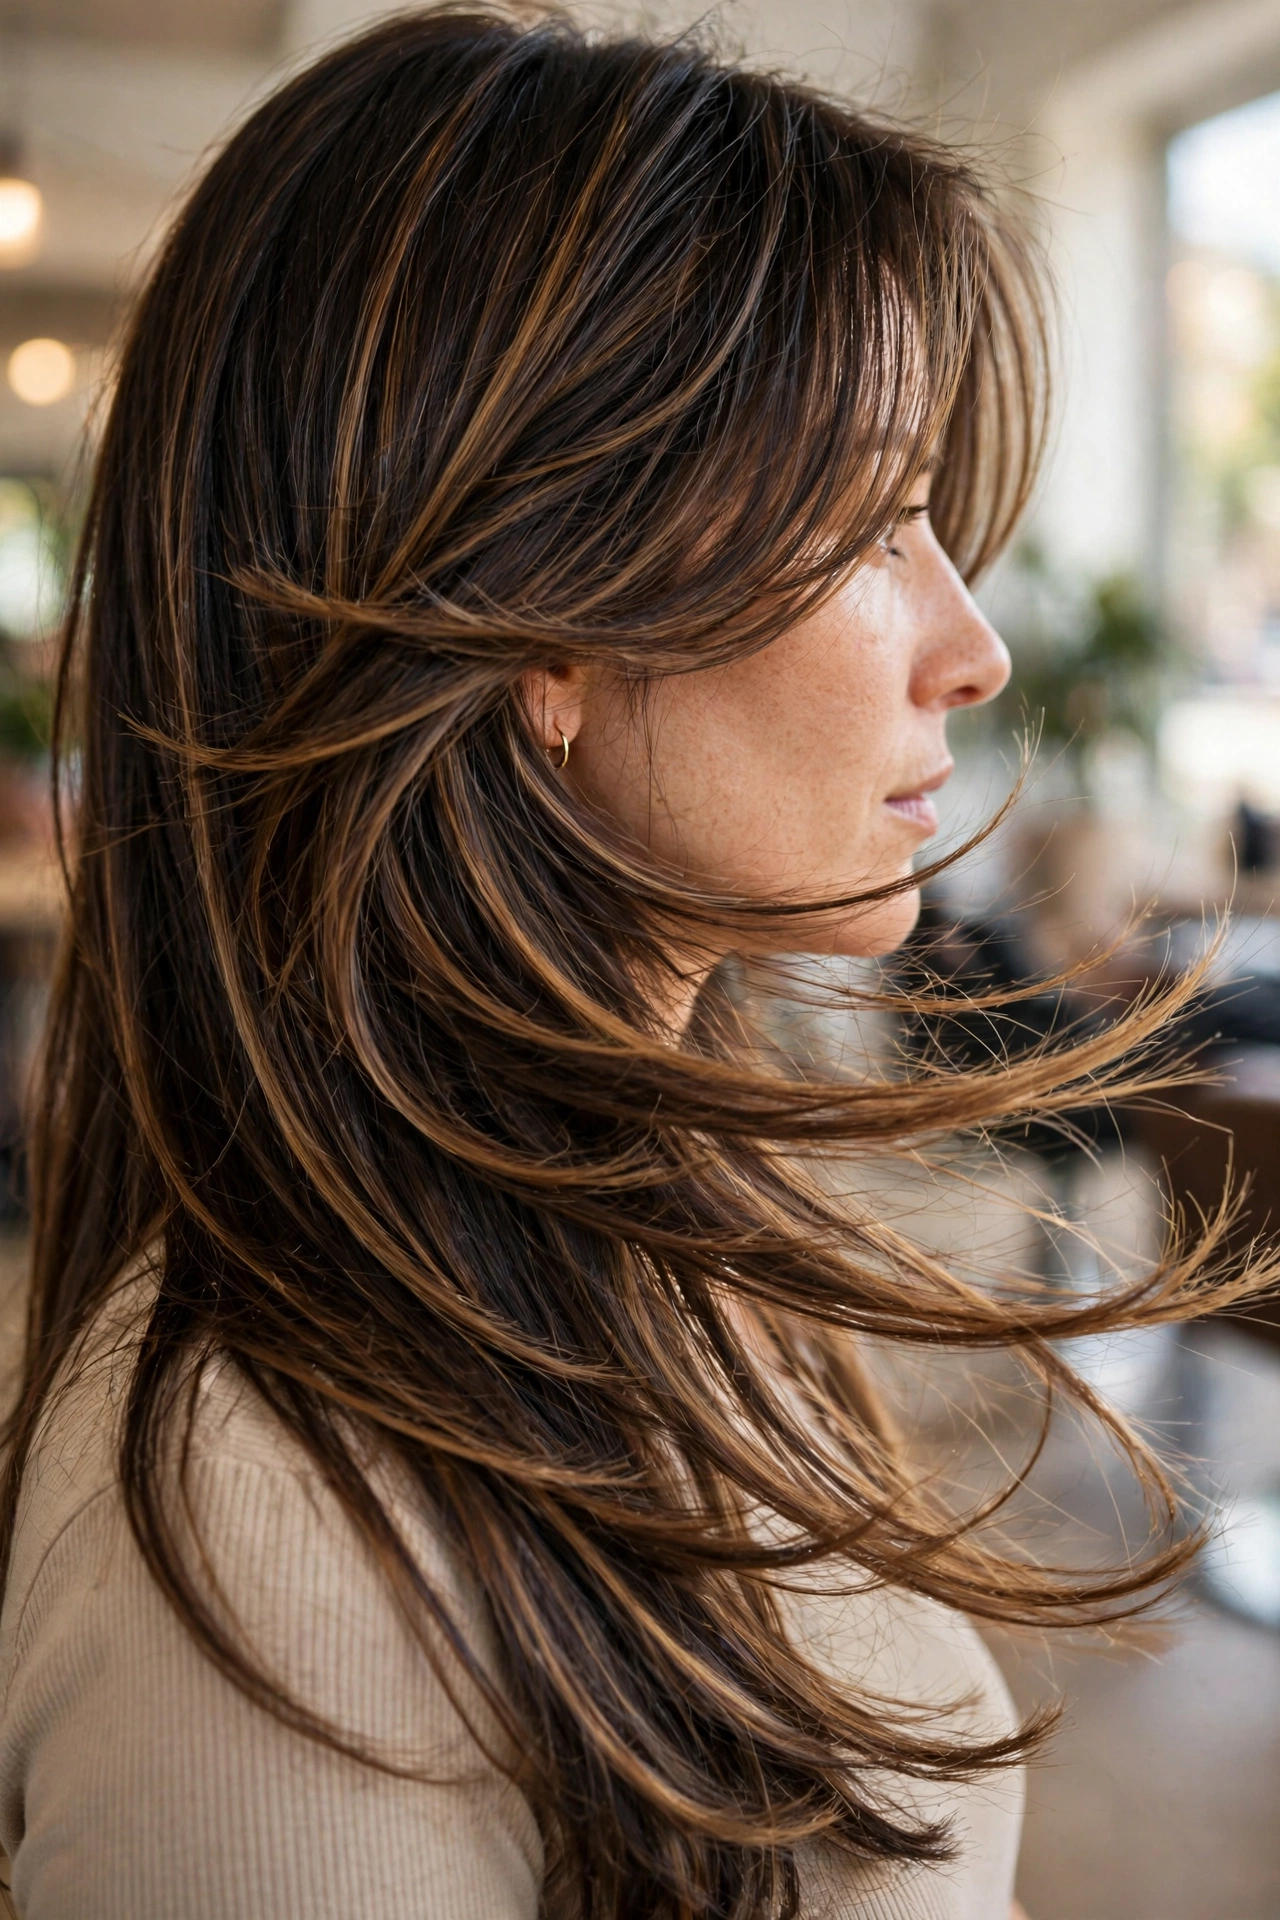
Colour and layers are natural partners. Lighter pieces placed through the mid-lengths show off every step of the cut, and the layered movement stops colour from looking like one flat block. Caramel through brunette hair, as in one of the photos here, is the most forgiving combination.
8. V-cut layers
The back comes to a soft point rather than a straight line, with layers graduating down into it. It looks striking when hair is worn down the back and is a favourite for very long, thick hair that needs serious weight removal.
9. U-cut layers
The gentler cousin of the V: the back edge curves in a shallow U, keeping more thickness at the sides. Choose the U if you braid your hair often, because the ends stay even enough to plait neatly.
How to Ask Your Stylist: A Step-by-Step Brief
Most disappointing haircuts are really disappointing conversations. Follow these steps and you will leave with the cut you pictured.
Step 1: Bring two or three photos of layers on hair that resembles yours in texture and thickness — not a celebrity whose hair is nothing like yours. Step 2: Say clearly where you want the shortest layer to start. “Start my face frame at the jaw” is a sentence a stylist can act on; “just a few layers” is not. Step 3: Agree the maximum length you are willing to lose at the back before scissors come out — a centimetre or two to clean the ends is normal. Step 4: Tell your stylist how you actually wear your hair: air-dried or blow-dried, tied up for work, washed daily or twice a week. Layers are cut differently for each routine. Step 5: Before you leave, ask them to style it once the way you would at home and watch what they do. That two-minute lesson is worth more than any product.

Styling Long Layers at Home: The Ten-Minute Routine
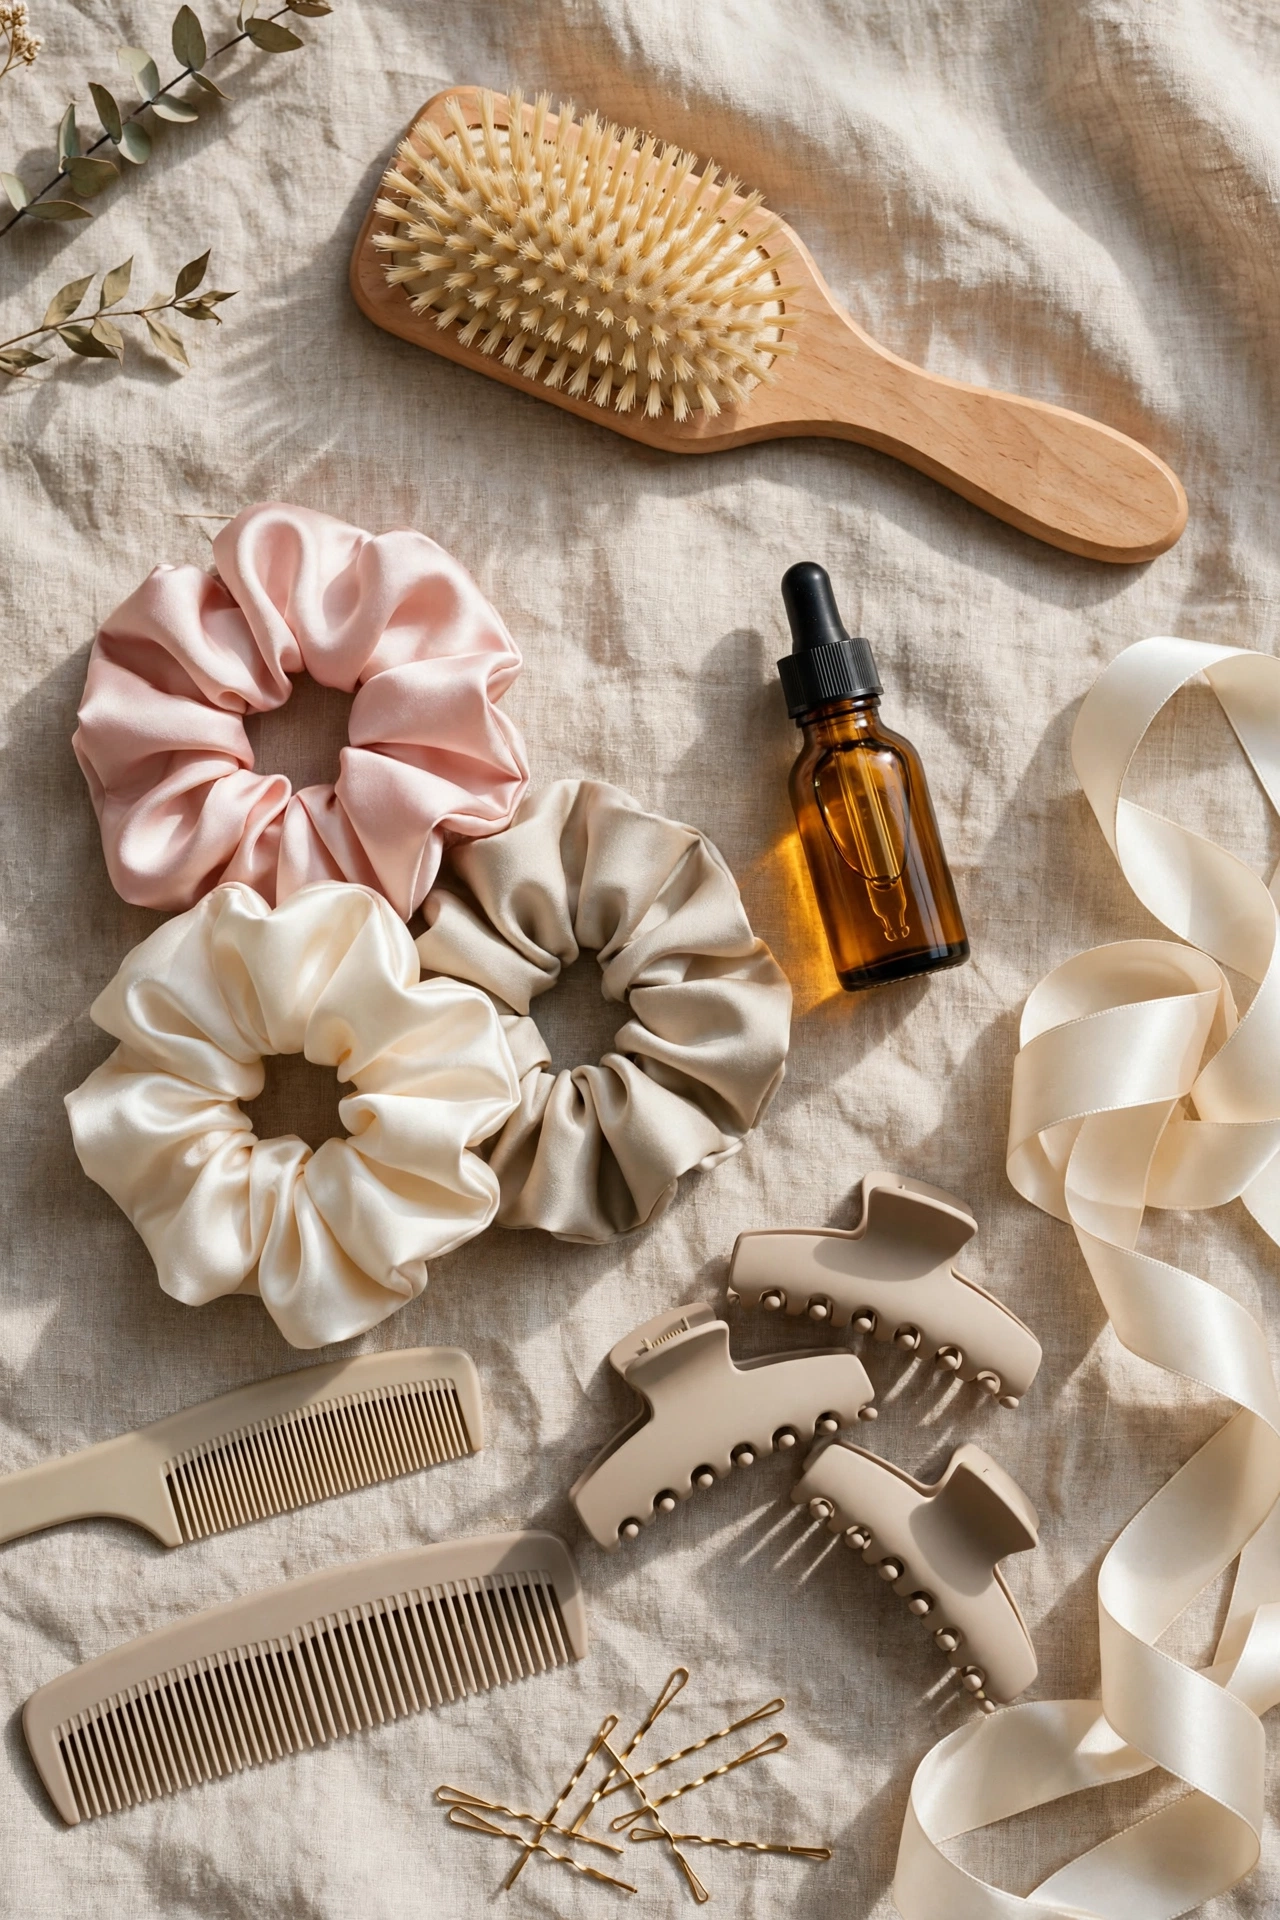
Layers reward a little effort and punish none at all — left completely alone, they can look wispy. This routine takes about ten minutes. Start on towel-dried hair with a pea-sized amount of leave-in conditioner through the mid-lengths and ends only, plus heat protectant if you blow-dry. Dry the roots first, lifting them with your fingers, because flat roots make even perfect layers look tired. Then dry in three sections, rolling a round brush under the ends of each layer so they curve instead of sticking straight out. Finish with a blast of cool air with your head tipped upside down, then smooth one drop of lightweight oil over the surface. On non-wash days, a loose overnight braid gives layers a soft wave by morning, and silk scrunchies — like the ones in the flat-lay photo — stop the kinks ordinary elastics cause.
Care and Buying Advice: What Layers Actually Need
Layered ends are older hair, and older hair is drier hair. A weekly ten-minute conditioning mask keeps the graduated ends from splitting, and a trim every ten to twelve weeks keeps the shape — leave it six months and the layers grow into each other and vanish. When buying products, keep it short: a gentle shampoo, a proper conditioner, a leave-in, and a heat protectant cover almost everyone. Spend on the leave-in and the brush, and save on shampoo, which is on your hair for two minutes. Be suspicious of any product promising to repair split ends permanently — nothing glues a split back together; only cutting does. On a budget, the salon cut itself matters far more than a shelf of styling products, because a well-cut layer styles itself halfway.
Common Mistakes That Ruin Long Layers
The first is asking for layers that start too high on fine hair, which leaves the bottom looking thin and see-through — on fine hair, keep layers long and few. The second is over-thinning: texturising shears used heavily on top of layers can make hair look frizzy within weeks. Third, expecting layers to behave identically on day one and day thirty — they settle after two or three washes, so judge the cut then, not in the salon mirror. Finally, copying a heavily styled photo as an everyday promise. Many layered photos involve a full professional blow-out; ask honestly what the cut looks like air-dried before you commit.

Frequently Asked Questions
Do layers make long hair look thinner?
Only if they are cut too short or too many on already fine hair. Long, sparse layers placed from the collarbone down remove weight without touching fullness. If your hair is fine, tell your stylist you want movement but must keep thickness at the ends, and they will adjust the placement.
How often do long layers need trimming?
Every ten to twelve weeks is the sweet spot for most people. That visit usually removes very little length — it simply re-shapes the steps of the layers and cleans the ends. Waiting much longer lets the layers merge into one length again, and you lose the effect you paid for.
Can I still tie layered hair up neatly?
Yes. Ponytails, buns and braids all work, and face-framing layers actually make updos look softer and less severe. The shortest front pieces may slip out of a very high ponytail; a small clip or a spritz of water settles them in seconds.
Are layers suitable for curly long hair?
Absolutely — curly hair often needs layers more than straight hair does, because without them curls stack into a heavy triangle. The key is a stylist experienced with curls who cuts them dry and one curl at a time, so the finished shape is what you see, not a surprise after washing.
Will layers grow out gracefully if I change my mind?
Long layers are one of the easiest cuts to grow out. Because the steps are gradual, there is no awkward shelf stage; the layers simply become longer and softer over a few months until the hair feels one-length again.
A Final Word Before You Book
A long layered haircut is the rare change that feels dramatic and safe at the same time. You keep the length you love, you gain movement and a front that frames your face on even the laziest morning, and if you ever tire of it, it grows out without a fight. Pick the variation that matches your texture, brief your stylist with photos and exact starting points, and give the cut three washes before you judge it. Save this guide for your salon appointment — your future self, shaking out fresh layers in the mirror, will be glad you did.