Mocha Swirl Nail Design: 9 Rich Ways to Wear Mocha Swirl Nails on Almond and Square Shapes
There is a moment every autumn when I put away the bright summer polishes and reach for something warmer. This year it came with a cup of coffee in my hand. I looked at the soft swirl of milk folding into dark coffee and thought, that is exactly the colour story I want on my nails.
A mocha swirl nail design gives you that cosy feeling in miniature. Latte, creamy beige, caramel and deep espresso move across the nail in soft waves, so the result looks rich without ever feeling loud. It works for work, weekends and evenings out, which is why I keep coming back to it.
Here are nine rich ways to wear mocha swirls on almond and square nails, a step-by-step home routine, and advice on shape, budget and care.

Why Mocha Suits Almost Everyone
Mocha is forgiving because it is built from shades most of us already wear: beige knitwear, tan coats, brown boots, gold jewellery. On fair skin, the deeper espresso lines add gentle contrast. On medium and deeper skin, the creamy latte and caramel tones lift the look and keep it warm rather than flat.
Movement helps too. A solid brown manicure can look heavy, especially on longer nails. Swirls break up the colour, so your eye follows the curves instead of seeing one dark block. The pattern is also kind as nails grow: because swirls are organic and uneven on purpose, a small gap at the cuticle after two weeks is far less obvious than with a sharp French line.
9 Rich Ways to Wear Mocha Swirls
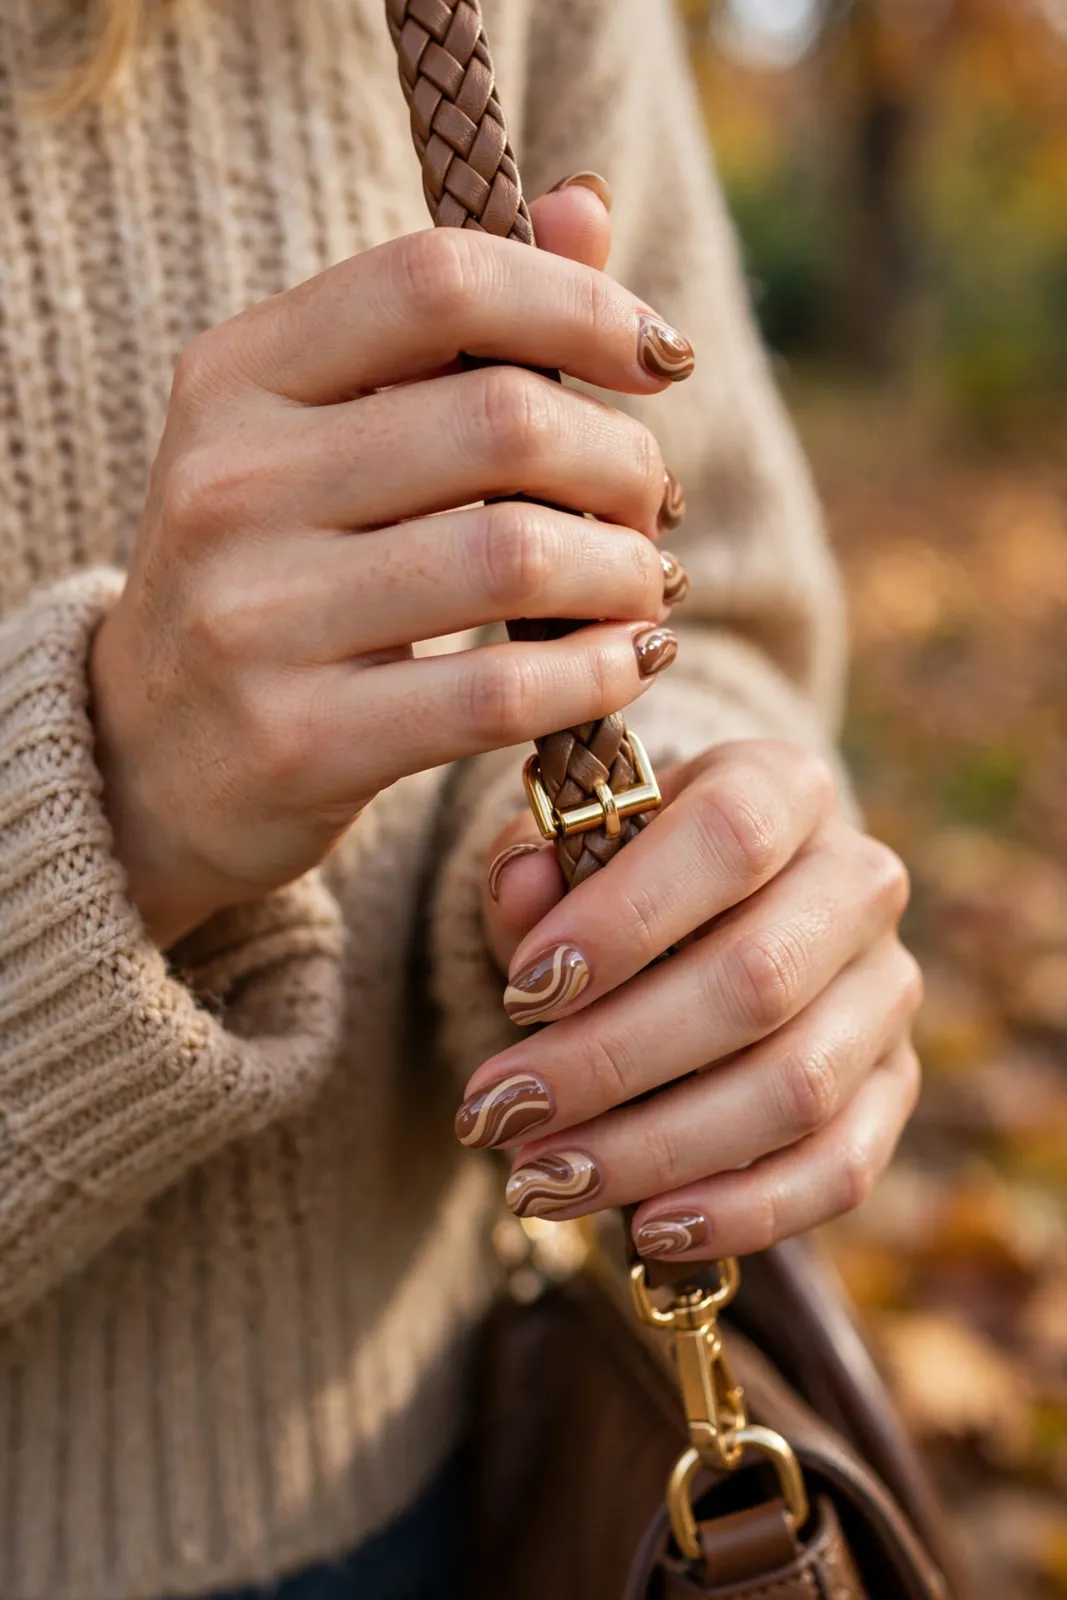
1. Classic full swirl on almond nails. Every nail covered in flowing waves of latte, mocha and espresso, as in the hero photo. Almond suits it perfectly because the tapered tip follows the curve of the swirl. Keep the waves diagonal and the nails will look longer.
2. Bold spiral swirl on square nails. Square nails give you a wide, flat canvas, so a tighter spiral really stands out. Use a cream base and swirl caramel and dark brown through the centre. The straight edges make the round pattern feel modern and playful.
3. Soft latte swirl. The gentlest version stays in the pale family: cream, sand and light mocha, with no dark line at all. The effect is soft and milky, lovely on shorter nails, for the office, or if you are trying swirls for the first time.
4. Deep espresso swirl tips. Start with a nude or pale latte base and concentrate the darkest swirls at the tips, like a reworked French manicure. On longer almond nails this looks elegant and slightly dramatic, drawing attention to the length without covering the whole nail in dark polish.
5. Mix and match mocha. Give each nail a different treatment within the same colours: full swirl on the middle finger, solid mocha on the index, a single swirl accent on the ring finger. Repeat the same three or four shades and the set looks planned, not random.
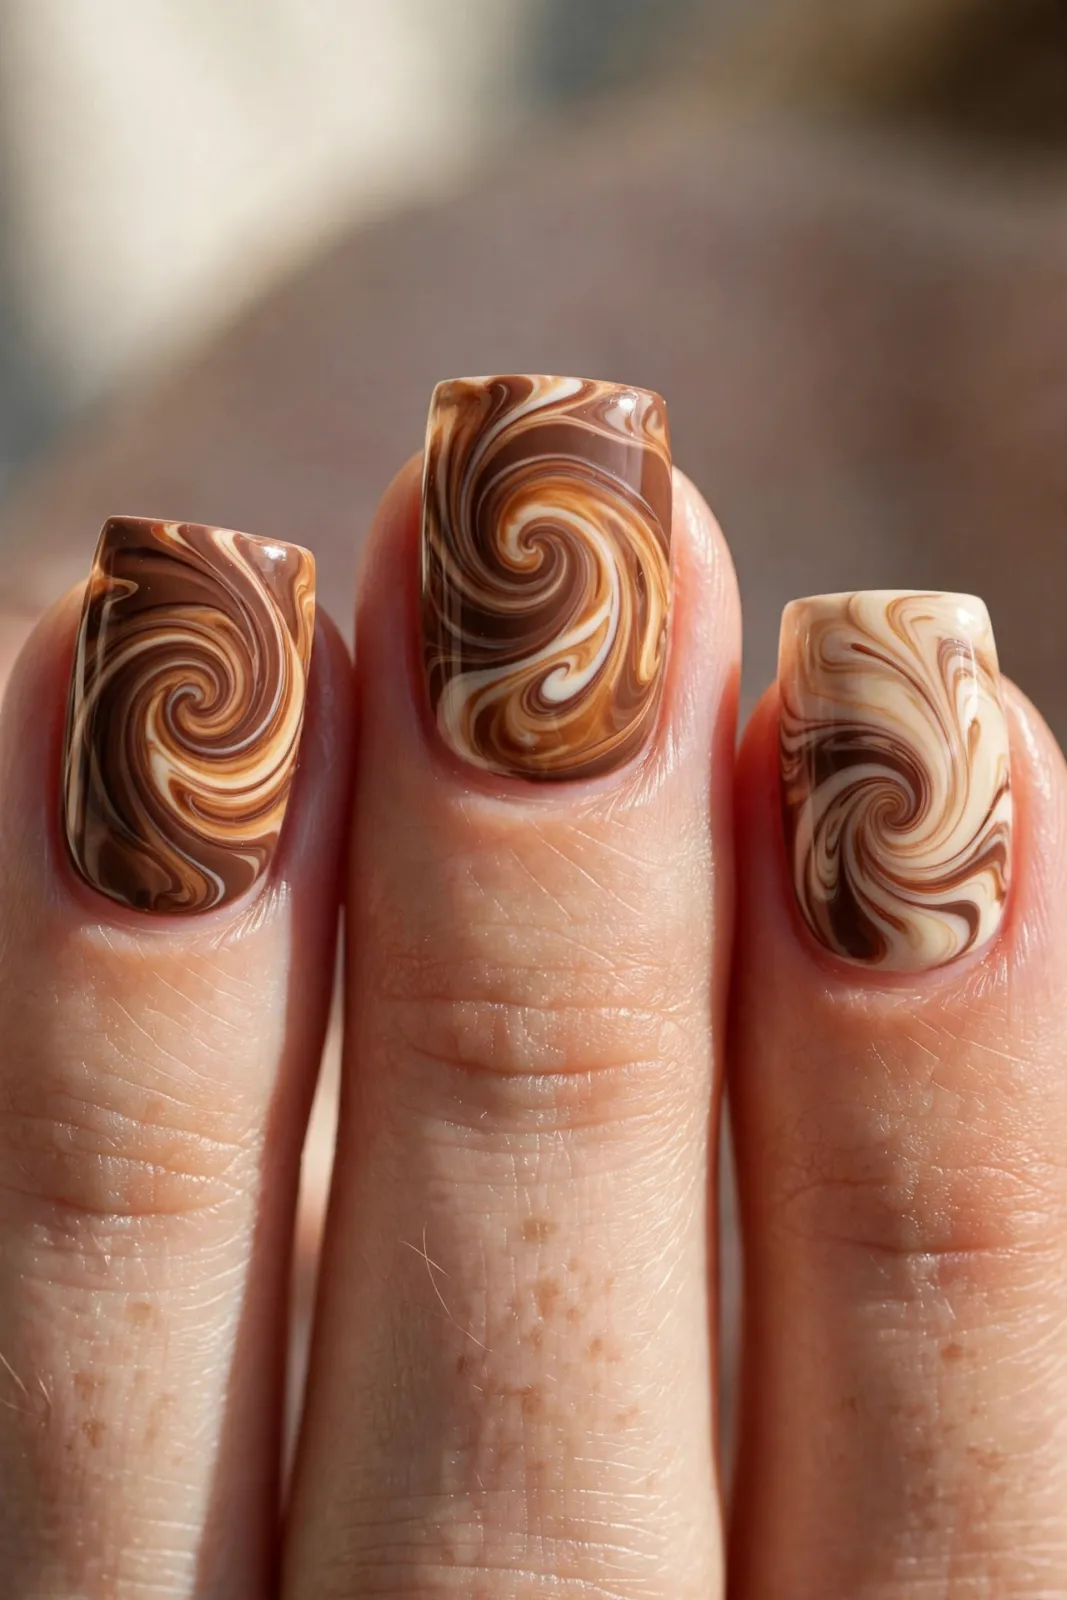
6. Swirl accent nails only. Paint most nails in solid warm mocha and add swirls to just one or two accent nails on each hand. You still get the pretty pattern, but the look is calmer and much quicker to do at home.
7. Matte mocha swirls. A matte top coat changes everything: the shine disappears and the swirls look like cocoa powder and velvet. Matte shows dry cuticles more, so use cuticle oil daily, but for a cosy, understated result it is hard to beat.
8. Glossy caramel ribbon swirls. Thread thin ribbons of caramel and a touch of shimmering bronze through a medium mocha base, then finish with a very glossy top coat. In sunlight the ribbons catch the light as your hands move. This is the dressiest version, beautiful for parties and dinners.
9. Short square cafe nails. Short, neat square nails with a medium mocha swirl are practical and chic. Keep the swirls larger and simpler, two or three waves per nail, so the pattern does not look crowded. I recommend this version if you type all day.
How to Do Mocha Swirls at Home, Step by Step
Working while the polish is wet is the whole secret. Set everything out first: base coat, three or four mocha shades from pale to dark, a thin nail art brush or toothpick, top coat, and a small brush with remover for tidying.
Step one, prepare. Remove old polish, shape gently, push back cuticles and wipe each nail clean and dry. Apply a thin base coat and let it dry fully; skipping this is the main reason home manicures chip early. Step two, lay down your lightest shade in one or two thin coats. It should be tacky, not dripping, when you start swirling.
Step three, dot your medium mocha and darkest espresso onto the wet base in loose diagonal lines. Step four, drag the brush or toothpick through in a slow S shape, once or twice only. Too many passes mix everything into one muddy brown, so stop while you can still see separate ribbons. Work nail by nail, because each nail must be swirled while wet.

Finally, tidy the edges with the small brush, wait at least ten minutes, and seal with a generous glossy or matte top coat, wrapping the tip of each nail. With gel polish, follow the same order but swirl before curing the design layer under your lamp, as your gel system directs.
Choosing Your Shape and Length
Almond nails have tapered sides and a soft, rounded point. They make fingers look slimmer and longer, and the swirl curves echo the nail shape, so the design feels flowing and feminine. Almond needs a little length to look right, a few millimetres past your fingertip, and it is a kind choice if your nails catch at the corners.
Square nails have straight sides and a flat tip. They suit shorter lengths very well and give a clean, modern frame for a spiral or bold central swirl. If your nail beds are naturally wide, square can look especially smart. Sharp corners can chip, so many people soften them slightly while keeping the straight look.
For length, be honest about your day. Long nails look striking with espresso tips, but if you work with your hands or spend hours on a keyboard, short to medium will stay neat longer and break less often.
Salon or Home: Time, Cost and Buying Advice
A salon swirl manicure costs more than a plain colour because of the extra art time, and gel finishes cost more again. In return you get crisp lines, an even shape and a finish that often lasts two to three weeks. For a special event, it is worth it. Take reference photos and agree which nails get full swirls before work begins.
At home, the starting cost is the polishes and a thin brush, but those bottles cover many manicures, so the cost per wear drops quickly. A starter set is just four shades: cream, latte, medium mocha and espresso, plus base and top coat. Choose regular polish while learning, because it gives you more working time.

Press-on nails in a mocha swirl design are a handy middle option for a one-off event: cheaper than a salon set, applied in minutes, and removed without damage when soaked off properly.
Keeping Your Mocha Manicure Fresh
Apply cuticle oil once a day, ideally at night, and use hand cream after washing your hands. Wear gloves for washing up and cleaning, because hot water and cleaning products dull the shine and dry the skin around the nails faster than anything else.
Refresh the top coat every three or four days to restore shine and protect the swirl edges. If a tip chips, do not peel at it. Dab the nearest mocha shade over the chip, drag a tiny swirl through it and seal again; because the pattern is random, repairs blend in almost invisibly.
When it is time to remove the manicure, soak it off gently with remover and cotton pads rather than scraping or peeling, especially with gel.
Common Mistakes to Avoid
The most common mistake is over-swirling. Dragging the brush back and forth blends the ribbons into one flat brown; two gentle passes are enough. The second mistake is choosing shades that are too close together. If your light, medium and dark polishes look almost identical in the bottle, the swirl will disappear on the nail. Check them side by side in daylight for three clear steps of depth.
Thick coats are another trap. They flood the cuticle, take ages to dry and chip in sheets. Thin coats, even if you need two, always wear better. Finally, seal the very tip of each nail with colour and top coat. It takes seconds and can add days to your manicure.
Frequently Asked Questions
Do mocha swirl nails suit short nails?
Yes, especially on a short square shape. Keep the pattern simple with two or three larger waves per nail and use all three depths of colour, so the design stays clear at a small size. Tiny, fussy spirals can look crowded on short nails.
How long does a mocha swirl manicure last?
With regular polish and good preparation, expect five to seven neat days, longer if you refresh the top coat. A gel version usually lasts two to three weeks, and growth shows less with swirls than with solid dark polish.
Can I do swirls with only two polish colours?
You can, and cream with deep espresso looks very striking. Three shades give a softer blend because the medium mocha bridges light and dark. If you only own two browns, let a little of the pale base show between them as you drag the brush to soften the middle.
Which finish is better, glossy or matte?
Glossy is the easier everyday choice: it hides small imperfections and makes the swirls look like swirled coffee. Matte looks soft and modern but shows dry skin and picks up marks more quickly. If you are unsure, start glossy and try matte next time.
What colours go with mocha swirl nails?
Cream, camel, rust, olive, black, white and denim all pair beautifully with mocha. Gold jewellery warms the browns up, while silver gives a cooler contrast.
I hope this gives you the confidence to try a mocha swirl nail design at your next manicure, at a salon or at home with four bottles and a quiet half hour. Start with the classic full swirl or the gentle latte version, keep your strokes light, and enjoy how put together your hands look with every coffee.