The first time I tried a pearl bun spiral pin, I was running late for a cousin’s wedding and my bun kept sliding apart in the mirror. A normal pin would hold for ten minutes, then loosen just as the photos started. My aunt handed me a small spiral pin topped with pearls, told me to twist it in like a screw, and walked away. It stayed put through dinner, dancing, and the drive home.
If you love pearls in an updo but worry they will look fussy, fall out, or need a stylist, this guide is for you. A pearl bun spiral pin does two jobs at once: it anchors the bun from inside and decorates it from the outside. Below are nine wearable ways to style it, a clear step-by-step method, honest buying advice, and the small mistakes that make even a pretty pin look untidy.
What Makes a Pearl Bun Spiral Pin Different
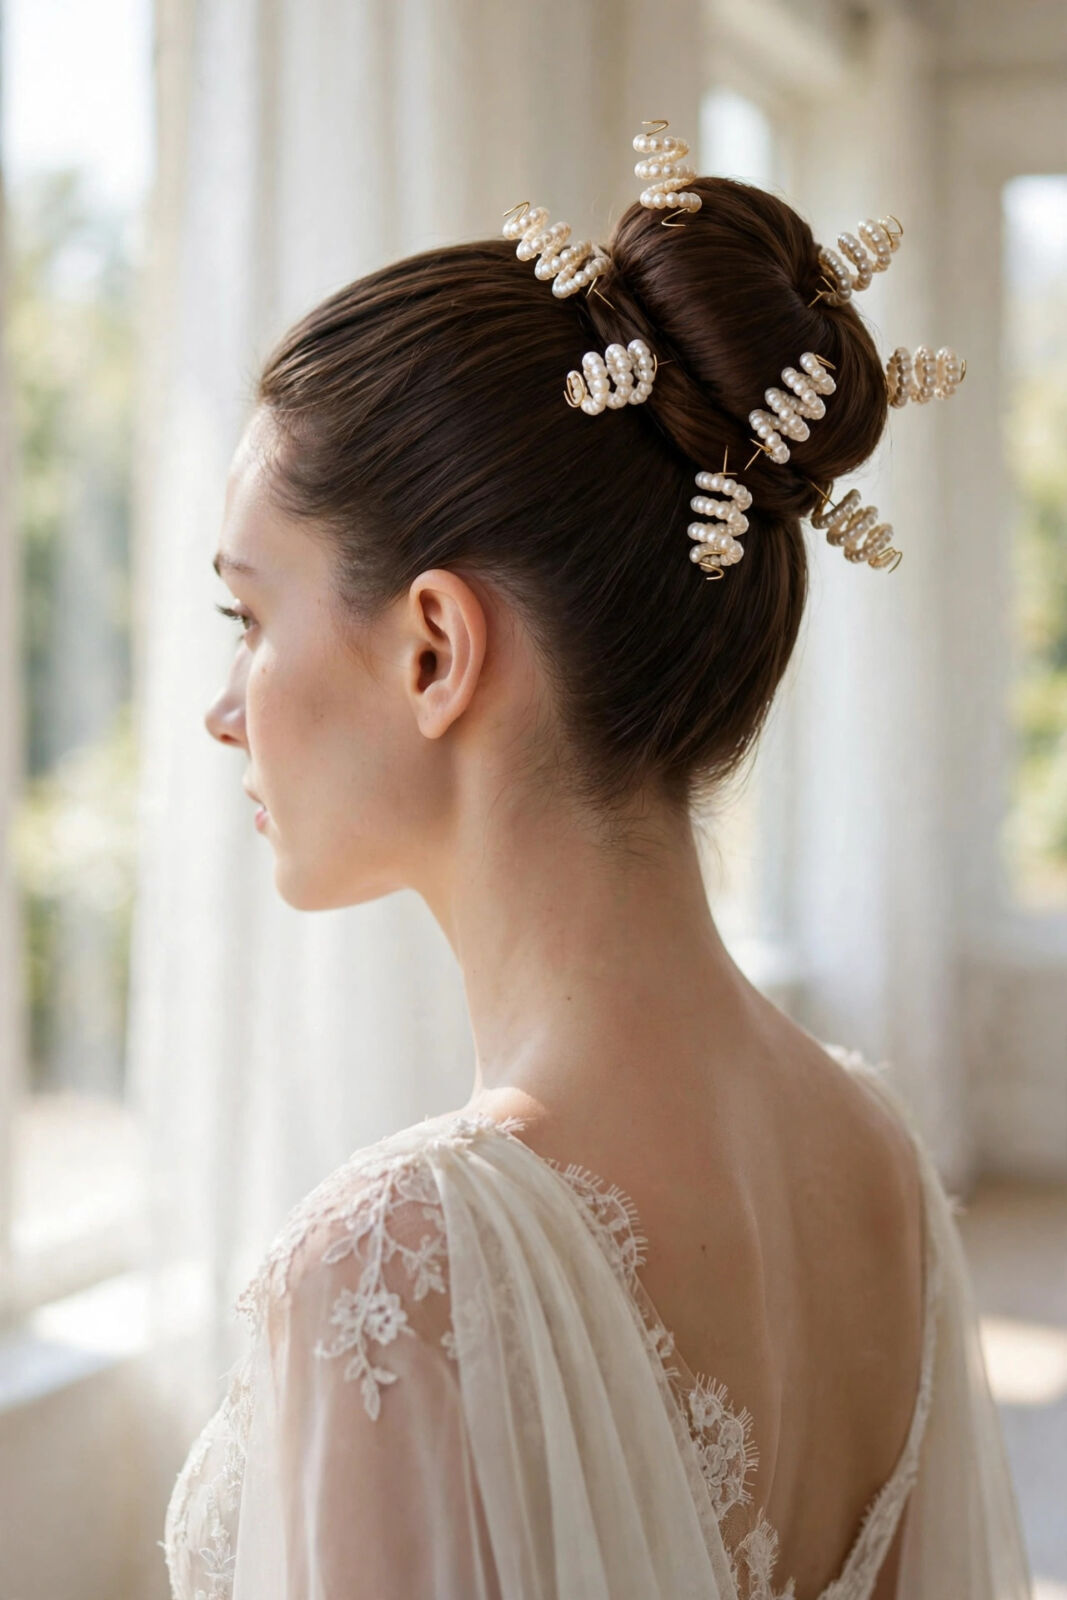
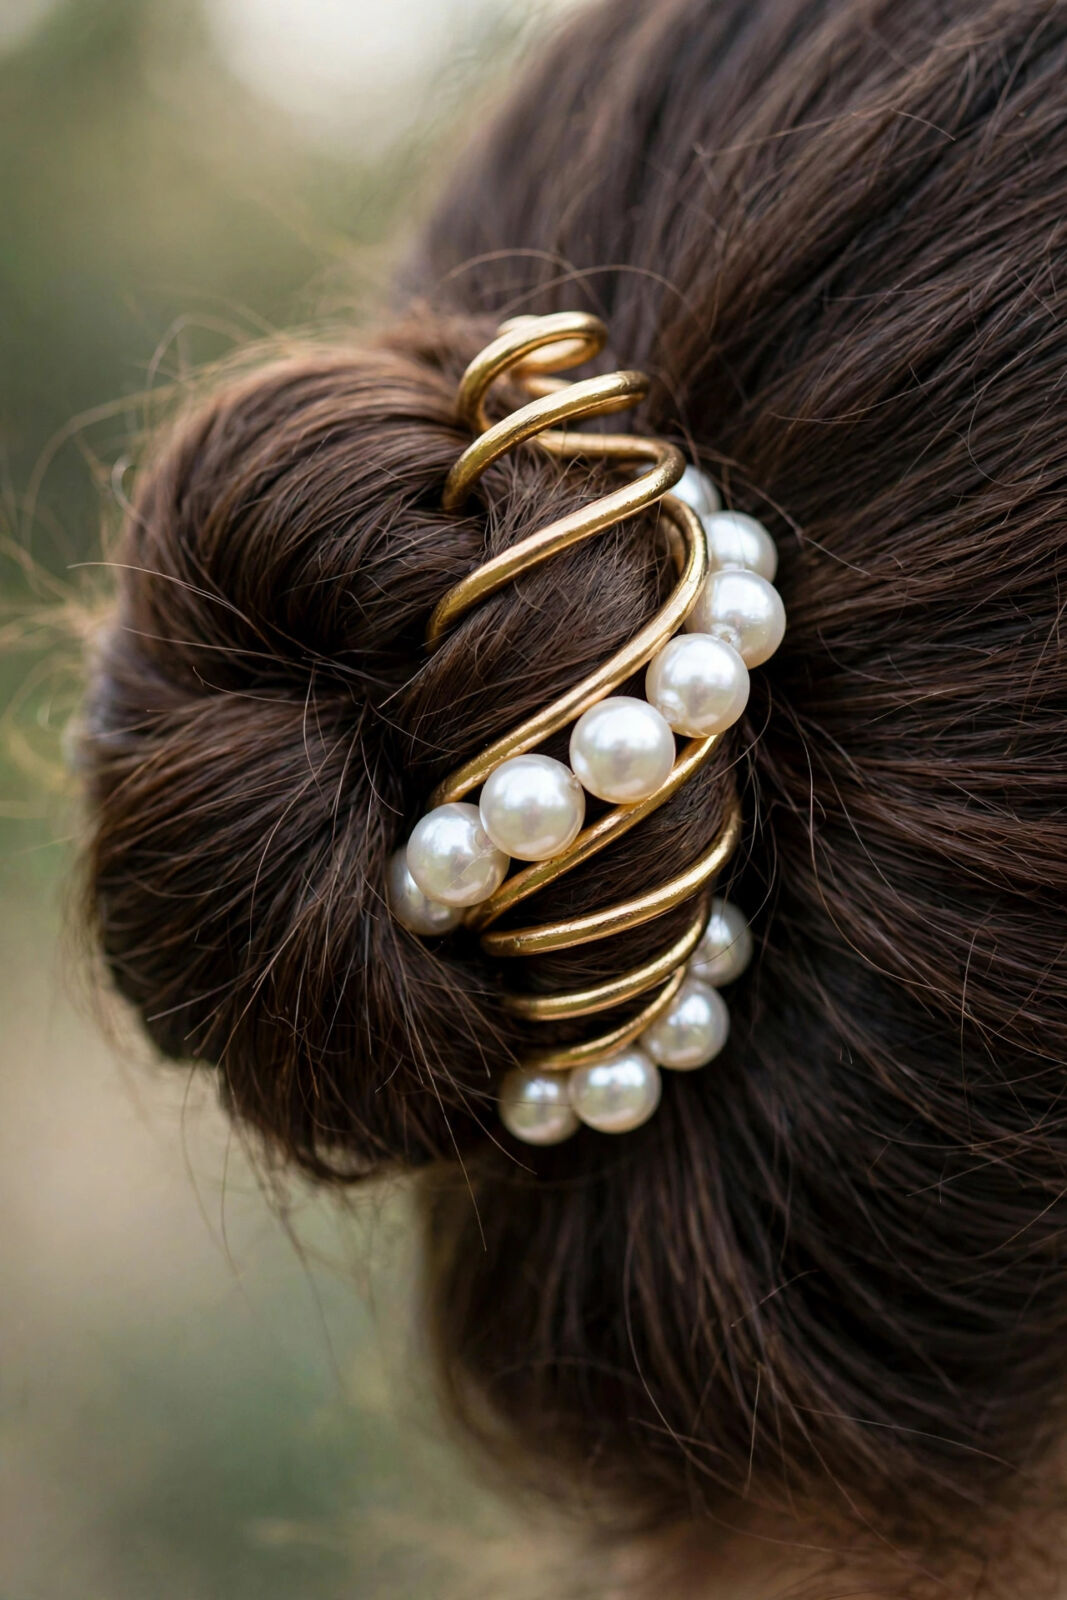
A spiral pin is shaped like a tiny corkscrew. Instead of clipping on top of the hair or sliding in a straight line, it twists into the bun and catches hair from several directions at once. That grip spreads the hold across the twist, so one pin can do the work of several ordinary pins. The pearl head sits on the surface, where it can be seen, while the metal coil stays mostly hidden.
Pearls suit buns because a bun is already a rounded, classic shape. A row of soft ivory pearls follows that curve instead of fighting it. Against dark hair the contrast is clear and polished. Against blonde hair, pearls read softer and more romantic. On auburn or grey hair they catch the light whenever you turn your head, lovely in photographs without looking sparkly or overdone.
There is a comfort point too. Straight pins can press into the scalp at the wrong angle, and clips can pinch. A spiral, twisted gently along the direction of the bun, sits flatter. Most people find they need fewer pins, less spray, and far less checking in the mirror during an event.
9 Pretty Ways to Wear It for Weddings and Parties
1. The classic bridal high bun
Secure a smooth high bun and twist three to five pearl spirals evenly around its base, at a similar height. This is the safest choice with a veil worn low or with drop earrings.
2. A low bun with a side sweep
Part the hair to one side, gather it into a low bun at the nape, and place two larger pearl pins on the sweeping side. The asymmetry looks intentional and photographs beautifully in profile.
3. A neat ring around a centre bun
Space six small spirals in a loose ring around a centre bun, at roughly even gaps like a clock face. It gives a tidy, crown-like finish without any actual crown or tiara.
4. One statement pin
A single larger pearl spiral can be enough for a party or dinner. Twist it into the upper side of a smooth, secure bun and leave the rest clean and simple.
5. A messy bun, made deliberate
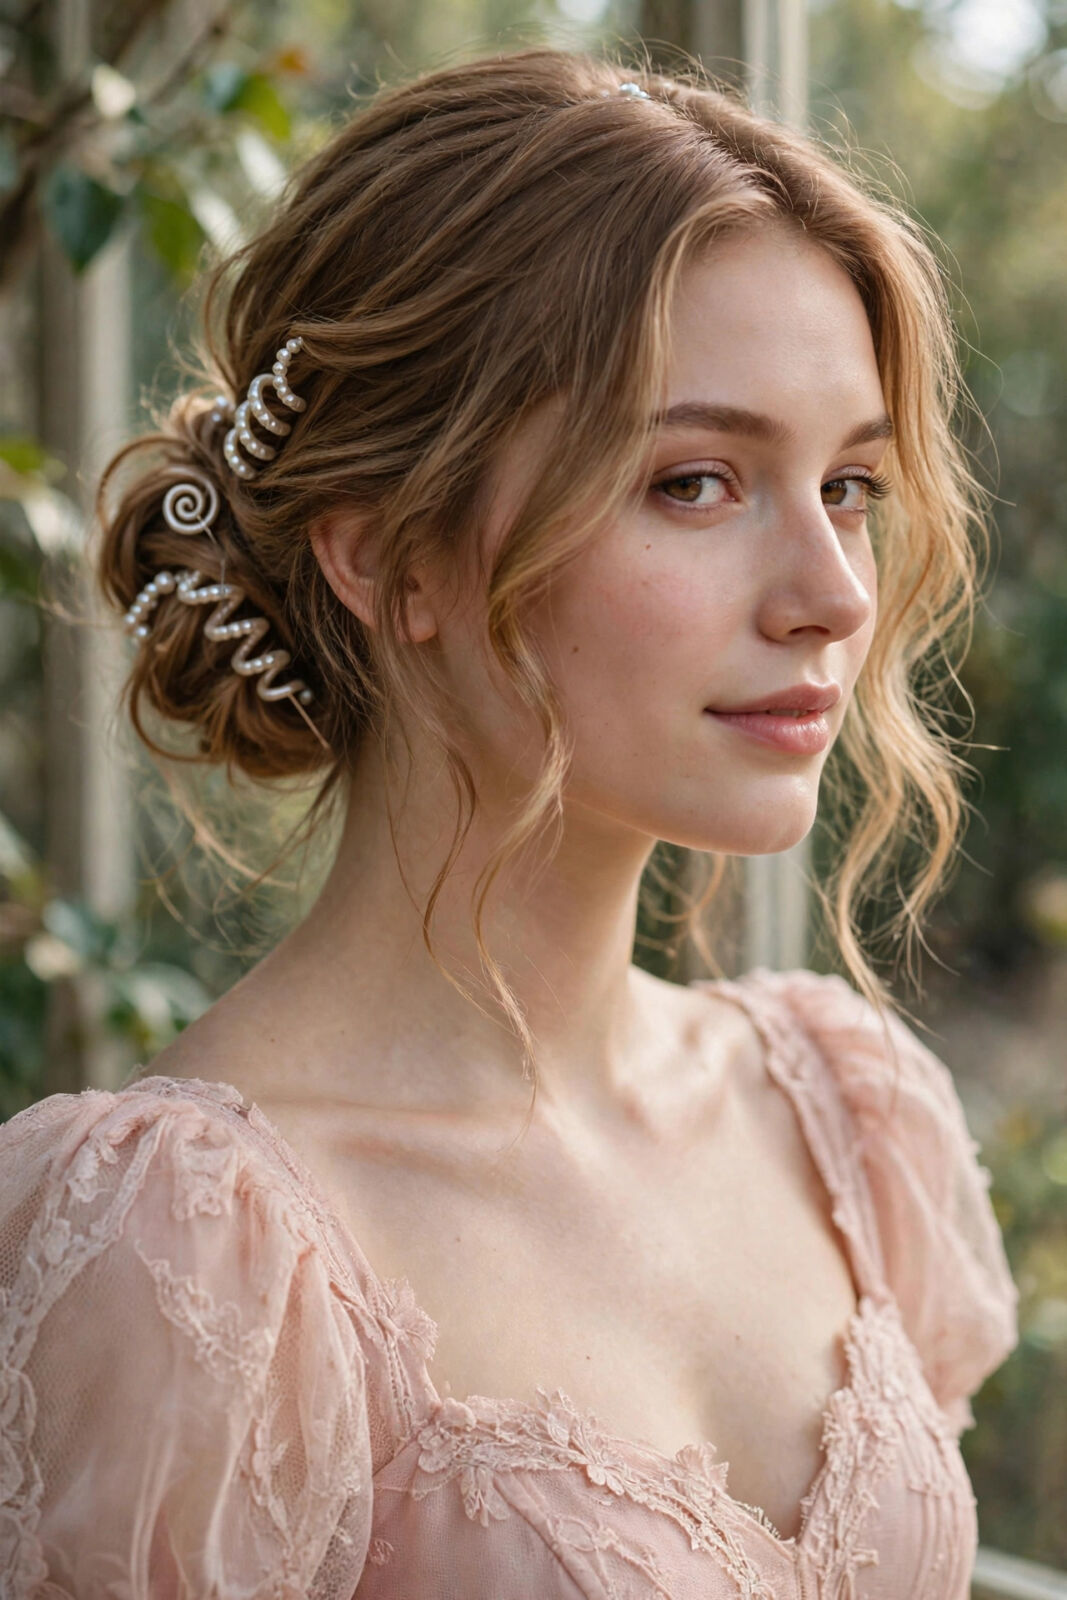
Three pearl spirals placed in a gentle triangle tell everyone a soft, loosened bun is on purpose. Pull out two fine face-framing strands and skip heavy spray so the texture stays touchable.
6. Pearls with loose waves underneath
Twist the top and sides into a small half bun, leave loose waves falling below it, and finish with two pearl spirals. A pretty middle ground for afternoon parties.
7. A braided bun with pearl accents
Braid the hair first, wrap the braid into a bun, and push spirals in where the braid crosses itself. The pearls settle into the folds and highlight the braid’s pattern, ideal for slippery long hair.
8. Two small buns for a playful party look
Split the hair into two small buns and add one or two tiny pearl spirals to each. Keep the pearls small so the style stays charming, and pair it with simple makeup.
9. A sleek bun for formal evenings
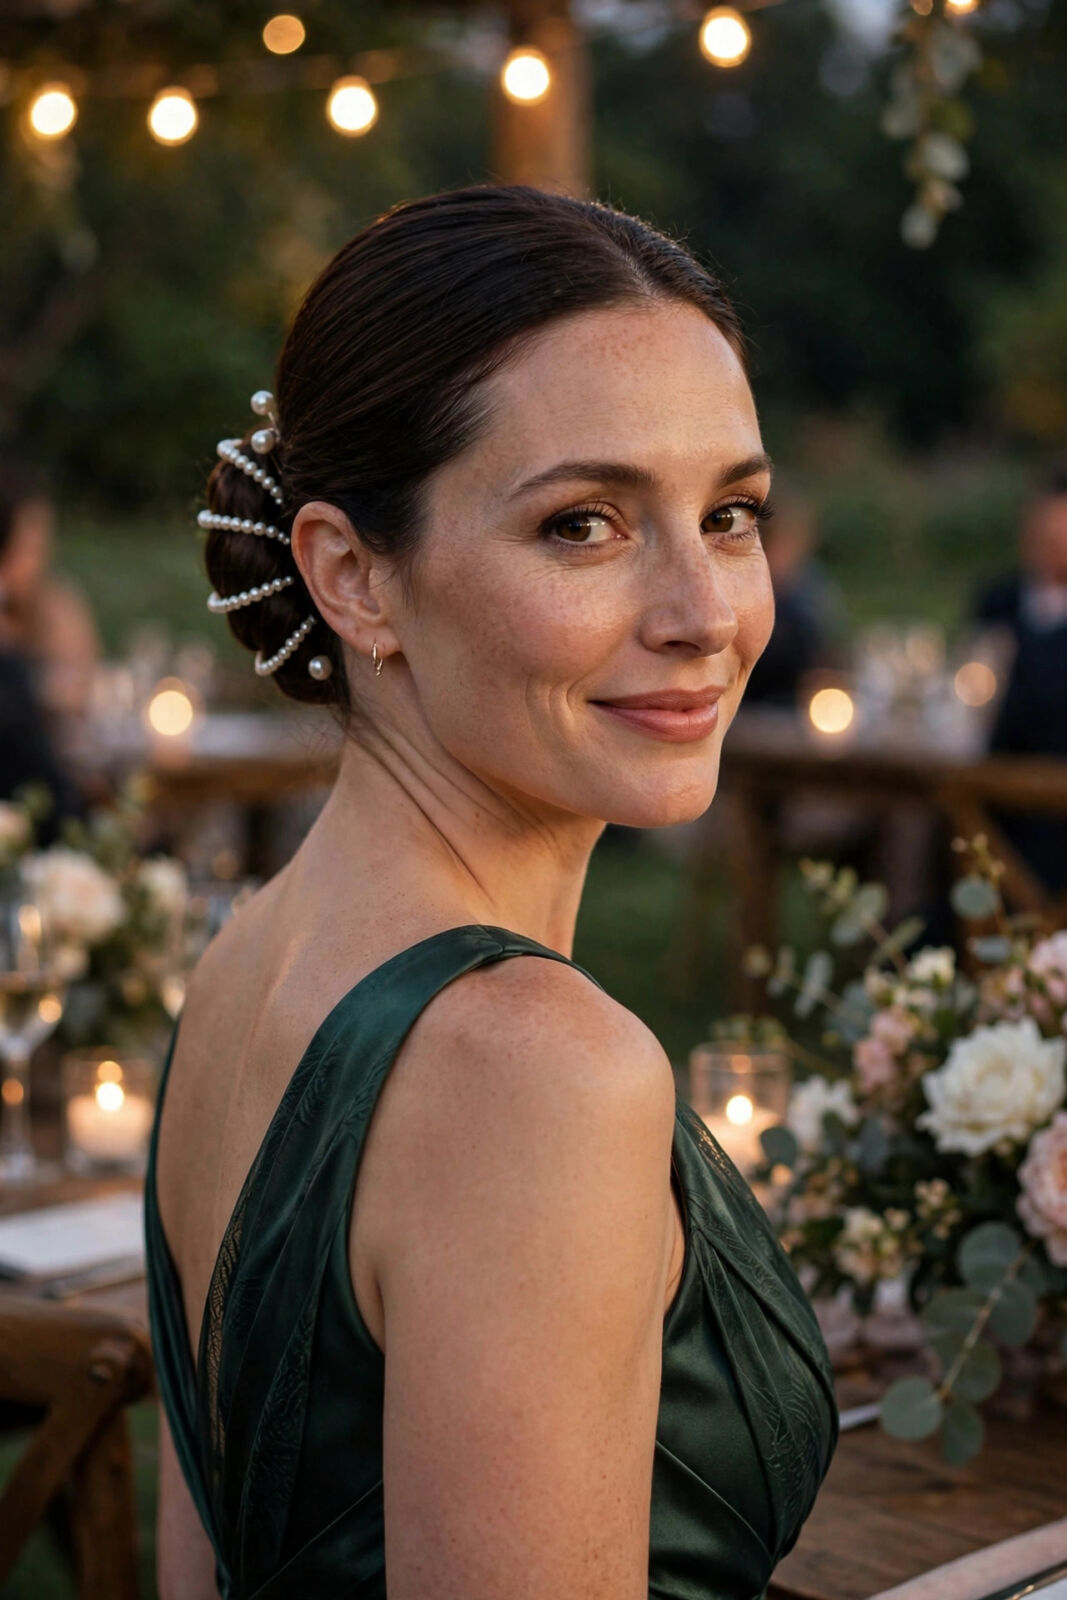
Smooth every flyaway down and place four matching pearls in a neat arc over a sleek bun. The clean lines suit satin and silk dresses, and the pearls soften a strict style.
How to Twist One In: Step by Step
You need no heat and little product: a brush, a hair tie, and two to five spiral pins will handle most buns.
Step 1: Start with dry, brushed hair. Day-old hair grips better than freshly washed, silky hair. If yours is very fine, work a little dry shampoo or texturising spray through the lengths first.
Step 2: Gather the hair where you want the bun and secure it with a tie. Twist the ponytail around its base, tuck the ends underneath, and check the profile before pinning.
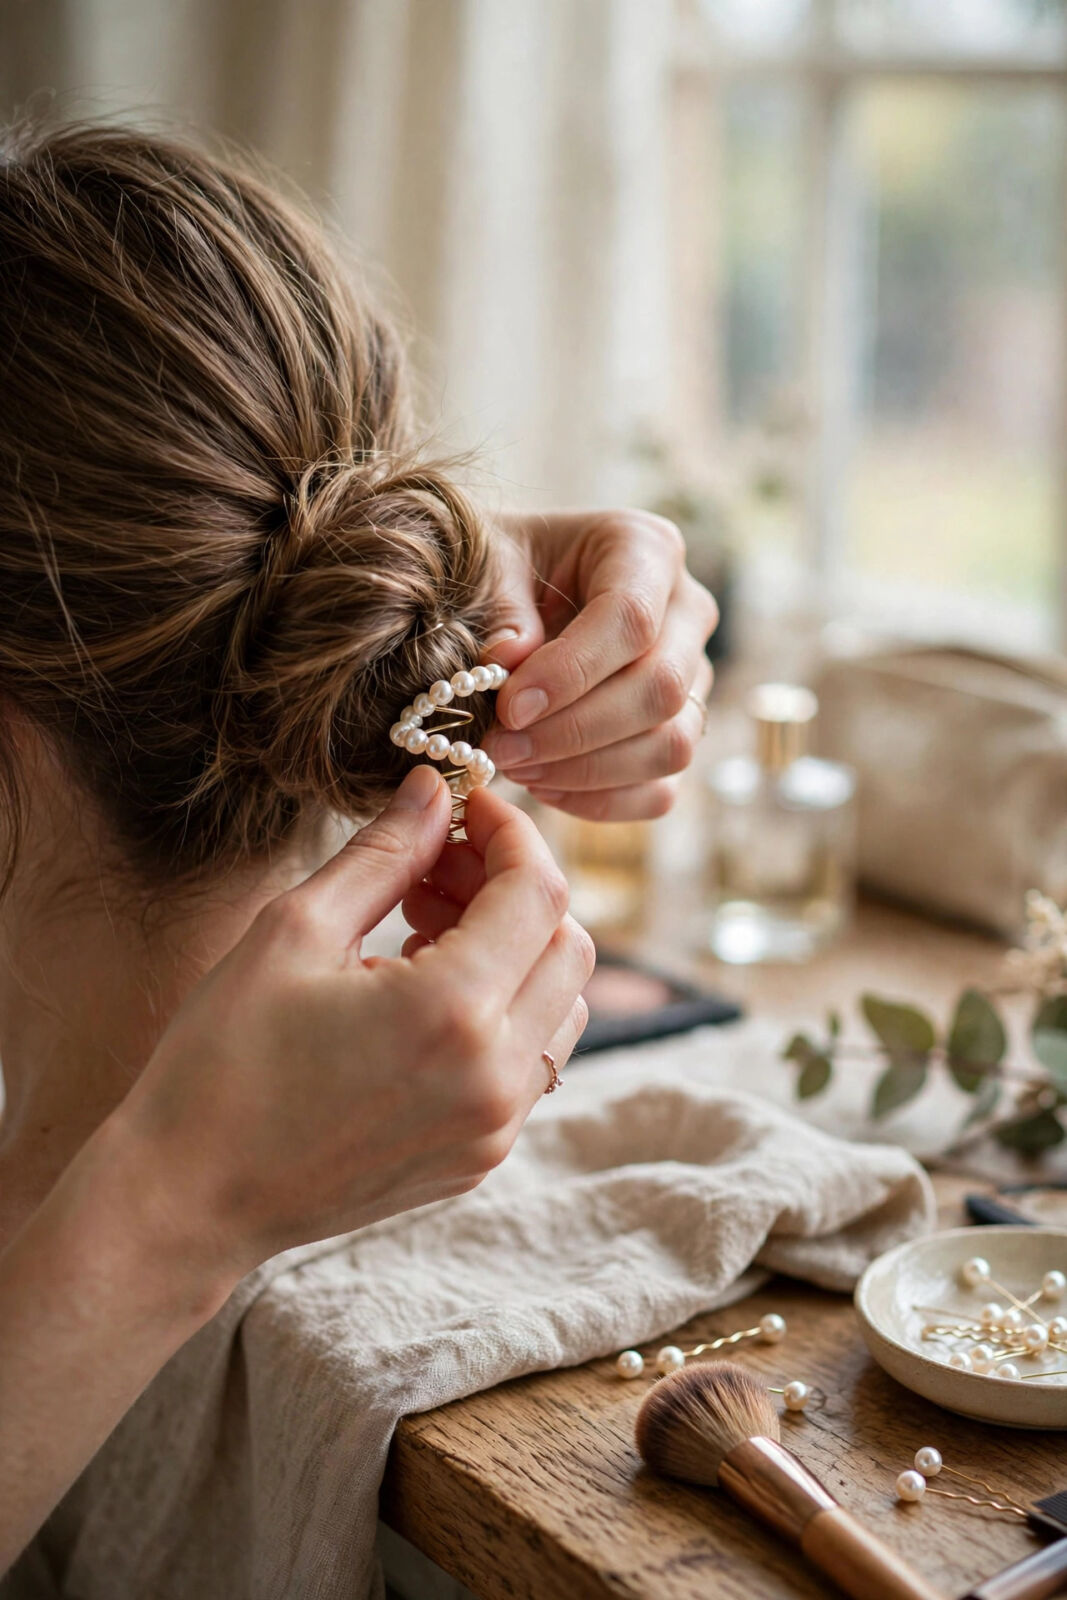
Step 3: Place a spiral’s tip at the edge of the bun, pointing into the twist. Turn it clockwise, like a small screw, and let it travel into the bun rather than pushing it straight in.
Step 4: Add a second pin from the opposite side, so the spirals cross the hold in different directions. Add a third if the bun feels heavy. Each pin should feel firm, never painful.
Step 5: Gently tug the bun. If it shifts, add one more spiral at the loose point rather than forcing the others tighter. Turn the pearl heads so they sit neatly, then mist lightly only if needed.
To remove a pin, twist it back out in the opposite direction. Never pull it straight out, because that drags the coil through the hair and can snag.
Choosing the Right Size, Colour and Set
Size matters more than quantity. Small spirals suit fine hair, half buns, and small buns. Medium spirals are the best all-round choice for a standard bun. Large spirals earn their place in thick, long, or heavy hair, where a small coil would disappear. A first mixed pack with two sizes will quickly show you which your hair prefers.
Match the pearl tone to your outfit, not your hair. Warm ivory suits ivory, champagne, and warm white dresses. Bright white looks crisper with pure white or cool pastels. Blush pearls are lovely with rose and floral party dresses. Gold-toned metal pairs well with traditional jewellery and warm makeup; silver-toned metal looks cleaner with silver jewellery and cool colours.
Check the coil before you buy. It should be smooth, evenly spaced, and free of sharp ends, and the pearl should sit firmly, not wobble. Rough metal can scratch and break hair. A very cheap set is fine for trying the idea, but a slightly better set will last longer and feel kinder.
Common Mistakes to Avoid
The most common mistake is pushing the pin straight in like a hairpin. A spiral only holds when it is turned, so a pushed pin will slide out within the hour. The second mistake is pinning only the surface: the coil needs to pass through the bun and catch a little hair close to the head too, otherwise it decorates without supporting.
Overloading is another easy error. Eight or ten large pearls can crowd a small bun and make it look heavy. Start with two or three, look in the mirror, and add one at a time. Avoid placing every pearl in a straight line across the front; a gentle arc or small cluster looks more natural.
Finally, do not expect spirals to do all the work on loose, unsecured hair. A hair tie underneath gives them something solid to anchor into. And if a pin hurts, take it out and twist it in again at a shallower angle. A correct pin feels secure, not sore, even after hours.
Care, Storage and Budget Advice
Hairspray, perfume, and sweat can dull a pearl finish over time, so put pins in after spraying and finishing makeup where possible. When you take them out, wipe each one with a soft dry cloth. If a coil feels sticky, wash it briefly in lukewarm water with a drop of mild soap, rinse, and dry it fully so the metal does not tarnish.
Store spirals in a small pouch or divided box, not loose in a handbag where coils can bend or tangle. A bent spiral will never grip as well again, so keeping its shape is the main part of caring for it. Keep pins away from damp bathrooms for long periods, as moisture is unkind to both metal and pearl coating.
On budget, you do not need a large collection. One good set of four to six medium pins in classic ivory will cover weddings, parties, and formal dinners. Add a smaller blush or gold set later only if you reach for them often. Cost per wear drops quickly, which is why a small, well-chosen set beats a drawer of novelty pins used once.
Frequently Asked Questions
Will a pearl bun spiral pin hold thick or very long hair?
Yes, with the right size and enough pins. Thick or long hair usually needs medium or large spirals placed from opposite sides. Start with three and add a fourth at any point that still moves.
Can I use spiral pins on fine or slippery hair?
You can, and they often work better than straight pins because the coil catches more strands. Add texture first with dry shampoo, build the bun over a hair tie, and choose smaller spirals.
How many pearl spiral pins do I need for one bun?
Most party buns need two to four. A large bridal bun or very heavy hair may need five or six spaced evenly. If you need many more, the bun itself probably needs a firmer base.
Will the spiral damage my hair when I take it out?
Not if you twist it out in the opposite direction, as you should. Pulling it straight out causes snagging and breakage. Smooth, well-made coils twisted gently are kind to most hair types.
Can I wear pearl spiral pins with a veil or other jewellery?
Yes. Place a veil comb below or behind the bun so the two do not compete for space, and keep earrings simple if your pearls are large. Matching pearl tones gives a calm, joined-up finish.
A Final Word
A pearl bun spiral pin earns its place twice: it holds your hair properly and makes the style look finished. Start with a classic bun and three matching pins, and learn the twisting motion until it feels easy. Once it does, the other eight looks here are only small changes in placement and finish. Keep a set ready for wedding season, and last-minute mirror panic becomes a two-minute fix instead.