Table of Contents
Some rooms feel unfinished even after fresh paint and new cushions, and the culprit is often embarrassingly small. Look at the wall beside the door and you will see it: a yellowed plastic plate, a wobbly knob, a handle finish that matches nothing else in the house. A switch plates and handles upgrade fixes exactly that layer of detail. It is one of the cheapest changes you can make, it needs no builder, no dust sheets over everything, and most rooms take under an hour. Yet because these are the parts of a home you touch every single day, swapping them changes how the whole place feels in a way that surprises almost everyone who tries it.
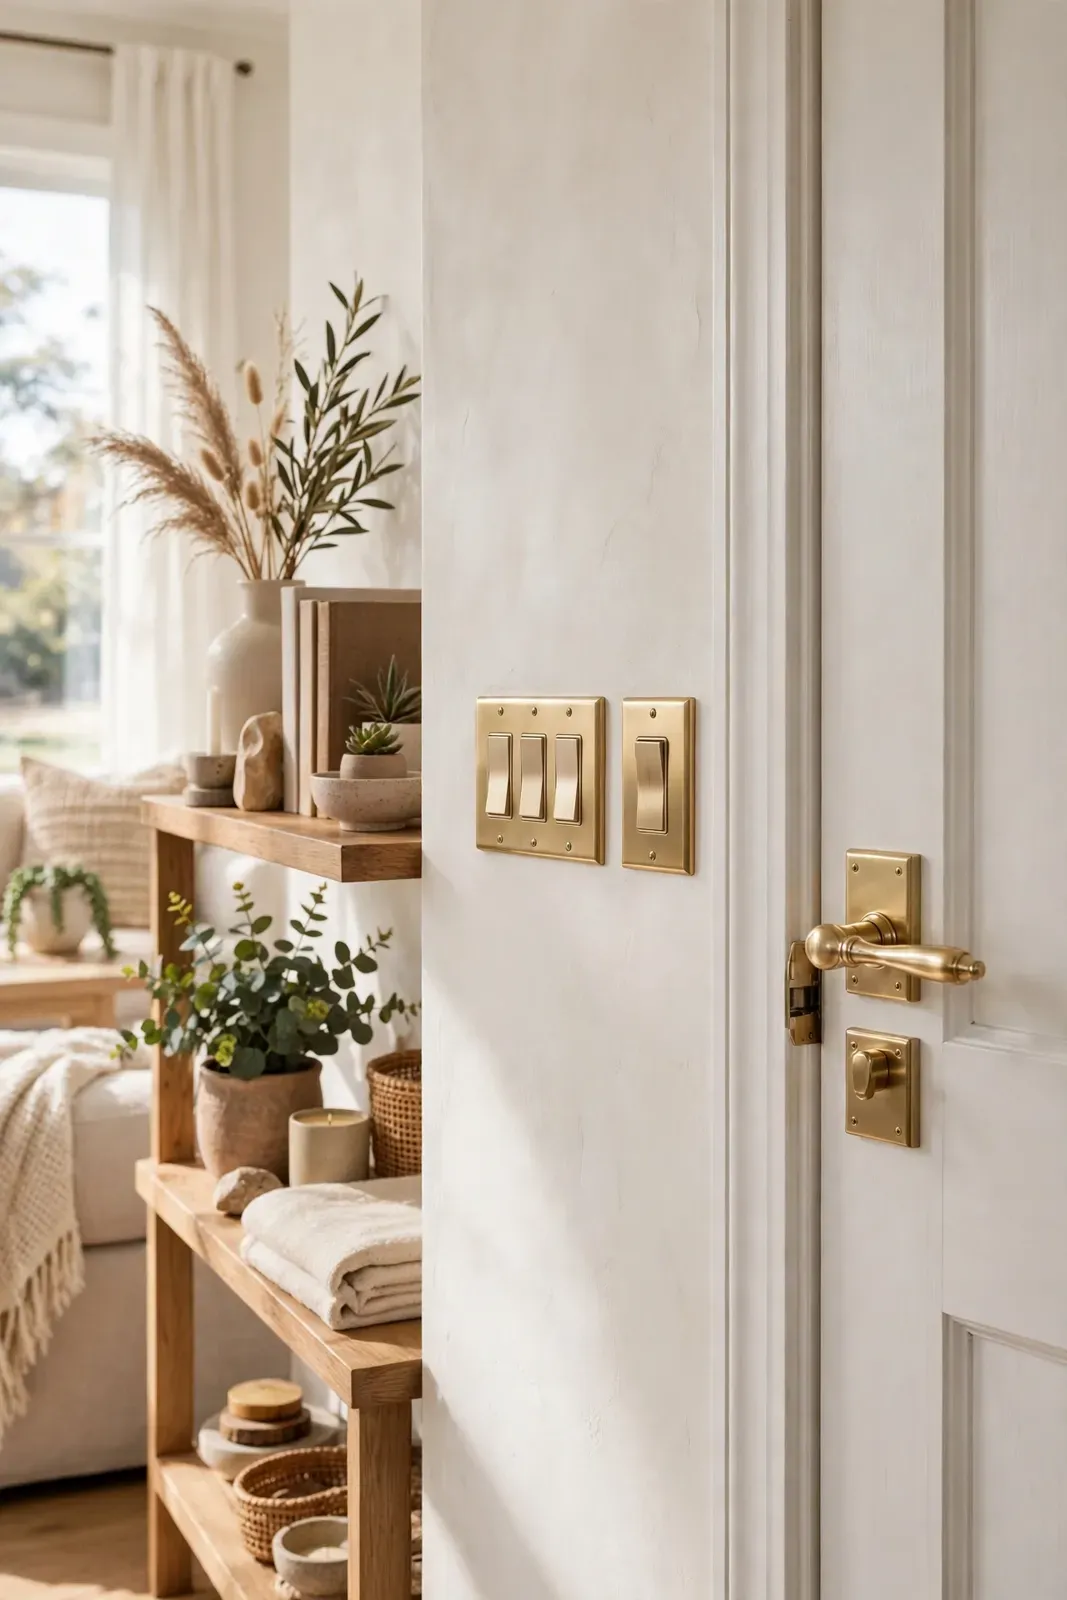
Why a Switch Plates and Handles Upgrade Works So Well
Hardware is the jewellery of a room. Your eye may not land on a switch plate consciously, but it registers the mismatch between smart new walls and tired fittings every time you walk in. The light switch is used dozens of times a day, so its plate is one of the most-seen small surfaces in the house. When plates are clean, level and in a finish that echoes the rest of the room, the brain reads the space as cared for and finished.
There is a practical side too. Old plates crack around the screw holes, rocker switches go slack, and painted-over plates collect grime in every edge. Handles loosen, latch tongues stop catching cleanly, and cheap knobs feel hollow. A switch plates and handles upgrade replaces all of that tired function in one pass, and modern replacements are built to far better standards than the fittings most builders install by default.
Choosing a Finish for Your Switch Plates and Handles Upgrade
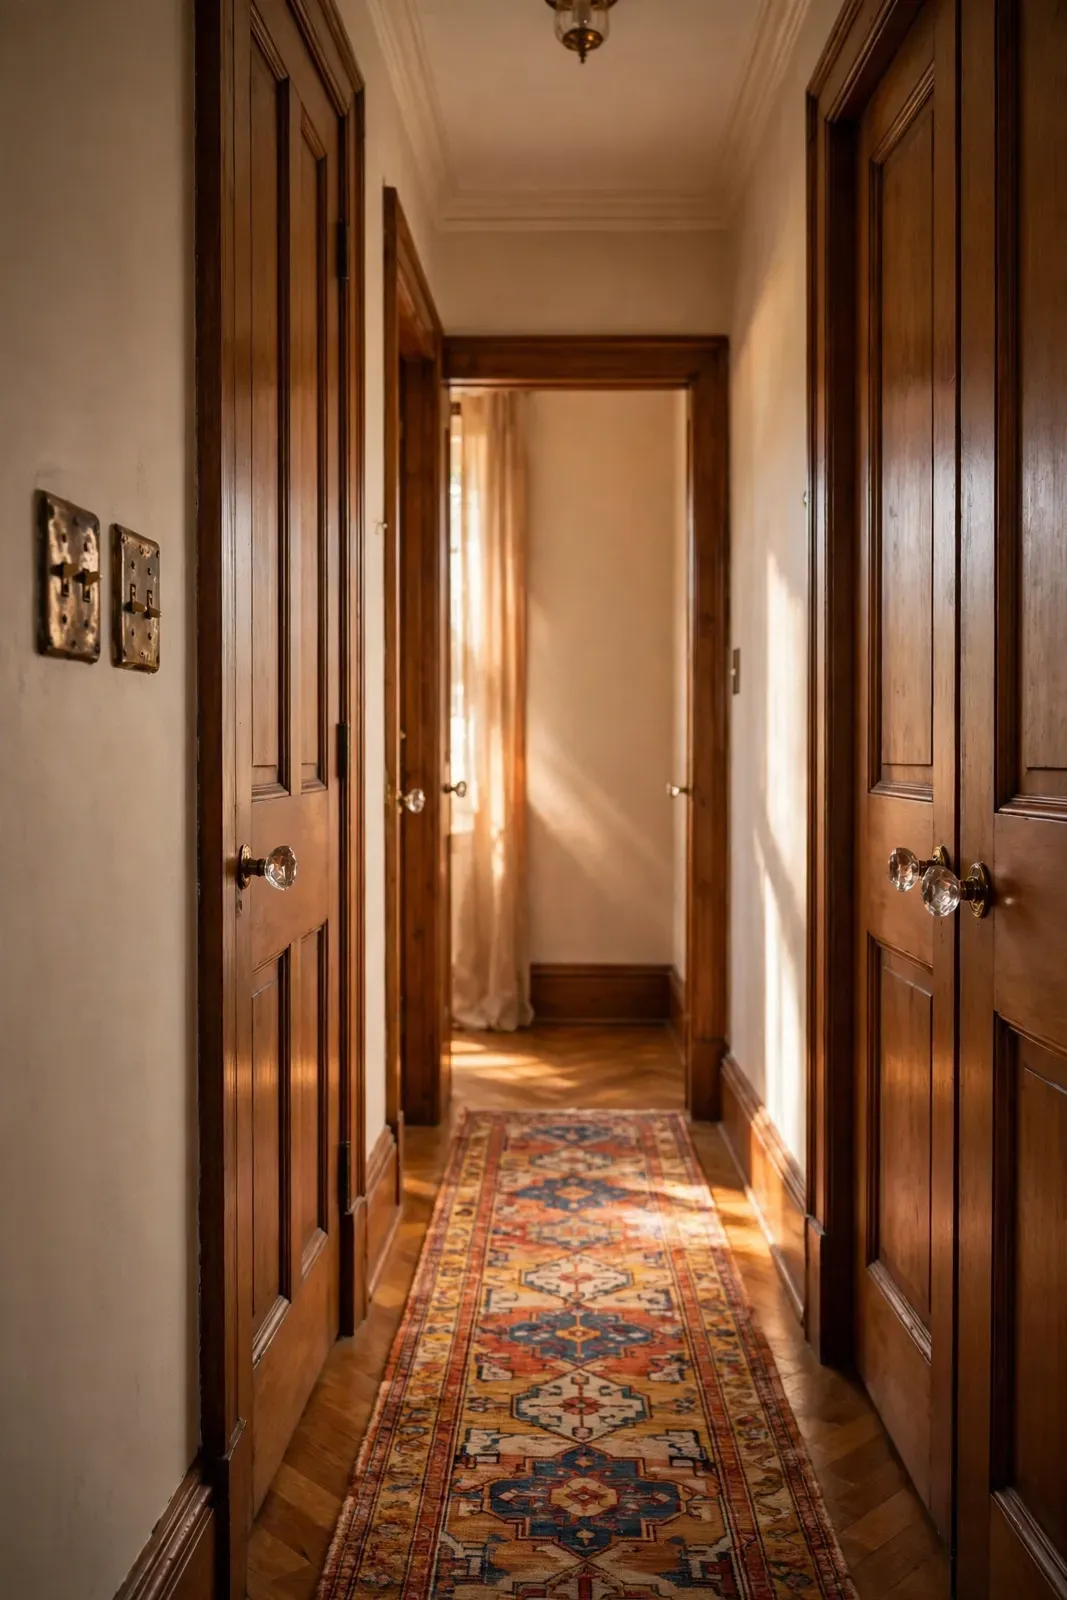
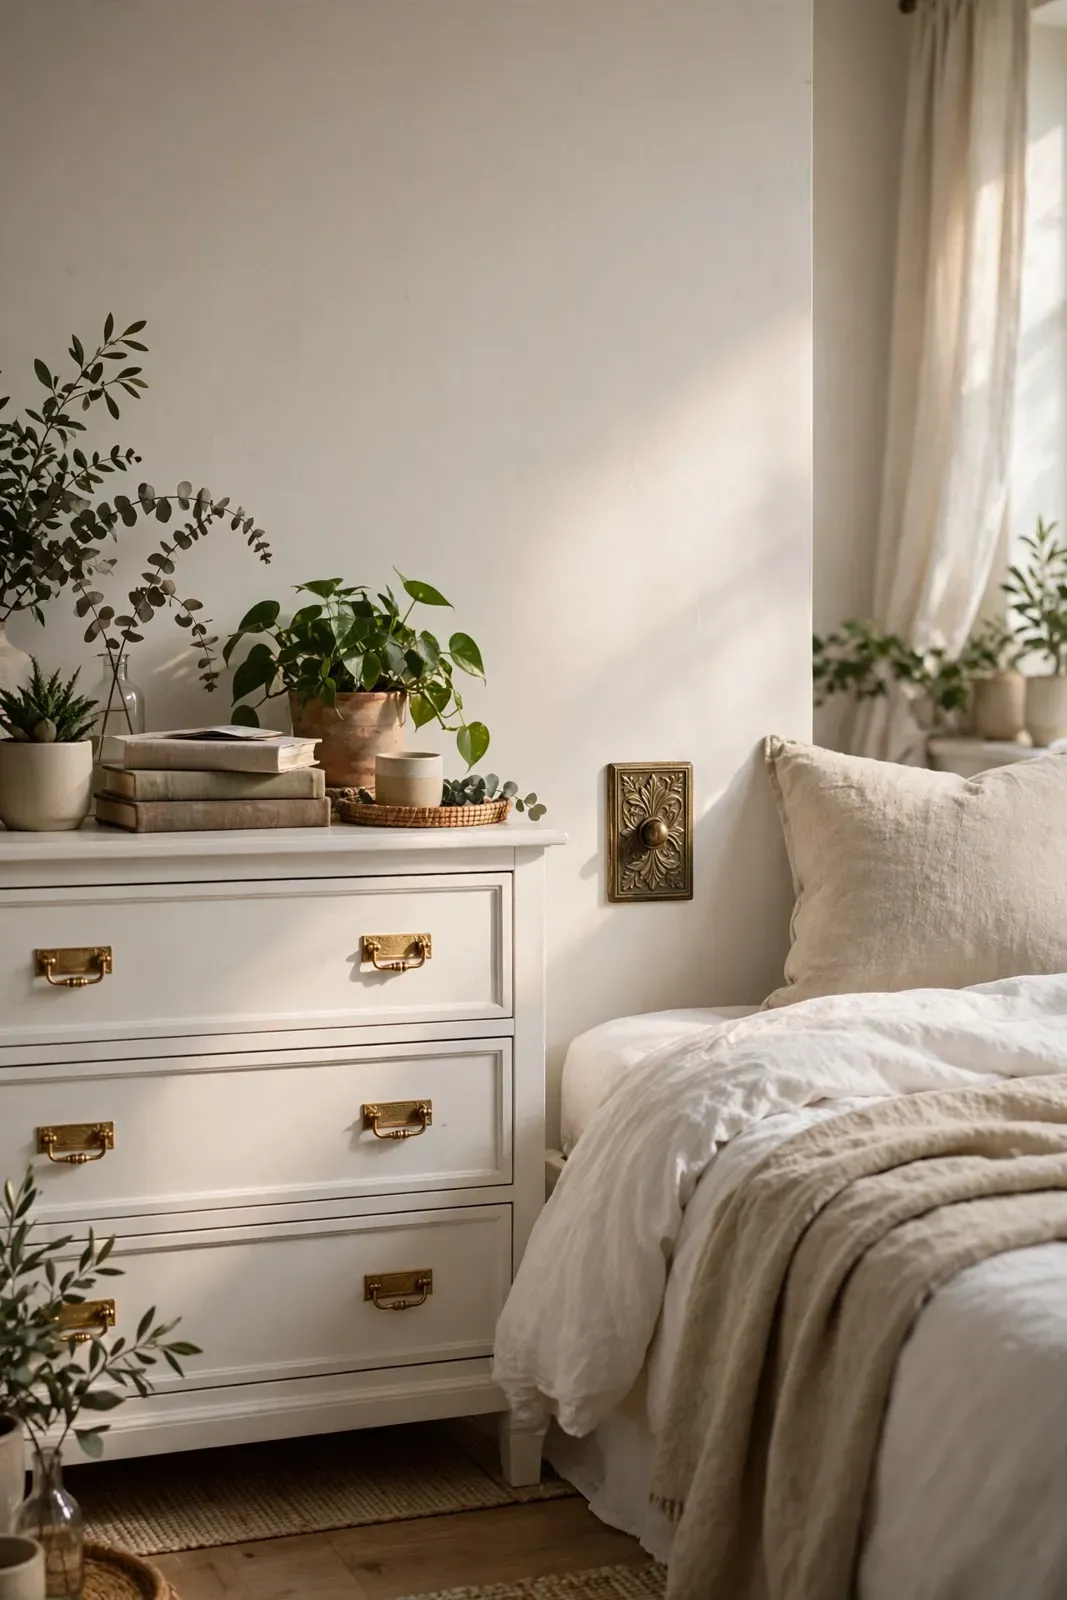
Pick one main finish per floor, two at most, and repeat it everywhere: plates, door handles, cabinet knobs, even the toilet roll holder if you are feeling thorough. Repetition is what makes the change look designed rather than random. Brushed brass warms up white, cream and sage rooms. Matte black gives pale walls a crisp outline and hides fingerprints better than any other finish. Brushed nickel is the safest choice in rented or resale-focused homes because it sits quietly beside chrome taps and steel appliances. Antique bronze suits wooden doors and older houses where shiny new metal would look out of place.
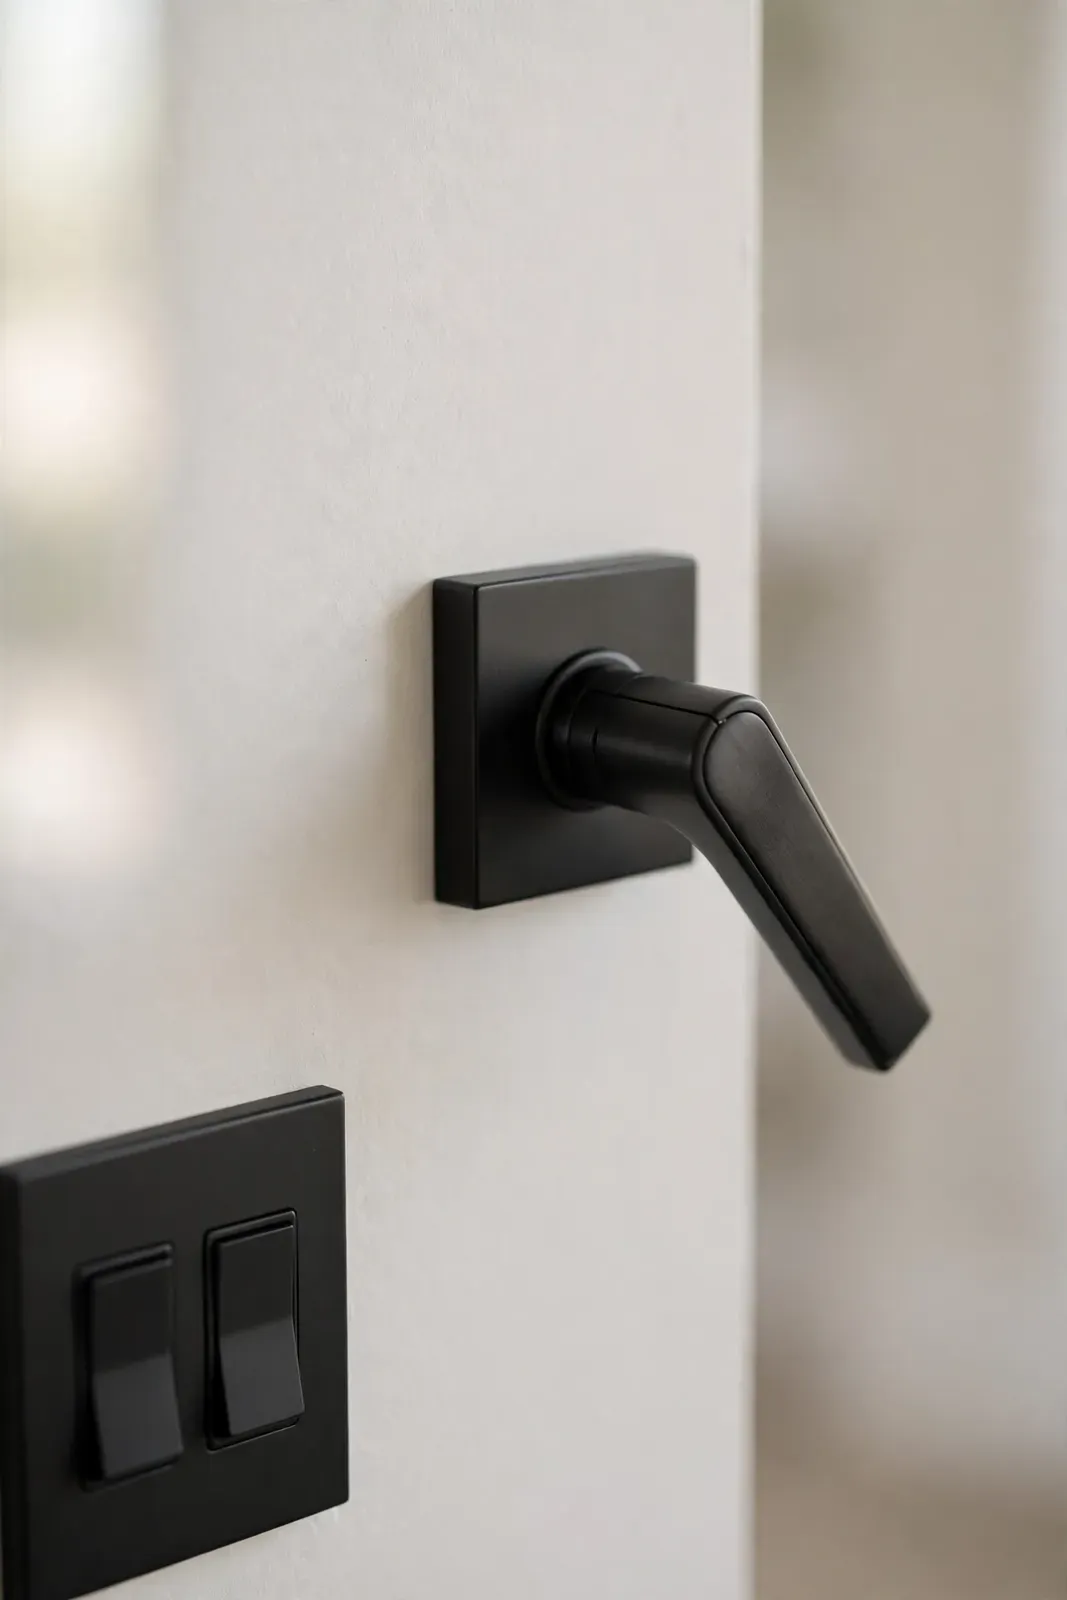
Hold samples against the wall in daylight and again under your evening lamps before you commit. Finishes shift a lot between the two, especially brass, which can turn orange under warm bulbs. Buy one room’s worth first, live with it for a week, then order the rest. Ten minutes of checking now saves a switch plates and handles upgrade from a finish you only tolerate.
Door Handles: Lever, Knob or Pull?
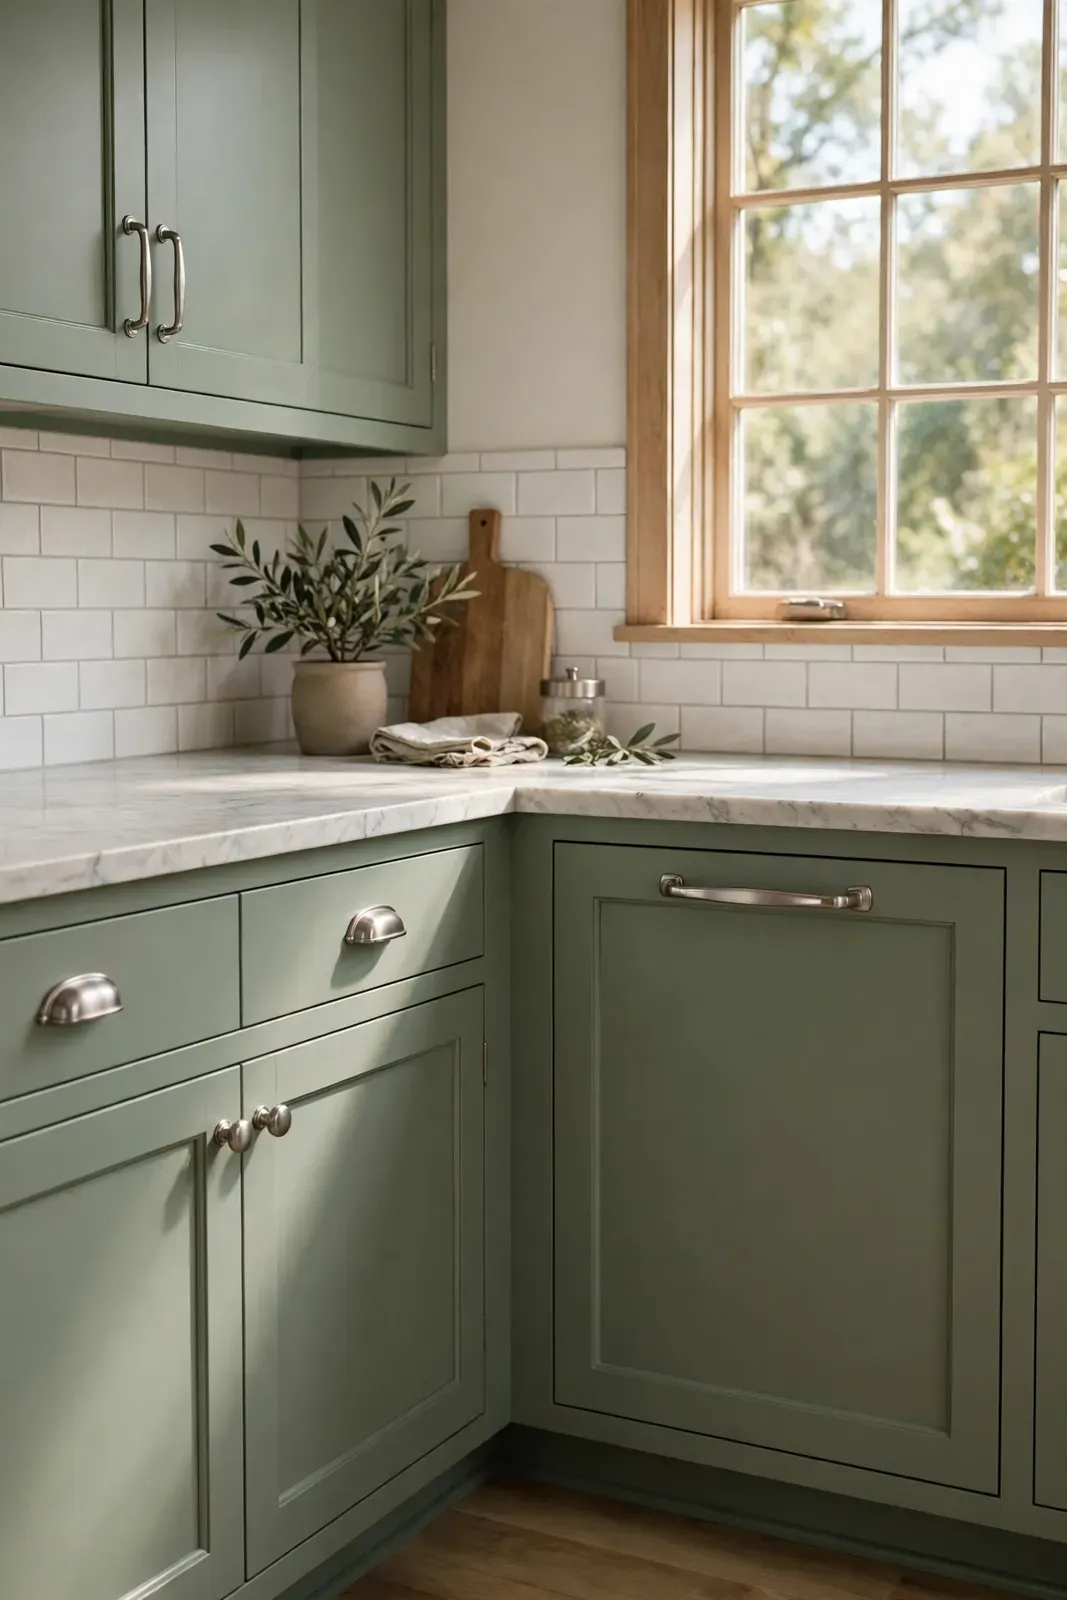
The door handle you choose affects daily comfort more than its looks. Lever handles are the easiest for everyone — children, grandparents, and anyone carrying a tray or a laundry basket can open them with an elbow. Round knobs look classic on panelled doors but need a full grip and a twist, which is harder with wet or arthritic hands. Pull handles belong on wardrobes, kitchen cabinets and sliding doors, where a clean bar in the same finish ties the joinery to the doors.
Whatever the style, check the backset and spindle size of your existing handles before ordering, and keep the old screws until the new ones are fitted — replacement packs occasionally ship with screws that are too short for thick doors. If several doors open against walls, add simple door stops in the same finish while you are at it; it protects both the wall and your new handles.
How to Do a Switch Plates and Handles Upgrade, Step by Step
Step 1 — Count and list. Walk the house with a notebook and count every plate by type: single switch, double switch, dimmer, socket. Note which rooms need lever handles, which need privacy locks for bathrooms, and which doors are dummies that do not latch. A careful count at the start keeps a switch plates and handles upgrade free of mid-job shopping trips.
Step 2 — Switch the power off. For plates, turn off the circuit at the consumer unit and test the switch before touching screws. You are only changing the decorative plate, never the wiring, but the power rule still applies every time.
Step 3 — Swap one plate. Undo the two screws, lift the old plate away, clean the wall edge behind it (this ring of dust is always shocking), fit the new plate and tighten evenly so it sits flat. Ten minutes the first time, three minutes by the fifth. Small wins like that are what make a switch plates and handles upgrade feel easy rather than endless.
Step 4 — Swap one handle set. Remove the old handles and latch, slide the new latch into the same mortise, fix the handles over the spindle, and test the closing action before tightening everything fully.
Step 5 — Do cabinets last. Kitchen and wardrobe knobs are pure screw swaps. Fill nothing, drill nothing — just keep a small bowl for screws so none roll away. For a whole room of styling that these details sit inside, the guide to small living room layout ideas on this site pairs well with this weekend project.
Budget and Buying Advice for a Switch Plates and Handles Upgrade
Plates are inexpensive: plain quality plastic starts very low, while solid metal plates cost several times more but feel it every time you touch them. Handles vary the most — a hollow budget lever can cost less than lunch, while a solid brass pair costs as much as a small appliance. Spend the money where hands actually go: hall and living room doors first, cupboard doors last. For a three-bedroom home, a sensible mid-range budget covers all plates and the main door handles; cabinet hardware can follow next month without spoiling the effect.
Buy from ranges that sell singles as well as multipacks, and order one spare plate and one spare handle in your chosen finish. Ranges get discontinued, and a single cracked plate two years from now should not force a whole-house redo. Keep receipts until every item is fitted — mismatched dye lots between boxes do happen with brass finishes.
Common Mistakes to Avoid
The first mistake is mixing three or four finishes in one sightline: chrome in the kitchen, black in the hall, brass in the lounge. Each is fine alone; together they look accidental. The second is over-tightening plate screws, which cracks plastic plates and bows thin metal ones. The third is forgetting dimmers and sockets — a room where the switch plates match but the sockets stay yellowed only looks half finished. Finally, do not throw old handles away the same day. Live with the swap for a week; tastes settle, and returning an unopened spare is easy, while re-buying a binned set is not. Avoid those traps and a switch plates and handles upgrade rewards you every single day.
Frequently Asked Questions
Can I change switch plates myself or do I need an electrician?
Changing the decorative plate only — unscrewing the cover and fitting a new one over the same switch — is a simple DIY job in most homes, as long as you switch the power off at the consumer unit first and never touch the wiring behind it. If a switch itself is damaged, loose or needs replacing, that is electrician work.
How long does a whole-house hardware swap take?
Most people finish plates in one evening and door handles over a relaxed weekend. Your first handle takes about thirty minutes while you learn the latch and spindle; after that, ten to fifteen minutes per door is normal.
Should switch plates and handles match exactly?
In a switch plates and handles upgrade, they should share a finish family, not necessarily be identical products. Brushed brass plates with brushed brass handles read as one scheme even from different ranges, while mixing polished and brushed versions of the same metal looks like a mistake.
What finish hides fingerprints best?
Matte black and brushed finishes hide fingerprints and water spots far better than polished chrome or polished brass. In busy family halls and kitchens, brushed nickel is the most forgiving choice of all.
Does new hardware really add value to a home?
It will not change a valuation on its own, but estate agents consistently note that matched, modern hardware makes a home photograph and view better. Buyers read it as a sign the house has been maintained, which supports the asking price.
A Small Job With an Outsized Payoff
A switch plates and handles upgrade asks for a screwdriver, a free evening and a modest budget, and gives back a home that feels deliberately finished every time you open a door or flick on a light. Start with the hallway — the space you pass through most — and let that one small transformation convince you to carry the same finish through the rest of the house.