Textured Pixie Cut: 9 Fresh Ways to Wear a Short Textured Pixie
There is a particular kind of freedom that comes with a pixie cut. You wash it in minutes, you style it with your fingers, and your face — not your hair — becomes the first thing people notice. A textured pixie adds to that freedom, because the choppy layers do half the styling work for you. It never looks flat, never looks too neat, and it grows out more kindly than a blunt short cut.
I recommend this cut most often to women who want short hair without a severe or boyish feel. Texture is what keeps a pixie soft. The ends are point-cut and piecey rather than lined up in a shelf, the top keeps a little length to play with, and the sides and nape sit close and clean. One cut, honestly, can be worn nine different ways in a single week.
Below are nine fresh ways to wear a short textured pixie, a step-by-step routine that takes about five minutes, advice on what to ask your stylist and which face shapes and hair types suit it best, the mistakes that spoil the shape, and answers to the questions I hear most.

Soft and Everyday: The Easy Versions
1. The Classic Tousled Pixie
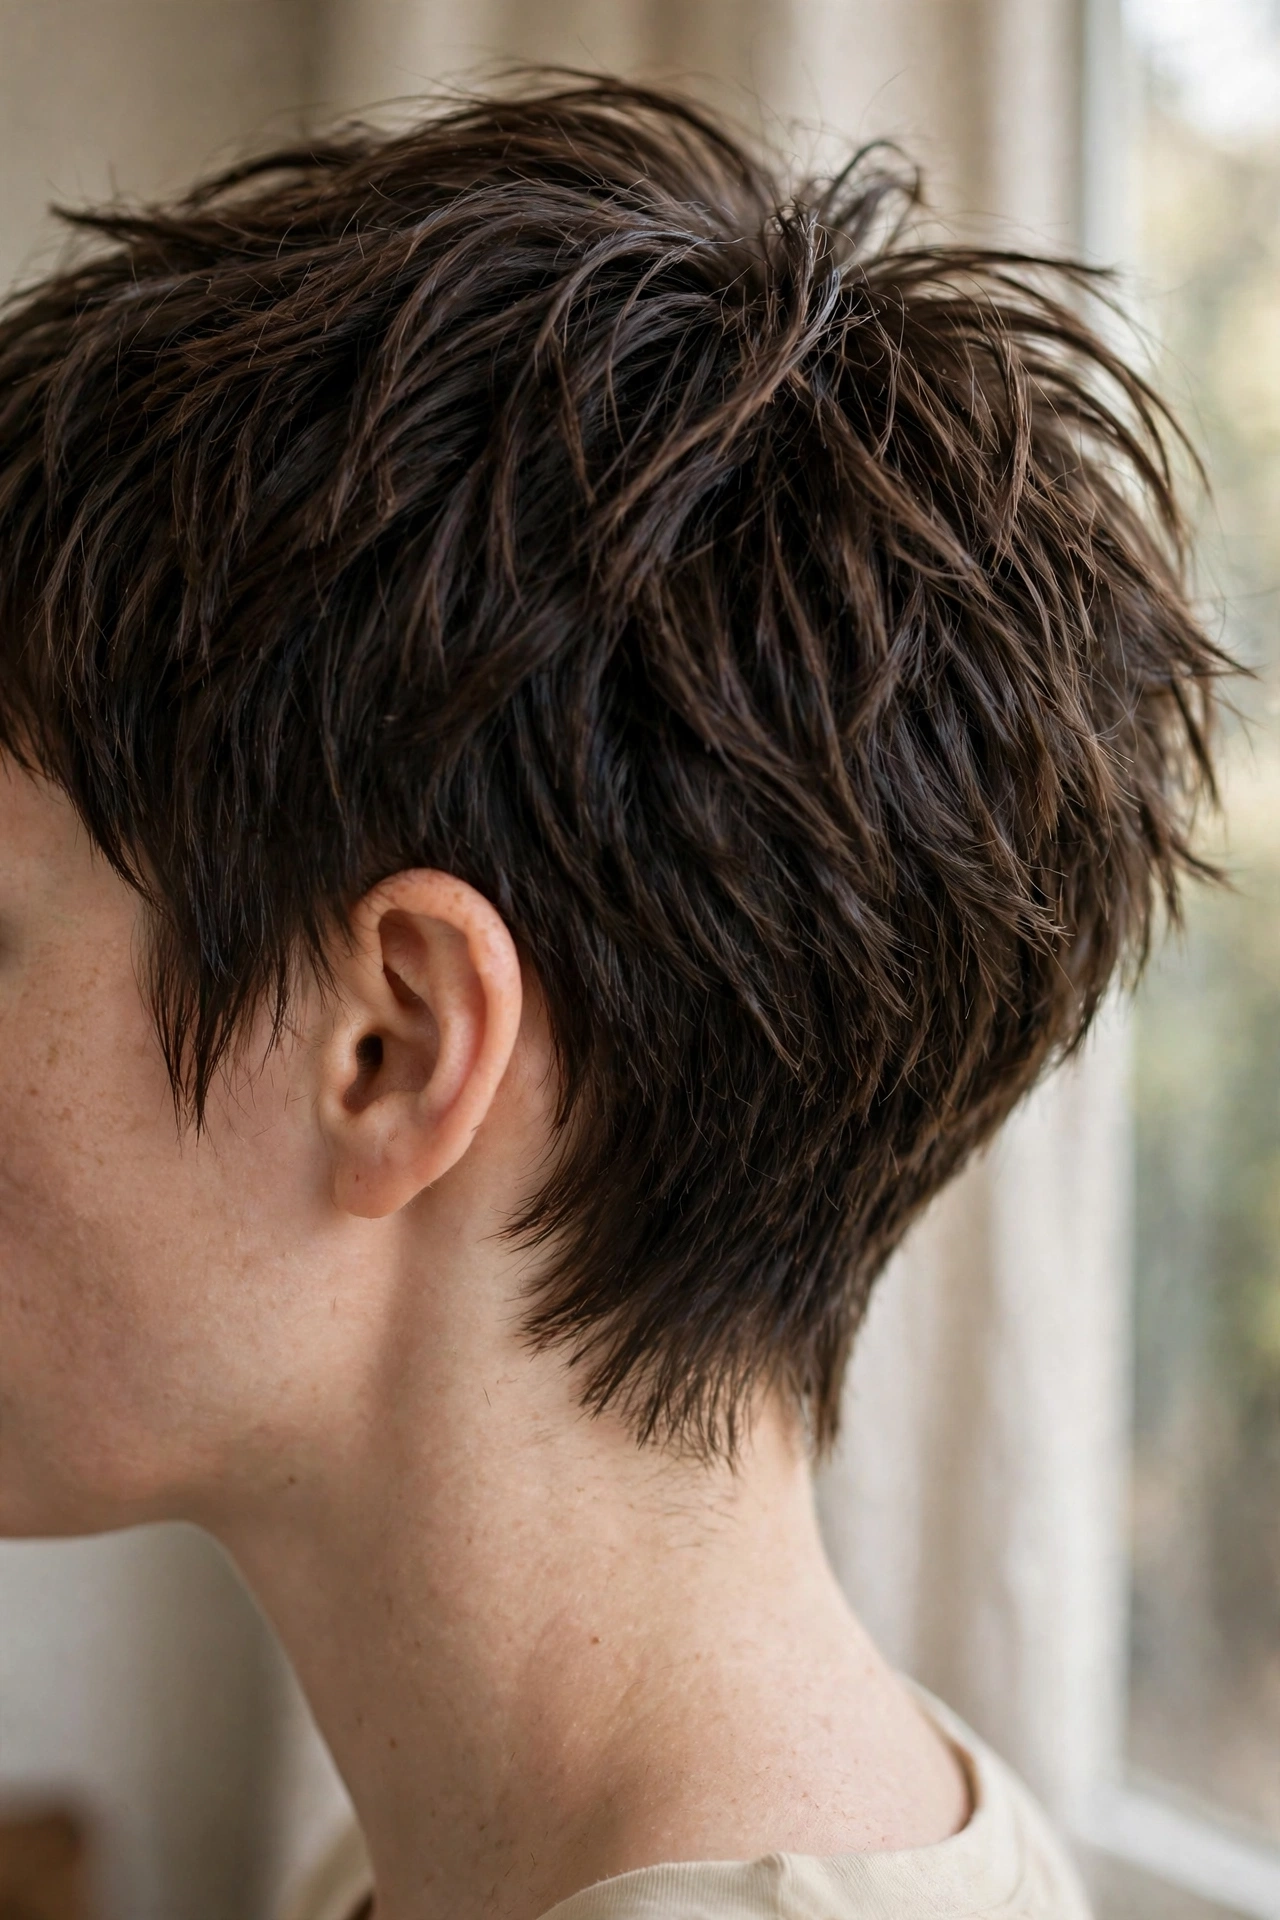
This is the everyday version most of us live in: top length pushed loosely forward and to one side, ends separated with a fingertip of paste. Work the product in when the hair is almost dry, pinch the ends in different directions, and stop before it looks done. That slightly undone finish is the whole point, and it suits school runs, offices and weekends equally well.
2. Sleek and Side-Parted
For a calmer, more polished day, find your natural side part while the hair is damp, comb the top flat in that direction, and let it dry in place. A tiny amount of smoothing cream keeps the layers lying neatly without making them look wet. This version reads smart with shirts, blazers and simple dresses, and it takes the same cut from casual to work-ready in two minutes.
3. Forward Fringe, Soft and Wispy
Ask for the front to be left a touch longer and wear it forward as a broken, wispy fringe. The choppy edge skims the forehead rather than cutting straight across it, which softens the face and hides a high forehead kindly. Push the fringe slightly off-centre so it never looks like a helmet, and keep the sides short so the front stays the feature.
With More Edge: Volume, Colour and Contrast
4. Lifted on Top, With Height at the Crown
On days when you want more presence, dry the top upward and slightly back, using your fingers as the brush. A little root powder or mousse at the crown gives the short layers lift that lasts. Height on top lengthens the face, balances a round cheek, and makes fine hair look far thicker than it is. Keep the sides flat so the contrast stays tidy.
5. Warm Copper Texture
Colour and texture were made for each other. A warm copper or soft auburn shade catches the light differently on every choppy layer, so the cut looks dimensional even on a no-styling morning. If a full colour feels like a big step, try a copper gloss first — it deepens your natural tone, washes out gradually, and tells you honestly whether you want to commit.

6. Piecey and Defined, With a Matte Finish
For an edgier finish, work a matte paste through dry hair and define individual pieces at the front and crown, twisting small sections between your fingers. The result is separated, deliberate texture rather than soft fluff. This is the version that photographs beautifully and holds up on a night out, because matte products do not go limp or shiny under warm lights.
Dressed Up and Lived-In: Evenings and Off-Duty Days
7. Polished Evening Pixie With Statement Earrings
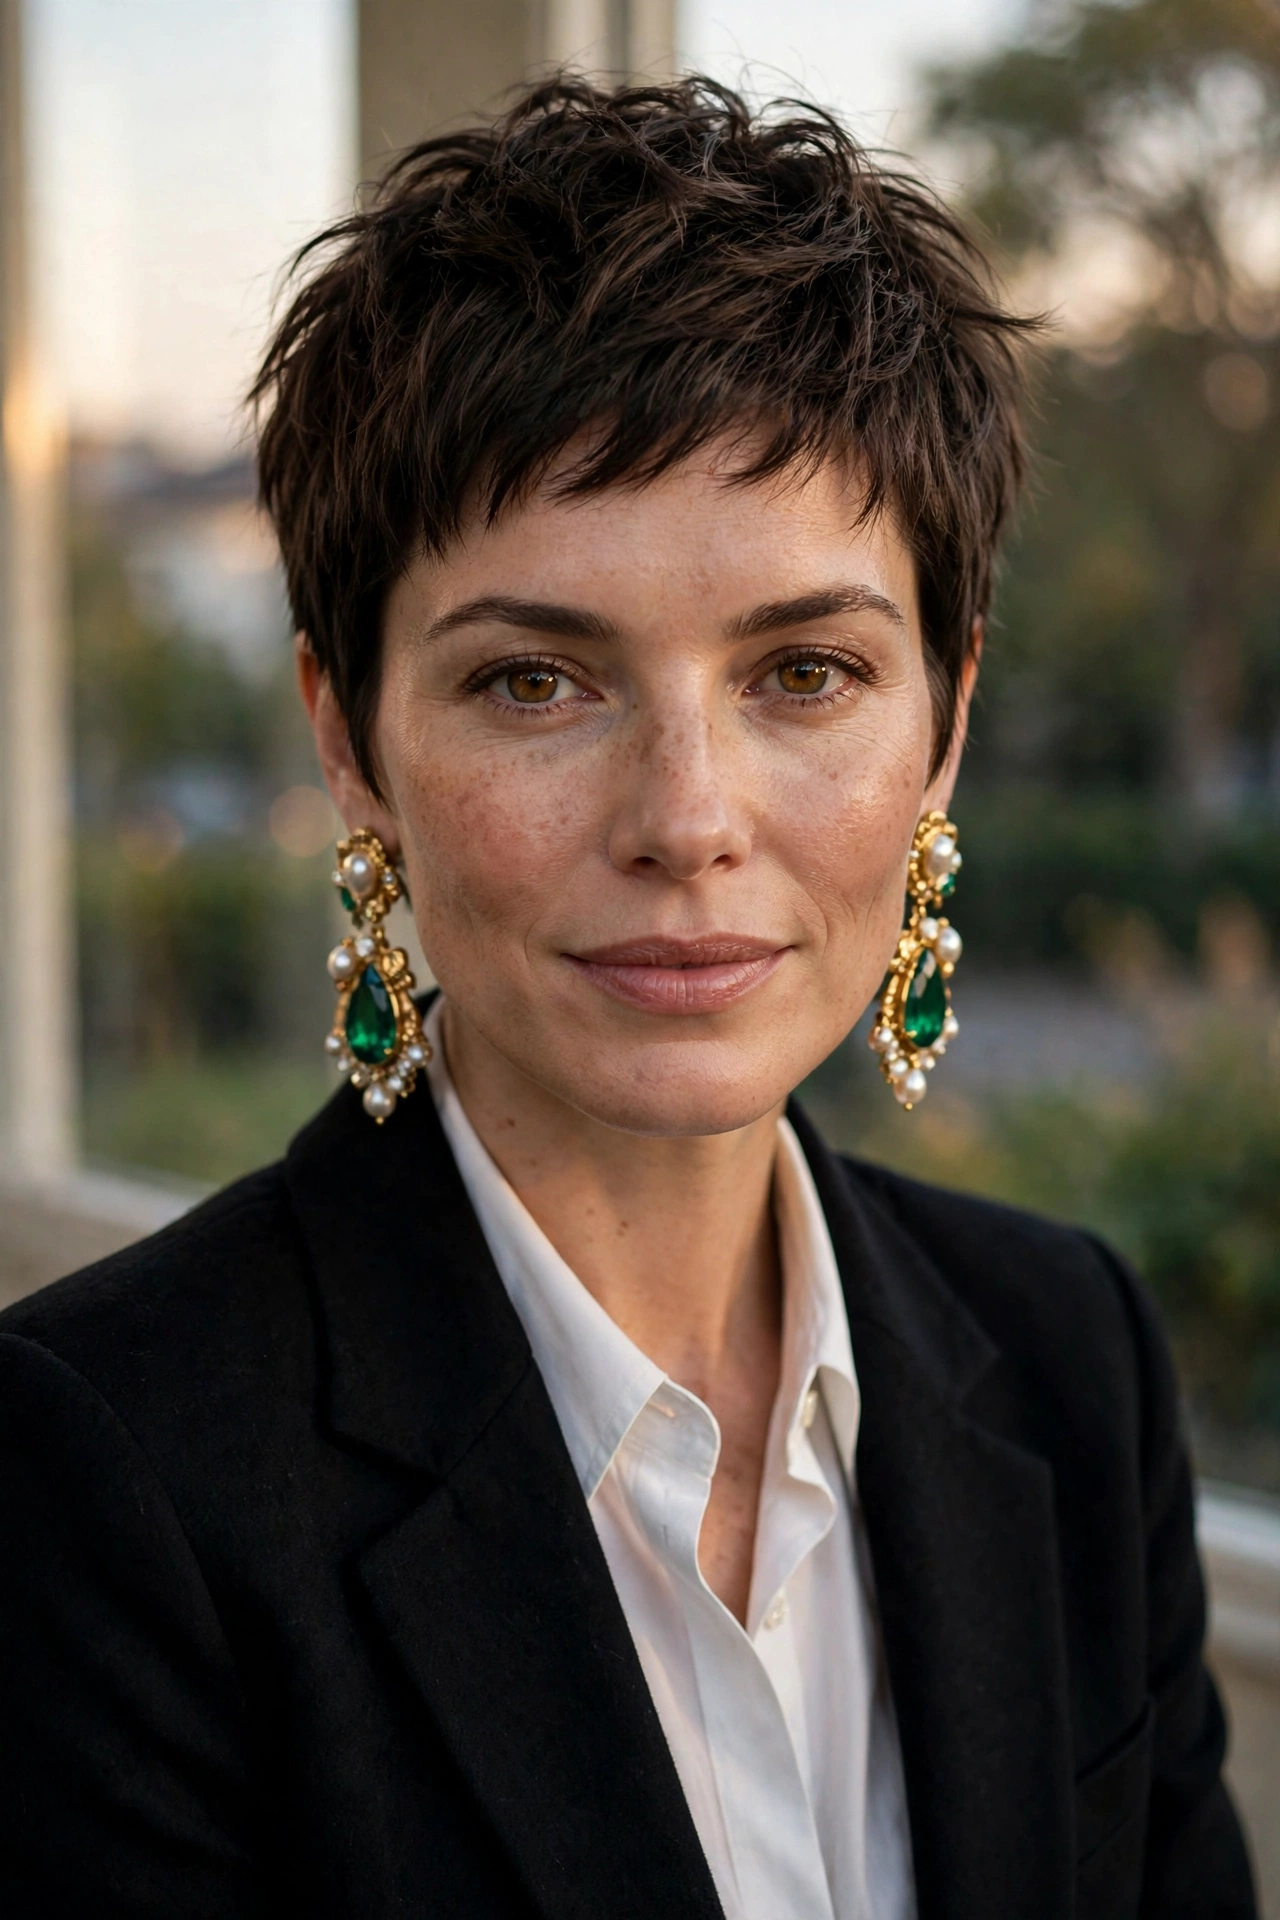
Short hair is a gift on an evening out, because your earrings finally get seen. Smooth the top to one side, tuck the smaller side neatly behind your ear, and let a pair of statement earrings do the dressing up. With a blazer or a simple neckline, the whole look feels intentional and elegant — and there is no hair to arrange, pin or worry about all night.
8. Soft Waves in the Longer Top
If your pixie keeps two to three inches on top, you have enough length for loose bends. Wrap small sections briefly around a slim curling wand, always away from the face, then shake them out with your fingers. The waves should look like texture, not curls. This softens a strong jawline and gives the cut a romantic feel for weddings and photos.
9. The Grown-Out, Lived-In Pixie
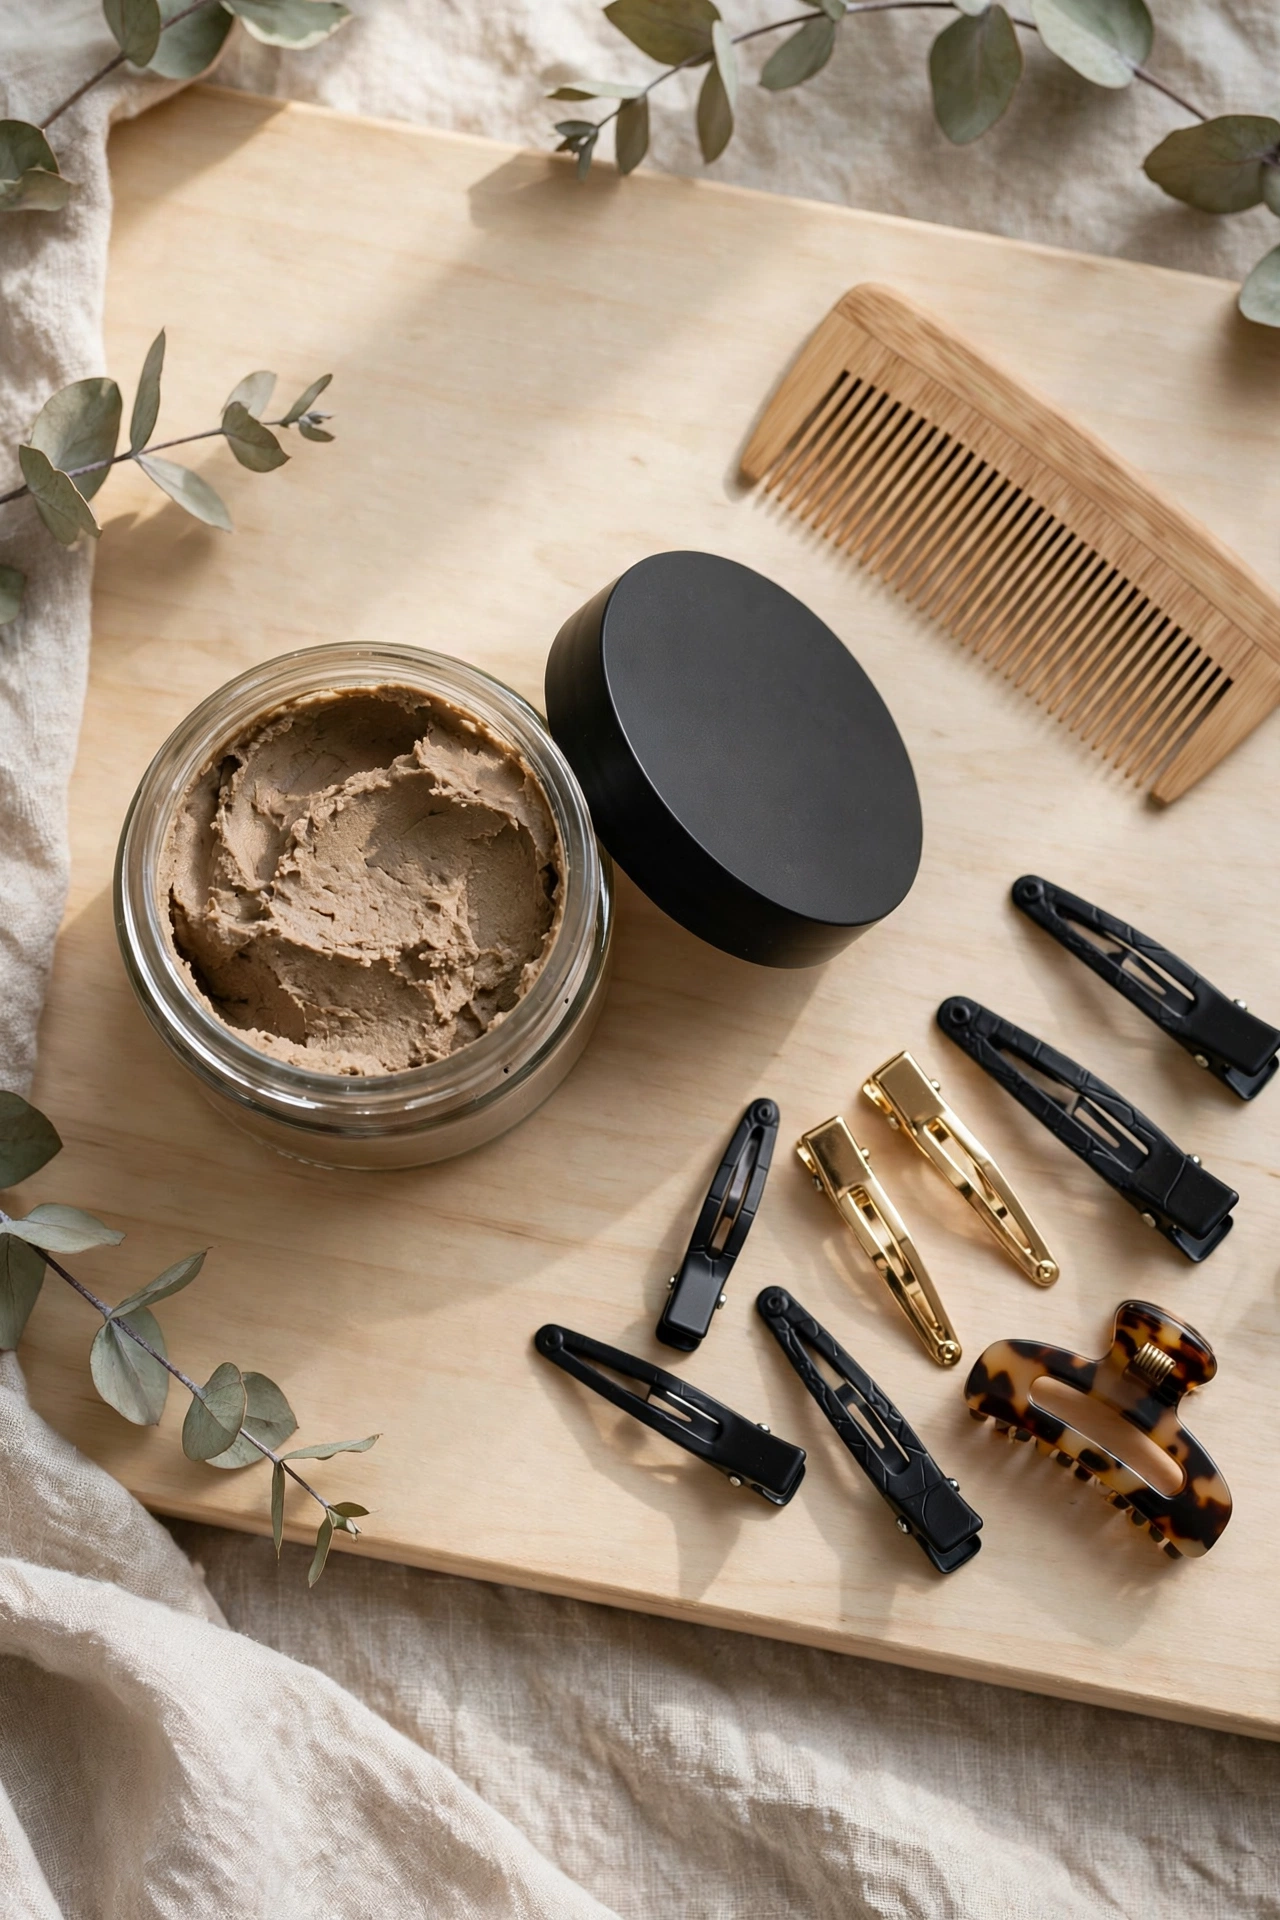
Between appointments, a textured pixie does not collapse — it relaxes. Let the top get a little longer, push it in different directions on different days, and use a clip or slide on the side that misbehaves. Those weeks four to six often produce the most compliments, because the cut looks settled and personal rather than fresh from the chair. Book your tidy-up before it tips into shapeless, though.

Styling a Textured Pixie, Step by Step
Step 1: Start damp, not dripping. Pat the hair with a towel until it is just damp. Product spreads evenly at this stage and the layers dry into shape instead of being forced there later.
Step 2: Add a pea-sized amount of product. Warm mousse or a light styling cream between your palms and work it through the top first, then the sides. With short hair, too much product is the fastest way to look greasy, so start small.
Step 3: Dry with your fingers. Push the hair in the direction you want it to fall, lifting at the roots with your fingertips. Most textured pixies need no brush at all; a small round brush is only for the sleek side-parted version.
Step 4: Define the ends when dry. Once fully dry, take a fingertip of matte paste and pinch the ends at the front and crown. This is the step that creates the choppy, separated finish in the photos.
Step 5: Leave it alone. A textured pixie looks best untouched after styling. If it flattens later, dampen your hands, scrunch the top, and let it reset rather than adding more product.
What to Ask Your Stylist: Face Shape and Hair Type
Ask for a textured pixie with point-cut, choppy layers on top, a soft tapered nape, and sides that sit close but are not shaved unless you want that contrast. Take photos of the top length you like, because top length is the decision that changes everything. For face shape: oval faces suit almost every version; round faces look best with height at the crown and less width at the sides; square faces soften with a wispy forward fringe; longer faces want the fringe and a little side fullness rather than height. For hair type: fine hair gains the most, since layers remove weight in the right places and create the look of thickness; thick hair needs the bulk thinned carefully so it does not puff at the sides; wavy hair works beautifully if the top is left long enough for the wave to show; very curly hair can wear a textured pixie too, but it should be cut dry, by someone who works with curls often, so the spring of the hair is judged honestly.
Common Mistakes and Upkeep
The biggest mistake is using long-hair habits on short hair: too much conditioner at the roots, heavy oils, and brushing it flat when dry. A pixie wants light products at the ends and fingers instead of a brush. The second mistake is waiting too long between cuts — the shape lives in the nape and sides, and they blur after about five or six weeks, so book short tidy-ups rather than rare big cuts. Third, do not fight your natural part or growth pattern every morning; a good stylist cuts with them, and fighting them is what makes short hair feel like hard work. For care, wash as often as your scalp needs, condition lightly and mostly at the top length, and refresh colour-treated copper and blonde shades with a gloss between appointments to keep the layers looking bright.
Frequently Asked Questions
Will a textured pixie suit me if my hair is very fine?
Yes — it is one of the best cuts for fine hair. The short length stops the hair being weighed down, and the choppy layers create movement that makes it look thicker. Keep styling products light and apply them mostly when the hair is damp.
How often does a pixie cut need trimming?
Plan a tidy-up every four to six weeks. The top can grow happily for longer, but the nape and the hair around the ears lose their clean shape first. Many salons offer a quicker, cheaper fringe-and-nape trim between full appointments.
Can I grow a pixie out without an awkward stage?
Yes, if you grow it in stages. Let the top lengthen first while keeping the nape tidy, then allow the sides to catch up until you reach a short bob shape. Regular small trims keep each stage looking like a chosen style rather than an accident.
What is the difference between a textured pixie and a classic pixie?
A classic pixie is usually smoother, with neater, more even edges. A textured pixie is point-cut with choppy, separated layers, so it looks softer, piecey and more modern. The textured version is also more forgiving as it grows out.
Does a pixie cut need heat styling every day?
No. Most textured pixies are styled with fingers and one product in about five minutes. Heat is only needed for the wavy version or a very sleek finish, and on short hair those jobs take minutes rather than half an hour.
Short Hair, Plenty of Choice
A textured pixie is not one look repeated daily — it is a short cut with real range, from soft and side-parted on workdays to copper, piecey or quietly glamorous when you want more. Choose a stylist who listens about top length, keep your trims regular, and use less product than you think. The rest, your fingers and five spare minutes can handle.