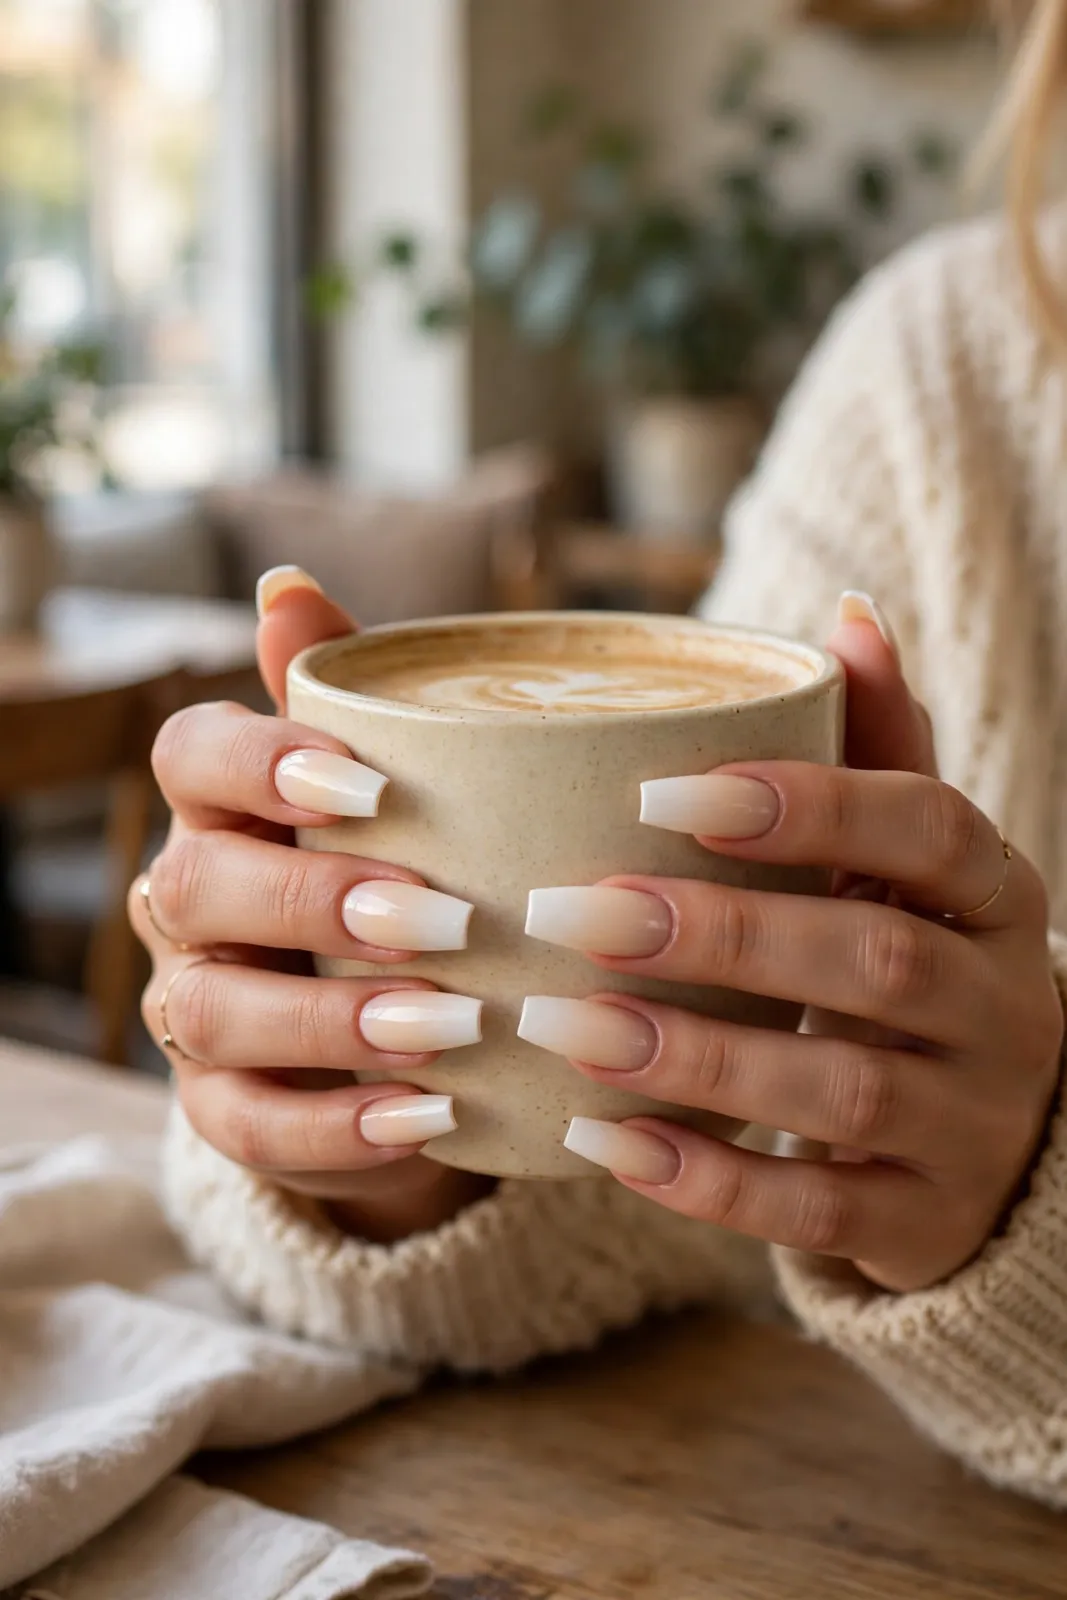
There are some manicures you save for a big night out, and then there are the ones you end up wearing for weeks because they just work with everything. Vanilla coffin gradient tips fall firmly into that second group. I first tried this look when I wanted something longer and more polished than my usual short neutrals, but I did not want a harsh white French line or a colour that would clash with half my wardrobe by Tuesday. The result was softer than I expected — a warm, creamy vanilla base that melts into a gentle white tip, all on that tapered coffin shape that makes your fingers look longer without trying too hard.
If you love neutral nails but you are bored of plain nude, this is the sweet spot. The gradient gives you interest and dimension, the vanilla tone keeps it warm and flattering, and the coffin shape adds just enough edge. It grows out gracefully and looks as good with a chunky knit as it does with a dress for dinner. Here is how to choose the right version and keep the blend smooth.
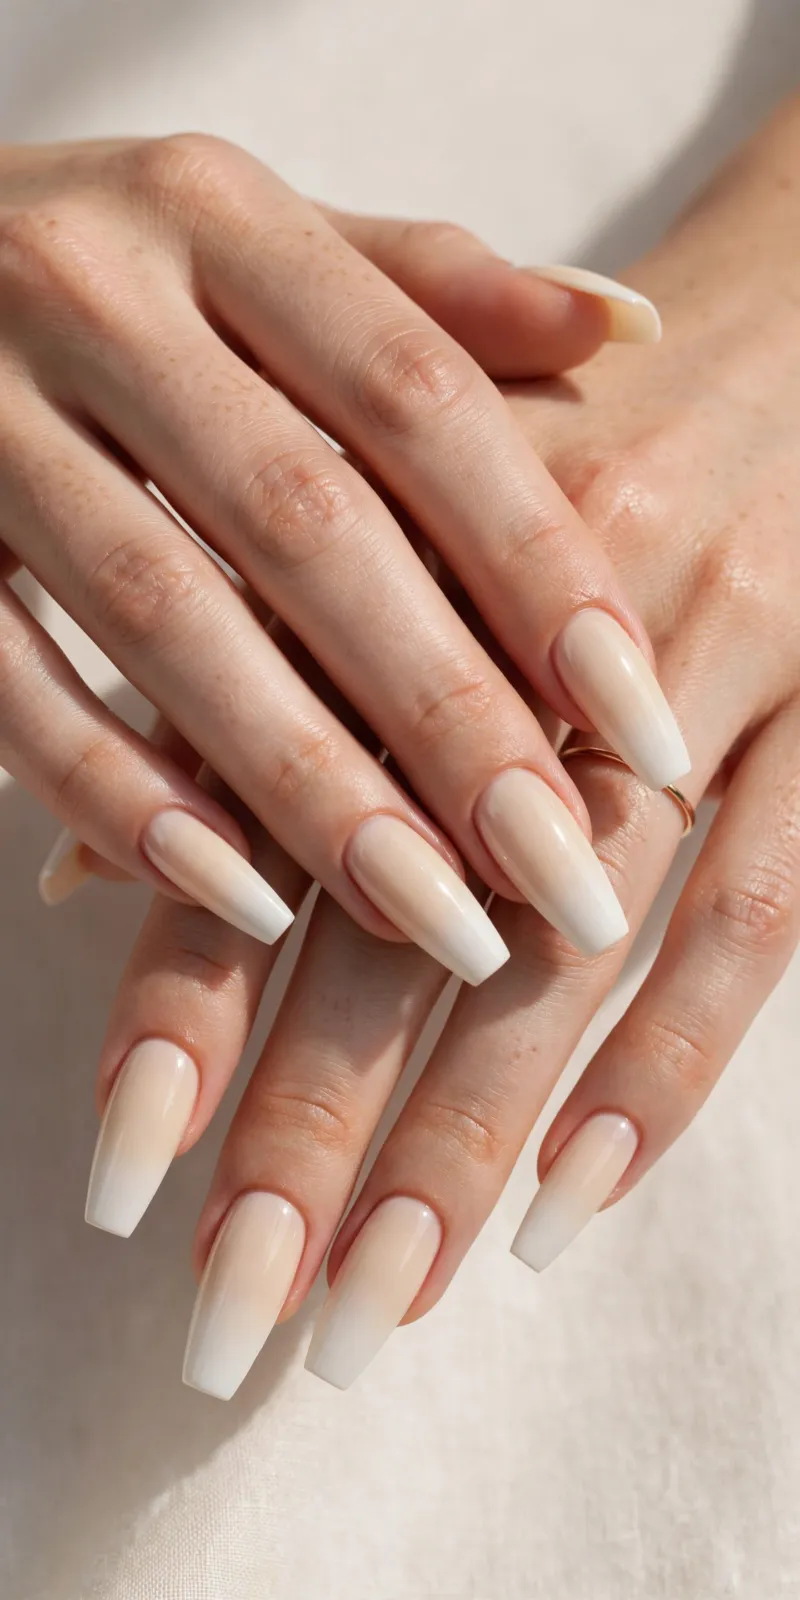
What Makes Vanilla Coffin Gradient Tips So Flattering
A classic French manicure draws a clear line where the white starts. A gradient, sometimes called a baby boomer or French ombre, removes that line completely. The vanilla shade starts deeper near the cuticle and fades, almost like morning light, into a soft white at the free edge. With no hard border, the nail reads as longer and smoother, and small length differences between fingers matter less.
Vanilla is the key word here. It is not stark white and it is not beige in a dull way. Think warm cream with a hint of yellow and a lot of softness. On light skin it adds warmth. On medium and deeper tones, a well-chosen vanilla looks bright and clean, especially when the white is kept creamy rather than blue-white. Coffin nails, with tapered sides and a flat tip, give that soft colour a modern frame — strong enough for length, but softened by the gradient.
The Best Gradient Styles to Try Within This Look
The classic version is a high-gloss, long coffin with a seamless vanilla-to-white fade, and it is popular for a reason. It goes with gold and silver jewellery, it suits work and weekends, and it never looks dated in photos. If you want to personalise it, you have plenty of room without losing that clean feeling.
A short to medium coffin feels more practical for typing or childcare — just ask for the white to start a little higher so the blend stays visible. A matte, velvet finish over a warmer base feels cosy with knitwear. For a subtle twist, add fine shimmer only at the tip, or a peachier fade on one accent nail. Brides often choose gloss with a touch more white for ring shots, while everyday wearers prefer more vanilla for natural grow-out.
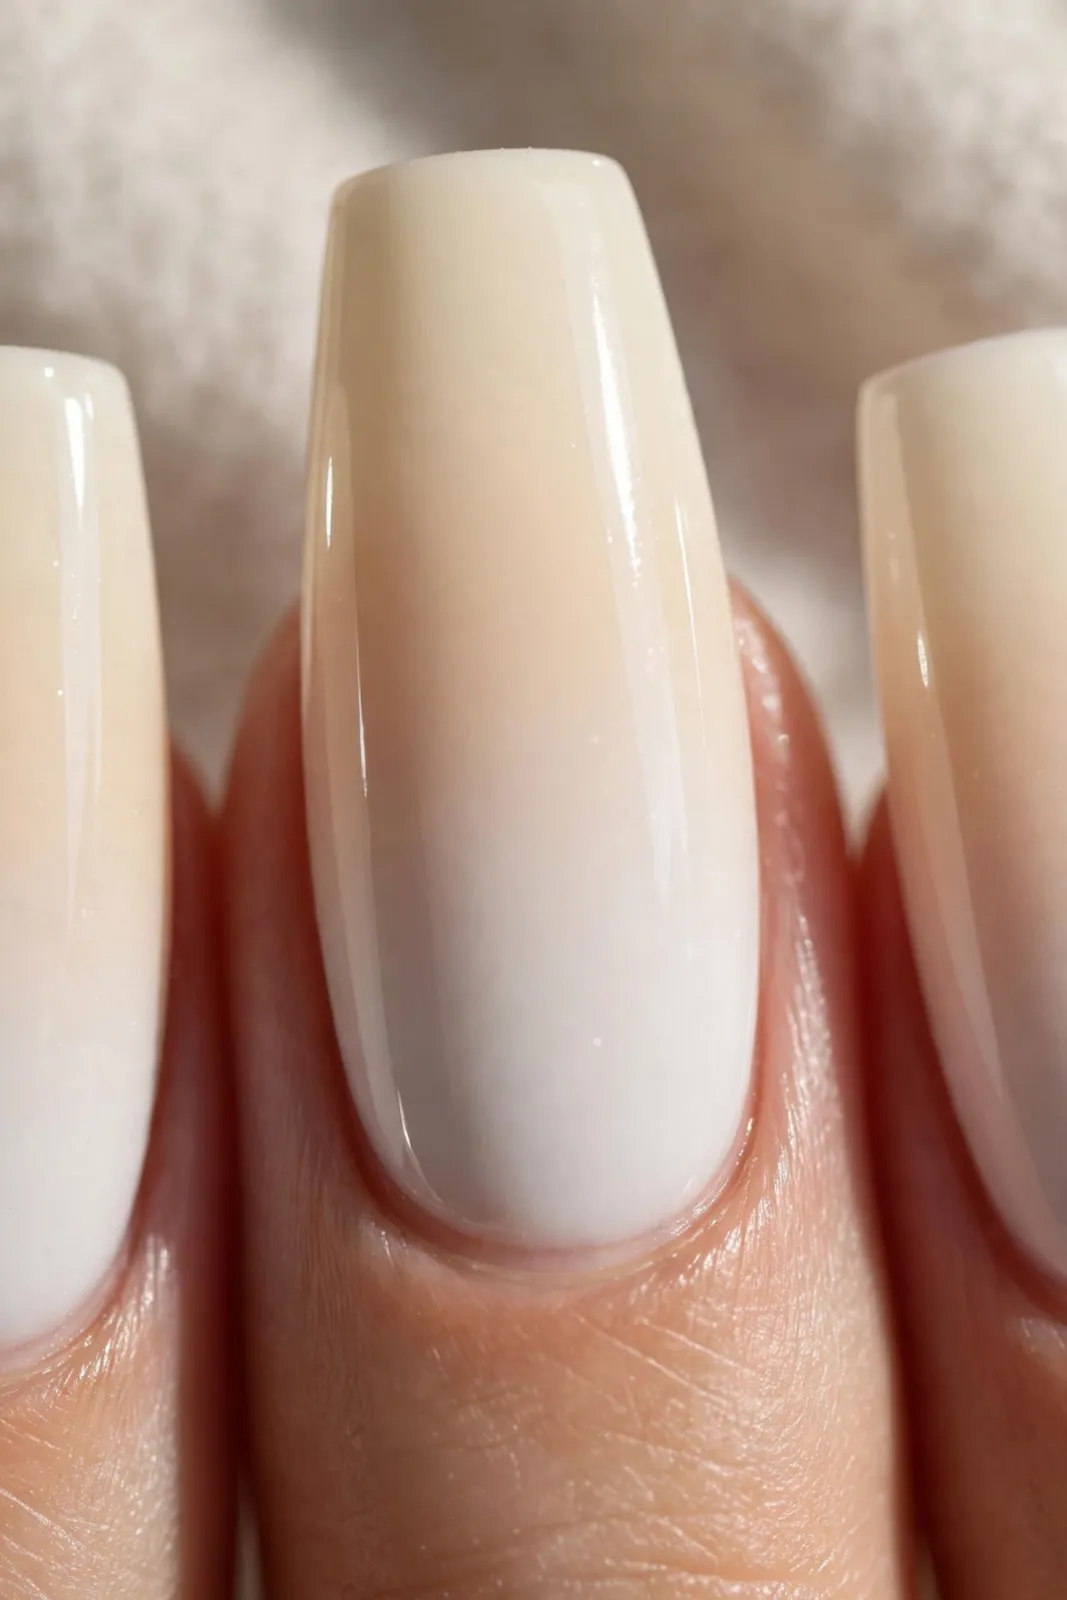
Keep the palette in the same warm family — a cool pink base with a warm tip can look muddy in daylight. Bring two or three reference photos in different lighting to help your technician match the tone.
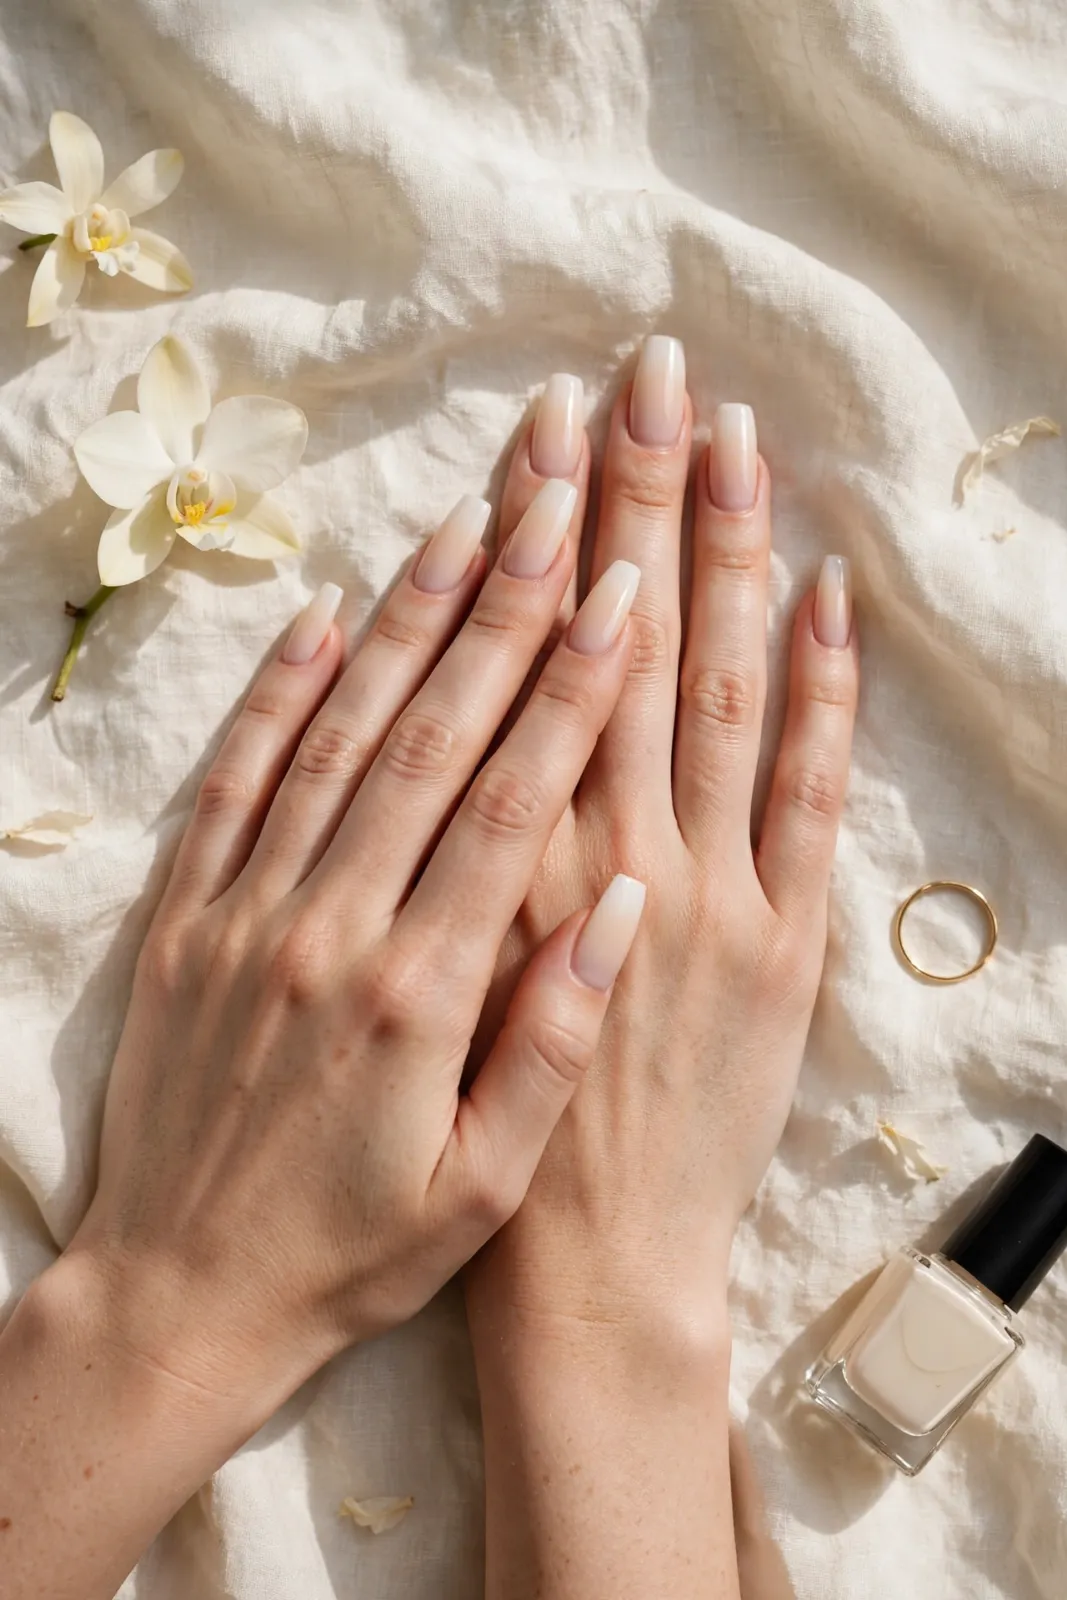
How to Get the Gradient at Home and in the Salon
In the salon, this is usually built with gel, builder gel, or acrylic. Technicians apply vanilla over the whole nail, then feather white from the tip upward with an ombre brush or sponge, curing between thin layers. Thin layers and patience are key — one thick coat almost always streaks. Tell your technician beforehand if you want the tip soft and smoky or brighter and more defined.
At home, press-on coffin nails are honestly the easiest way to get a flawless gradient without special tools, and good sets now come pre-blended in vanilla tones. If you prefer polish or gel polish, start with a ridge-filling base coat, paint two thin coats of your vanilla shade, and let them dry until tacky but not wet. Dab a small makeup sponge with white polish on one end and vanilla on the other, then press and roll it very lightly over the tip third of the nail, repeating with thin layers and cleaning the skin as you go. Seal everything with a glossy top coat, which melts the sponge texture together and gives that glassy salon finish. Work one hand at a time, keep your layers thin, and do not rush the top coat — it does most of the blending work for you.
Choosing the Right Length, Shape and Finish for Your Hands
Coffin does not have to mean extra long. The shape reads as coffin as soon as the sides taper and the tip is flat, which you can achieve at a medium length that extends just a few millimetres past your fingertip. That length gives you the elegant line without catching on everything. If your natural nails are wide, a slightly longer coffin balances the width. If your nail beds are short, keep the gradient lighter overall so the white does not visually shorten the nail further.
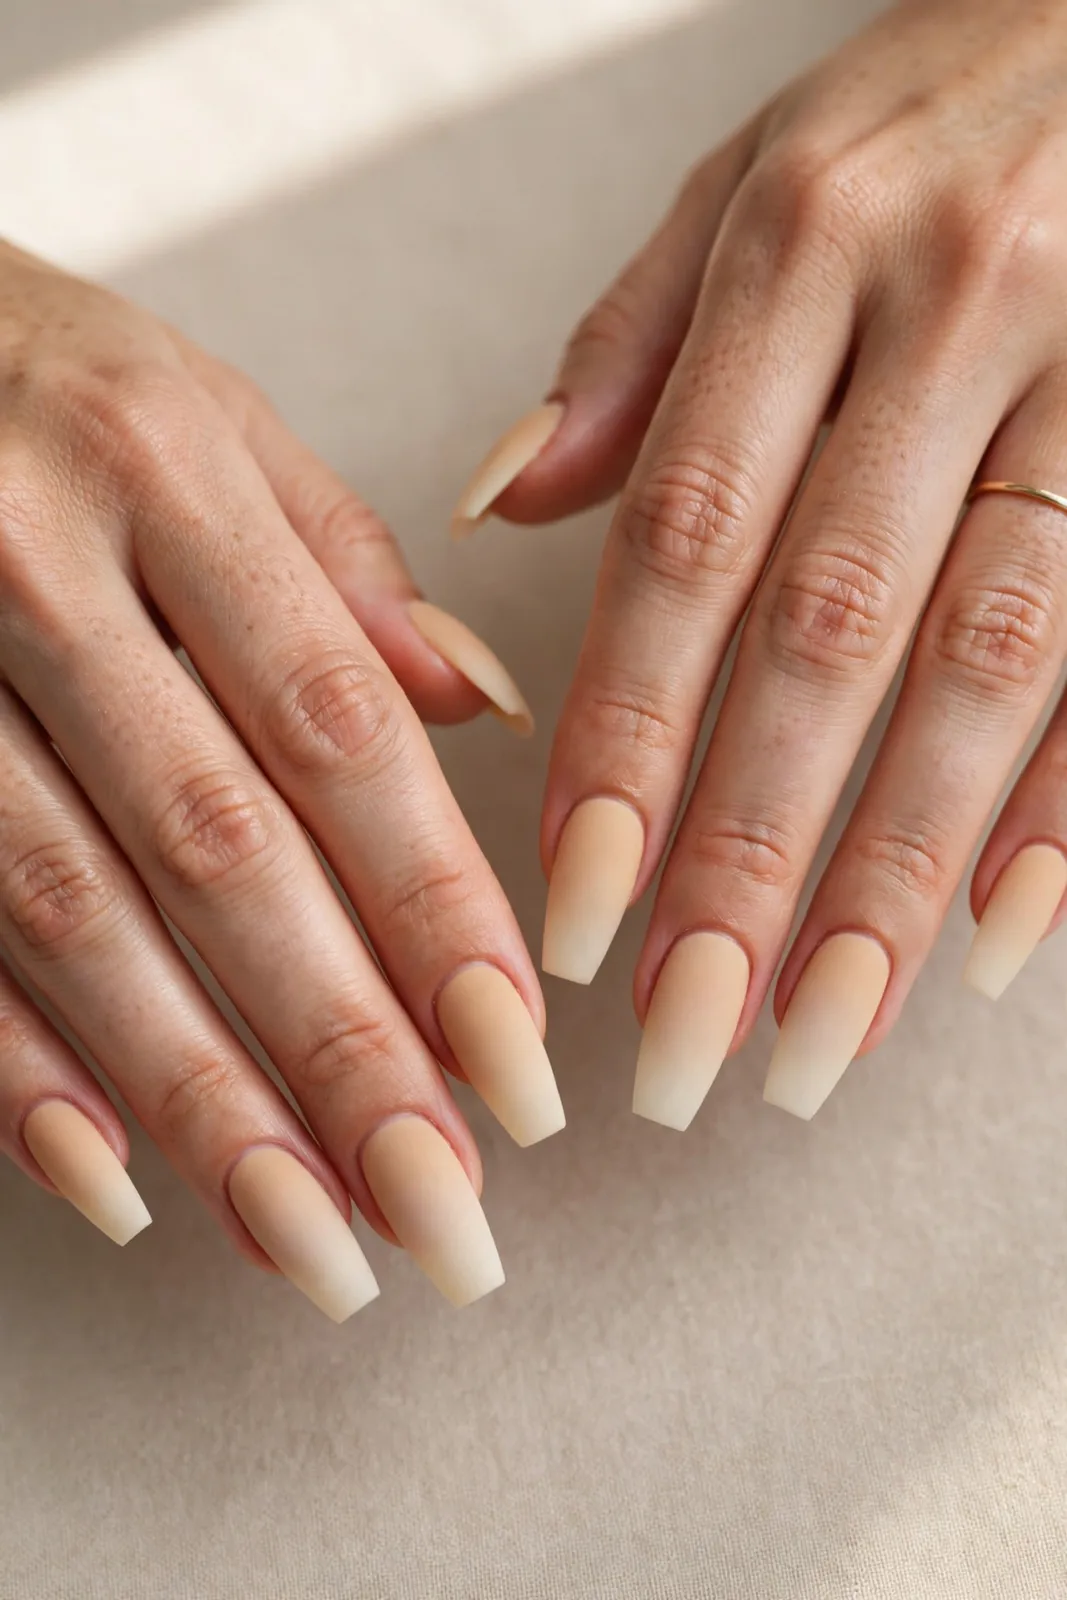
Gloss is the most forgiving finish because it hides tiny blending lines and makes the vanilla look creamy and healthy. Matte is beautiful but shows every ridge, so it needs a very smooth base. For everyday life, I recommend gloss for your first set. You can always try matte next time once you know the length and colour suit you. Also think about thickness: a good coffin set should feel strong at the stress point in the middle of the nail but refined at the tip, never bulky or wedge-shaped when viewed from the side.
Care, Longevity and Honest Budget Advice
A gel or builder set with this gradient should last two to three weeks before it needs an infill, and the soft fade is forgiving as it grows — there is no hard line creeping down the nail. Help it last by applying cuticle oil daily, wearing gloves for washing up and cleaning, and treating your nails as decoration, not tools for opening cans or peeling labels. If a tip chips, file very gently in one direction rather than clipping, which can crack the enhancement.
On budget, salon prices vary a lot by city and product, so ask what is included: shaping, cuticle work, and removal of your old set are sometimes charged separately. Press-ons are the best value for an event, often costing less than a single salon visit and giving you a perfect gradient in fifteen minutes at home. For DIY polish, invest first in a good base and top coat — they matter more than owning five similar vanilla shades. One warm vanilla and one soft white that you know blend well together will serve you better than a drawer full of near-matches.
Common Mistakes to Avoid
The most common mistake is choosing a vanilla that is too yellow or too grey for your skin and only noticing in daylight. Always check the colour on one nail near a window before committing to all ten. The second mistake is making the white too opaque too quickly, which brings back that harsh French line the gradient is meant to avoid. The white should look strongest right at the very edge and almost disappear halfway down the nail.
Another frequent issue is shape inconsistency. Coffin nails need symmetry — if one side tapers more than the other, the nail looks tilted no matter how pretty the colour is. At home, file with your hand flat and check from both directions. Finally, skipping cuticle prep or flooding the skin with gel leads to lifting within days. Neat, dry prep and a small gap at the cuticle will do more for longevity than any expensive top coat.
Frequently Asked Questions
Do vanilla coffin gradient tips suit short nails?
Yes, as long as there is enough length for the coffin taper and for the fade to show. A short coffin with a compact gradient looks neat and modern. If your nails are very short, start with medium press-ons or builder gel to create a little extra length for the blend.
How long does this manicure last?
Gel and builder sets typically last two to three weeks with daily cuticle oil and gloves for chores. Regular polish will last five to seven days, while good press-ons can last ten to fourteen days with proper glue application. The gradient hides regrowth well, so it often looks fresh longer than a solid dark colour.
Can I wear this look for work or a wedding?
Absolutely, and that versatility is why so many people choose it. For formal workplaces, pick a medium length and a softer, more vanilla-heavy fade. For weddings, the classic glossy long version photographs beautifully and complements both white dresses and colourful guest outfits without competing with your jewellery.
What is the difference between this and baby boomer nails?
They are very close cousins. Baby boomer usually uses a pink or nude base fading to white, while vanilla coffin gradient tips use a warmer cream base and are specifically shaped as coffin. The technique is the same — the difference is mainly the warmth of the base colour and the shape you choose.
Will the white tips yellow over time?
A quality top coat with UV protection helps prevent yellowing, and keeping nails away from strong dyes, turmeric, and smoking will also help. If you use self-tan, apply it with gloves or wash your hands carefully afterwards, as tan can stain light gradients more visibly than darker colours.
I keep coming back to vanilla coffin gradient tips because they solve that familiar morning problem: you want to look put together, but you do not want to think about your nails matching your outfit. This look quietly matches everything. Start with the classic glossy version in a length you can live with, take one good photo in daylight to check the vanilla tone, and adjust the warmth or the amount of white next time. Small tweaks are all it takes to make this soft, creamy manicure feel completely yours.