You know the spot. The chair nearest the hall door is the one nobody chooses in winter, because a thin ribbon of cold air slides underneath and pools around your ankles. Old doors are usually the worst offenders: decades of paint, slight warping and shifted frames leave gaps on every side. The good news is that draught proofing old doors is one of the cheapest, quickest jobs in the whole house. Nothing is ripped out, no tradesperson needs to visit, and most doors can be sealed in a single afternoon with materials from one trip to the hardware shop
Done properly, draught proofing old doors makes a room feel warmer at the same thermostat setting, because the heat you paid for stays indoors.

Table of Contents
Draught Proofing Old Doors: Where the Cold Air Actually Gets In
Cold air enters around an old door in four places, and it helps to know all of them before buying anything. The largest leak is usually the gap between the door edge and the frame, which widens as hinges wear and timber shrinks in dry winters. The materials made for sealing these gaps are collectively called weatherstripping, the thin strips and seals fitted around doors and windows to block air leaks, and choosing the right type for each gap is most of the job. That is why draught proofing old doors always starts with the frame rather than the door leaf itself: seal the perimeter first, and the door starts behaving like part of the wall again.
The second leak is the bottom gap, left deliberately wide in many older houses so the door could swing over thick carpets. The third is the letterbox, whose spring weakens until the flap hangs slightly open all winter. The fourth is the one almost everyone forgets: the keyhole, a small, direct tunnel to the outside. Add the four together and an old door can leak as much warm air as leaving a small window open. These small leaks, working together, are exactly why draught proofing old doors has to be a whole-door job rather than one strip of tape along the bottom.
Finding Every Gap Before You Spend Anything
Before any draught proofing old doors work begins, find the leaks properly. On a windy day, hold a lit incense stick or a thin strip of tissue near the closed door and move it slowly around the frame, the letterbox and the keyhole. Where the smoke wavers or the tissue flutters, air is moving. Mark each spot with masking tape so you can find it again when you are fitting seals.
The second test needs only a banknote or a sheet of paper. Close the door on the paper at several points around the frame. If you can pull it out without any resistance, the gap there is wide enough to need a thicker seal; if the paper tears before it moves, that section is already tight. Finally, look along the bottom gap with a torch from the other side, or simply check for daylight. Uneven gaps are normal on old doors, and knowing where yours is widest tells you whether a forgiving brush strip will beat a rigid rubber seal.

Step by Step: Draught Proofing Old Doors That Stay Sealed
Step 1: Clean and measure the frame. Open the door and wipe the frame edges where seals will sit, removing dust, loose paint and old adhesive. Seals fail early on dirty surfaces. Measure each side of the frame and the door’s width so you buy enough strip in one trip, plus a little spare.
Step 2: Fit the frame seals. For most old doors, a self-adhesive brush-pile or rubber strip pressed into the frame’s inner corner works best, because it compresses gently as the door closes. Start at the top corner, press the strip firmly along its full length without stretching it, and cut cleanly at the corners. Stretched strip shrinks back over the following weeks and opens exactly the gaps you were trying to close.
Step 3: Seal the bottom gap. Screw a brush strip to the inside face of the door so the bristles just touch the floor or threshold along the whole width. Brush copes with uneven floors better than a solid rubber blade and lets the door swing freely over rugs. Lower it in small steps: too high leaks, too low drags and wears out in a season.
Step 4: Cover the letterbox and keyhole. Fit a brush or sprung flap cover inside the letterbox so post can still arrive but air cannot wander in, and add a simple swinging keyhole cover over the escutcheon. These two fittings take ten minutes combined and remove the whistling that makes a sealed door still feel draughty.
Step 5: Test and adjust. Close the door and repeat the paper test on every side. Good draught proofing old doors should grip the paper firmly all the way round while the door still closes with normal pressure on the handle. If you have to slam it, a seal somewhere is too thick; if paper slides freely anywhere, that section needs a thicker profile.
The Small Leaks: Letterboxes, Keyholes and the Humble Door Snake
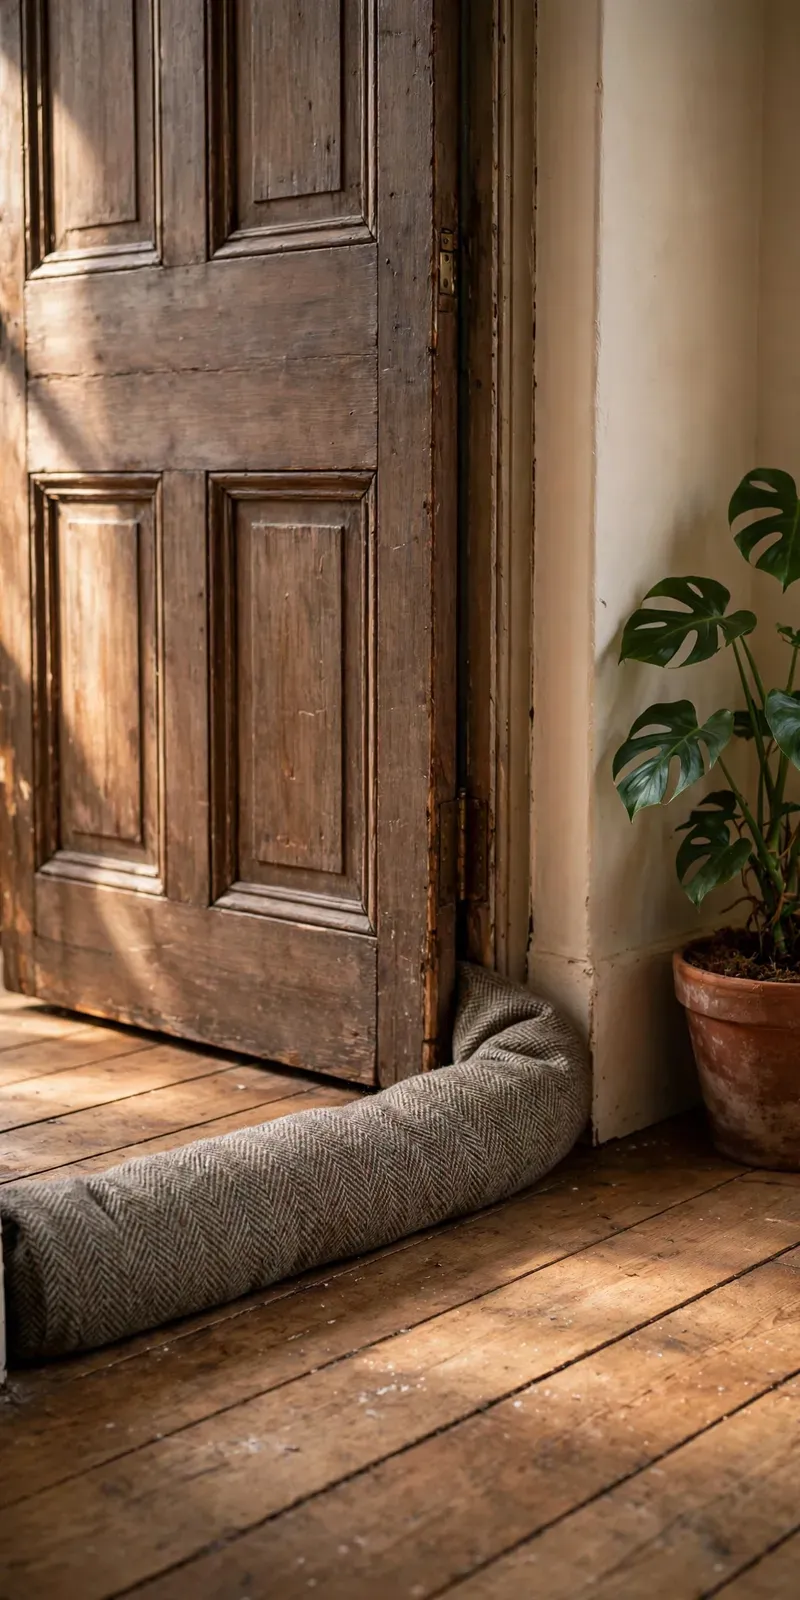
Front doors deserve the fixed fittings described above, but internal doors between a warm living room and a cold hallway are often better served by the oldest solution of all. A fabric draught excluder, the long cushion laid against the bottom of a door, costs very little, needs no tools, and can be kicked aside in a second. Choose one slightly longer than the door is wide, heavy enough to sit still, and in a fabric that suits the room, so it looks deliberate rather than apologetic. In many homes, the finishing touch of draught proofing old doors is exactly this: fixed seals where the door meets the weather, a simple excluder where it meets another chilly room.
One caution about the bottom gap on a front door: a loose excluder alone is not enough, because wind pressure pushes a light cushion away from the door over an evening and the leak quietly returns. The fixed brush strip does the real work there; the door snake is for inside doors and draughty spare rooms. It is a small detail, but draught proofing old doors succeeds or fails on details exactly like this one.
Budget and Buying Advice
The full kit for draught proofing old doors on a single door is modest: a roll of self-adhesive seal for the frame, one brush strip for the bottom, a letterbox cover and a keyhole cover. Foam tape is the cheapest frame seal and fine for a little-used door, but it flattens within a season or two on a busy front door. Brush-pile and rubber seals cost a little more and last for years, and the traditional metal spring strip outlasts everything else and suits period doors where plastic looks wrong.
Buy for one door first, fit it, live with it for a week, then roll the same kit out to the rest of the house. That way you learn which seal profile your doors actually like before spending on five more. Take your measurements and a photo of the frame corner to the shop; staff can match the profile to your gap far faster from a picture. And keep the receipt: the most common reason for a return is simply a seal bought one size too thick.

Common Mistakes to Avoid
The most common draught proofing old doors mistake is sealing a room that still needs its air. A room with a gas fire, a boiler or an open flue relies on some ventilation, and vents fitted for those appliances must never be blocked; seal the doors in living rooms and bedrooms, and leave purpose-built vents alone
The second mistake is fitting seals so thick that the door needs a shoulder to close, which strains hinges and splits the strip within months. Third, sticking adhesive strip over loose or flaking paint, where it peels away by spring. Fourth, sealing three sides and forgetting the letterbox, leaving a letter-sized hole in the middle of the finished job. Fifth, fitting the bottom brush before checking it clears the hall floor. Work slowly on the first door and every one of these is easy to avoid.
Frequently Asked Questions
How long does draught proofing old doors take?
About one to two hours per door once you have the materials, and the first door is the slow one. Measuring, cleaning the frame and fitting the seals is straightforward work; the fiddly part is adjusting the bottom brush so it touches along its whole length. Most people finish a front door and one internal door in a single afternoon.
How much does it cost to seal one old door?
For most homes, draught proofing old doors costs less than a single takeaway meal per door: basic foam tape is very cheap, while brush-pile seals, a bottom brush strip and the letterbox and keyhole covers together still sit in the low tens of pounds or dollars. The metal spring strip costs more but is usually a once-in-decades purchase.
Will sealing my doors cause condensation?
It can contribute if the whole house is sealed and never aired, because moisture from cooking and showers then has nowhere to go. The answer is balance: seal the draughts around doors, keep trickle vents and extractor fans working, and open windows briefly each day. Draughts are uncontrolled leaks; ventilation you can open and close is the healthy kind.
Can renters draught proof a door without drilling?
Yes. Most draught proofing old doors methods suit renters well: self-adhesive frame seals peel off cleanly, letterbox brush covers often fit on existing screws, and a fabric excluder needs no fixing at all. Only the bottom brush strip usually wants screws, and even that comes in adhesive and over-door hook versions if your landlord prefers no holes.
How long do door seals last?
Foam tape typically lasts one or two winters before it stays flattened. Brush-pile and rubber seals commonly last five years or more, and a metal spring strip can last the life of the door. A quick paper test each autumn tells you which sections need replacing before the cold weather arrives.

Start with the worst door this weekend: the one with the cold chair beside it. Measure it, seal the frame, brush the bottom, cover the letterbox and keyhole, and sit down that evening in a room that finally holds its warmth. Draught proofing old doors will never be the most glamorous job in the house, but few others pay you back so quickly, in comfort every night and in heating that stays indoors. Once the first door is done, the rest of the house tends to follow within the month.